
Woo Components [ 7 ]
Set up core woo pages - cart, checkout, my account, order tracking, terms & conditions, privacy policy - assign default pages and update terms notice in checkout page from customizer - Learn which modules work well to display products. Woo Initial Setup Ends after step [7], then you will begin Site Design. To configure woo settings that need attention before the site goes live, go to Woo Overview.
Set Up Components [ 7a ]
WooCommerce Pages
Usually during manual setup of WordPress, we don't end up using the setup wizard for WooCommerce. In this case we have to manually tell WooCommerce what pages to use for each component.
- Create Pages
Create a new page for each of the following: Cart, Checkout, My Account, Terms & Conditions, Privacy Policy, Shop
- Connect Pages to Woo
Go to WooCommerce > Settings > Advanced. Select each page you created corresponding with its respective label under "page setup"
- Connect Shop
To tell WooCommerce what pages to use for the Shop page go to WooCommerce > Settings > Products - when you connect this page, it will assume the "product archive" themer layout you created during page setup


Component Layout
Once the new pages are connected to Woo as shown in the step above, edit each page and add the component via shortcode placed in an HTML module or via themer's WooCommerce module. If you've saved a hero / H1 layout or style, you can use this on each component page to keep the site consistent.


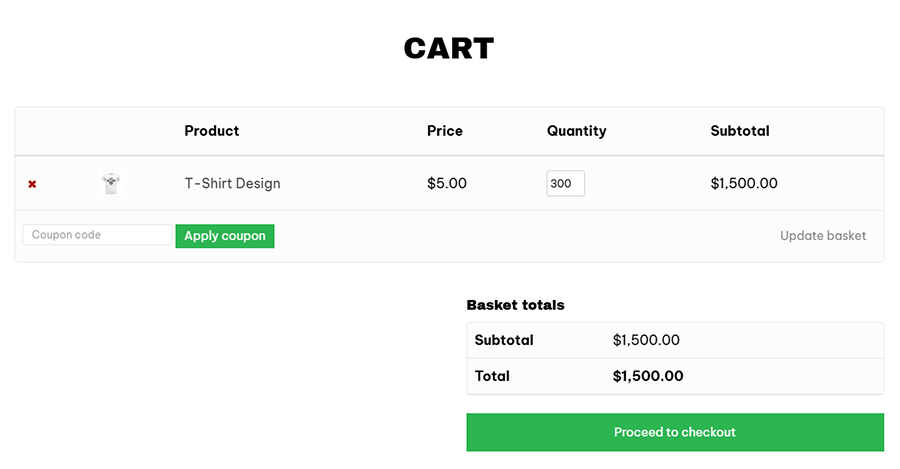
Cart Page
- Shows the cart contentsUse the
[woocommerce_cart]shortcode placed in an HTML module or select "Cart" from the standard Woo module
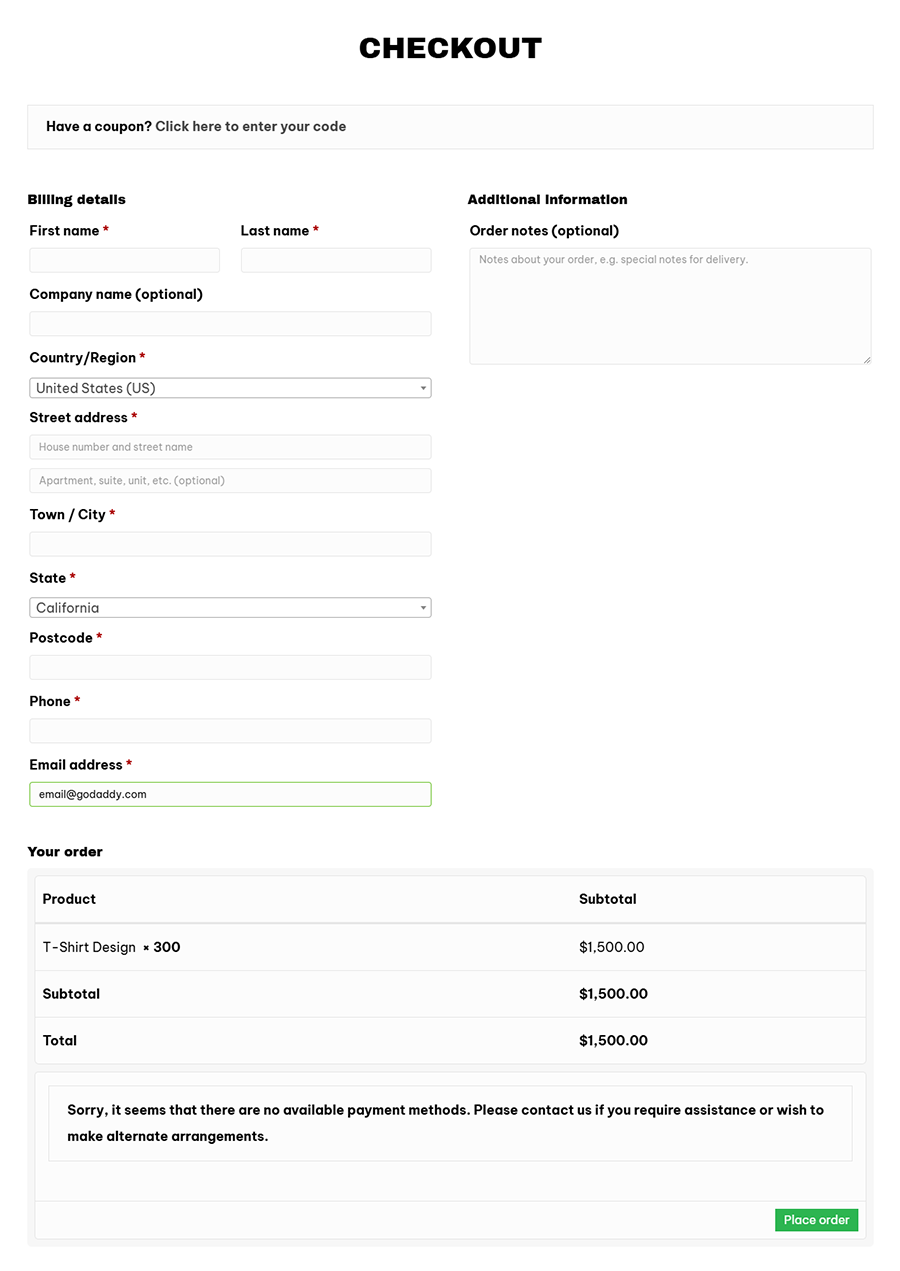
Checkout Page
- Shows information such as shipping and payment options - Use the
[woocommerce_checkout]shortcode placed in an HTML module or select "Checkout" from the standard Woo module
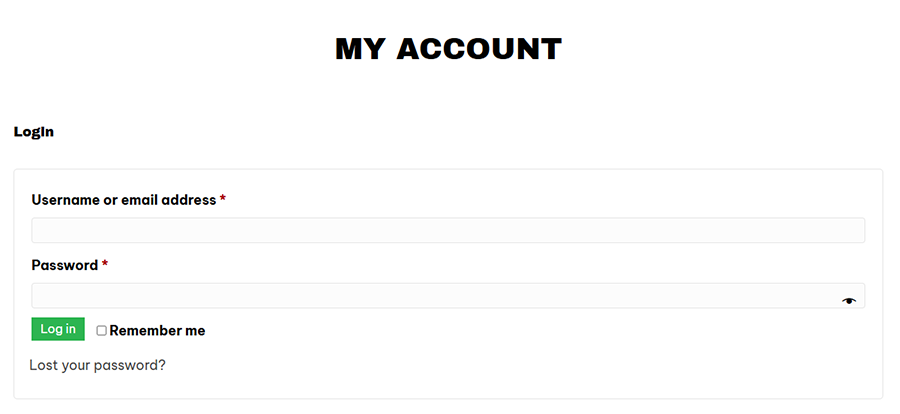
My Account Page
- Shows each customer information related to their account, orders, etc - Use the
[woocommerce_my_account]shortcode placed in an HTML module or select "My Account" from the standard Woo module
Terms & Conditions
- Use the default terms & conditions document to place terms in a text module on this page
Privacy Policy
- The default terms & conditions document has a section for privacy policy - you can use this clipping temporarily but notate that the customer needs to revise these items - privacy policy is automatically connected to checkout - details are shown in the "woo customizer" section
Order Tracking
- There's an optional Woo function built in called "order tracking" - You can create its own page, or you can choose to place it on the "my account" page above/below the dashboard - to use it, select "Order Tracking" from the standard Woo module
Important details and useful info referenced from Woo Documentation
Woo Customizer [ 7b ]
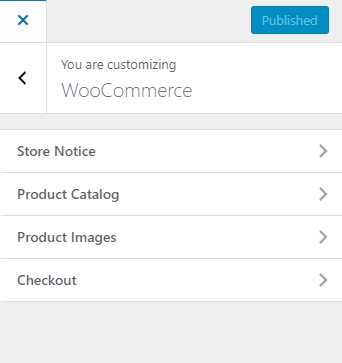
Woo Panel in Customizer
Upon installation of Woo, a panel appears in the customizer for WooCommerce that contains some layout and checkout settings. These items used to be found in the dashboard under WooCommerce settings, but they've recently shifted to the customizer and tend to get overlooked.
Appearance > Customize > WooCommerce
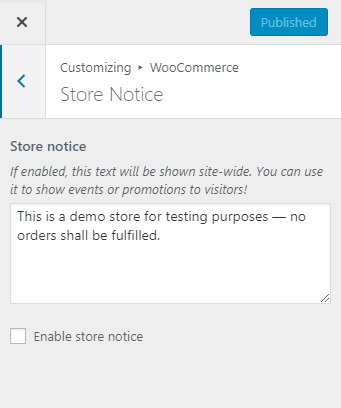
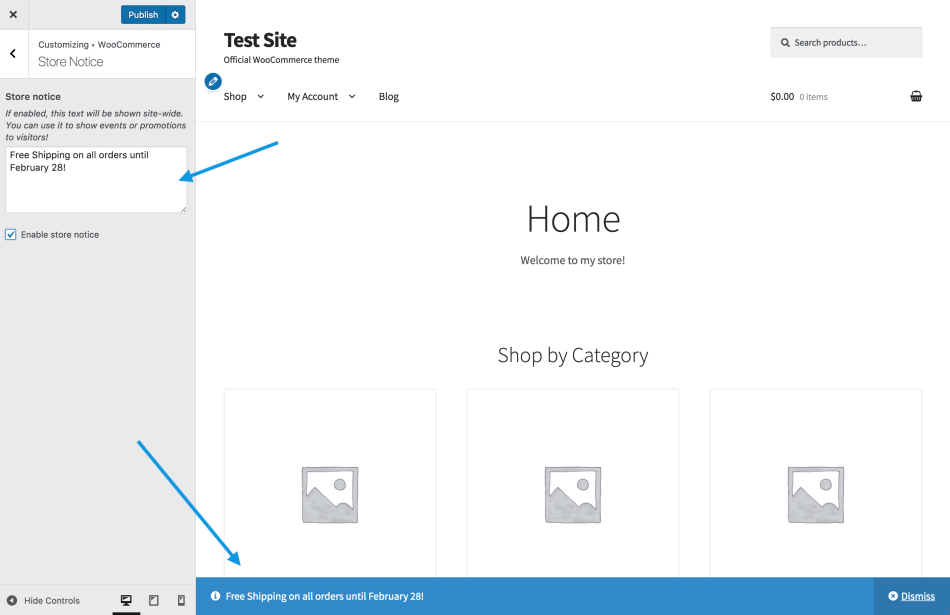
Store Notice
This section allows you to enter an informational or promotional site-wide message shown to everyone visiting your store in the form of a banner - here you can create/customize this notice and enable/disable it - you can also choose to schedule the changes you make to the notice to be published at a specific time
Product Catalog
This section allows you to choose: What to display on the Shop page, what to display on Category pages, how to sort products in a Category, how many products to show in a single row, how many rows of products to display on a page - these settings will only effect default Woo layouts - since we custom create our Woo layouts with Themer, these settings usually don't matter, but its good to know where to find them
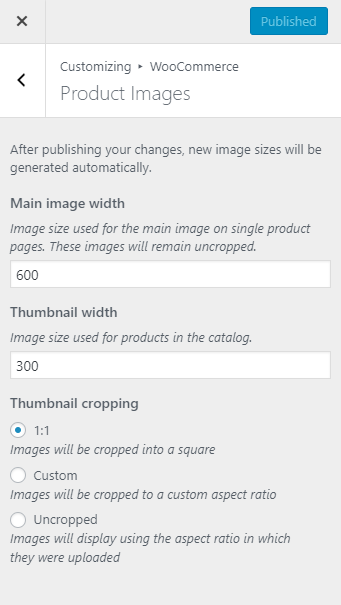
Product Images
This section has two features: it allows you to select how Catalog and Thumbnail images are sized and cropped, and it automatically resizes Catalog and Thumbnail images site-wide on your store when a published change is made - this saves you time and energy in manually cropping and resizing each one (Previously, thumbnails needed to be regenerated using a third-party plugin. WooCommerce 3.3x now handles this for you)
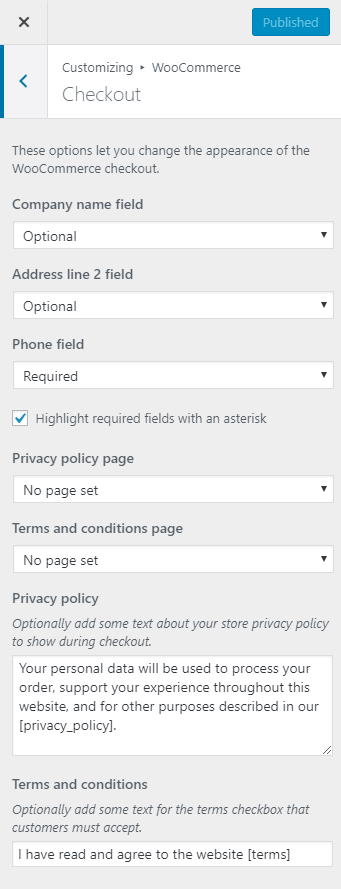
Checkout
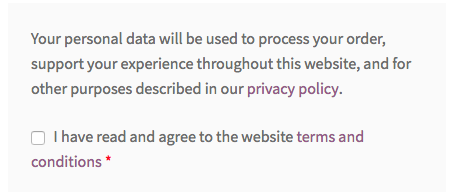
You can now set whether certain fields are required or optional depending on the data you wish to collect. Above in the "component layout" section, we set up pages for "terms & conditions" and "privacy policy". These pages are linked to checkout using the settings in this area. You can change the text, and you can also place HTML in these boxes with custom links if needed.
The “privacy policy” link opens the page in a new window, while the “terms and conditions” link opens a box on the page showing the contents of the terms and conditions page. An order cannot be placed without checking the required terms and conditions box.
Woo Customizer
Checkout
Store Notice Text
Store Notice Preview
Product Images

Product Catalog
Terms Checkout Checkbox
Detailed guide shown in Woo documentation:
Woo Modules
BB Standard WooCommerce Module
Use the WooCommerce module to insert WooCommerce content into any page. Note that the WooCommerce module comes with the standard Builder – you don't need to have Beaver Themer installed to implement these layouts.
- Display a single product
The product is identified by its ID number - Display a single product page
The single product page display is identical to what you'd see on an actual single product page, but you can embed it anywhere in a layout on another page using the ID - Display multiple products, all or a subset
To display the entire set of products choose Products IDs, then leave the Product IDs field blank - To display a custom list of products choose Products IDs, then add a list of them separated by commas - Display price and the Add to Cart button for a single product
You can display this part of an individual product without showing the rest of the product - Display subcategories in a parent category
To display the entire set of top-level categories: choose Categories, then leave the Parent category ID field as the default value 0 - To display all the subcategories of a category: choose Categories, then in the Parent category ID field add the ID for the parent category - Other Options
You can also display the cart, display the Checkout content area, display order tracking and display the My Account area using this module as shown above in the "components" section, or by using their shortcodes


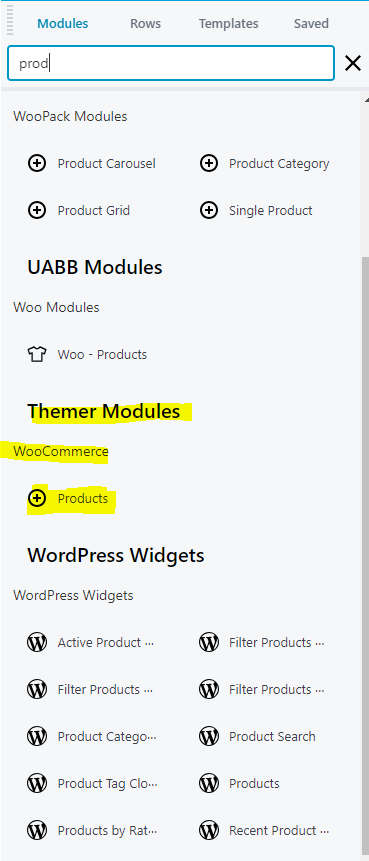
Posts Module for Products
A good module that can be used to display products on archive pages is Themer’s default module for Products:
- This module is the default themer module so it is cleaner and lighter than the modules from the addons
- This will show “posts” as the module title when you place it on the page, just make sure “main query” is selected under the module’s content tab, and it will show you the products on that archive by default
- This module will show product ordering drop down when the page is published
The Themer Product Module
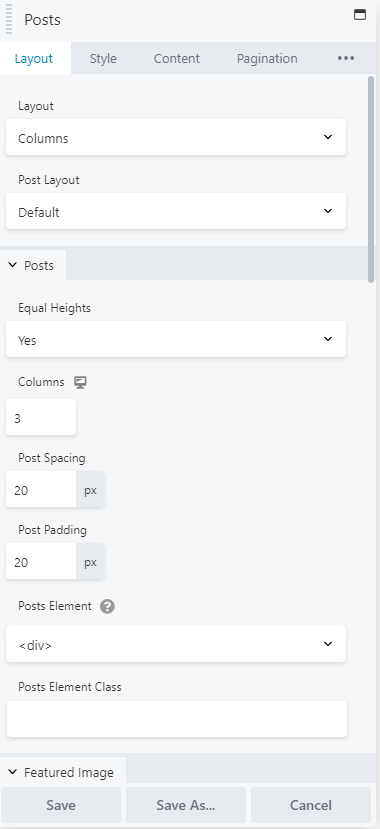
Adjust spacing as needed
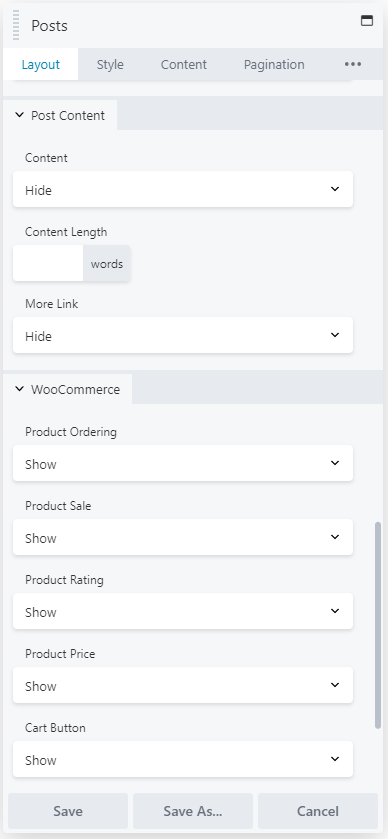
Hide content, show WooCommerce features
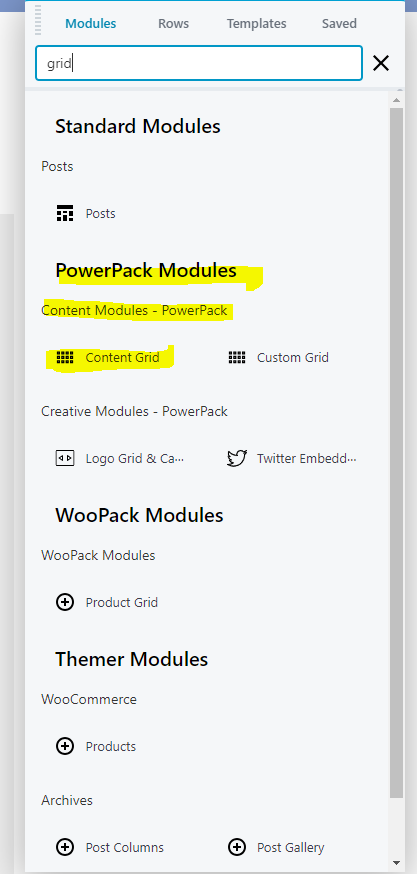
PowerPack Content Grid
- When choosing this module, go to the content tab and select main query
- Show title, hide content > scroll down and hide author and date from meta settings
- You can heavily style it as needed, and the posts adjust to masonry layout if they are uneven in height
- This module will not show product ordering dropdown
- However, this module has the option to enable filtering by taxonomy
Always check the "content" tab when working on an archive to make sure the source is set to "main query" instead of "custom query". If you're working on a shop landing page and "main query" doesn't return any results, its because the page hasn't been assigned as the default shop page in Woo settings - see "WooCommerce Pages" section above and "connect shop".
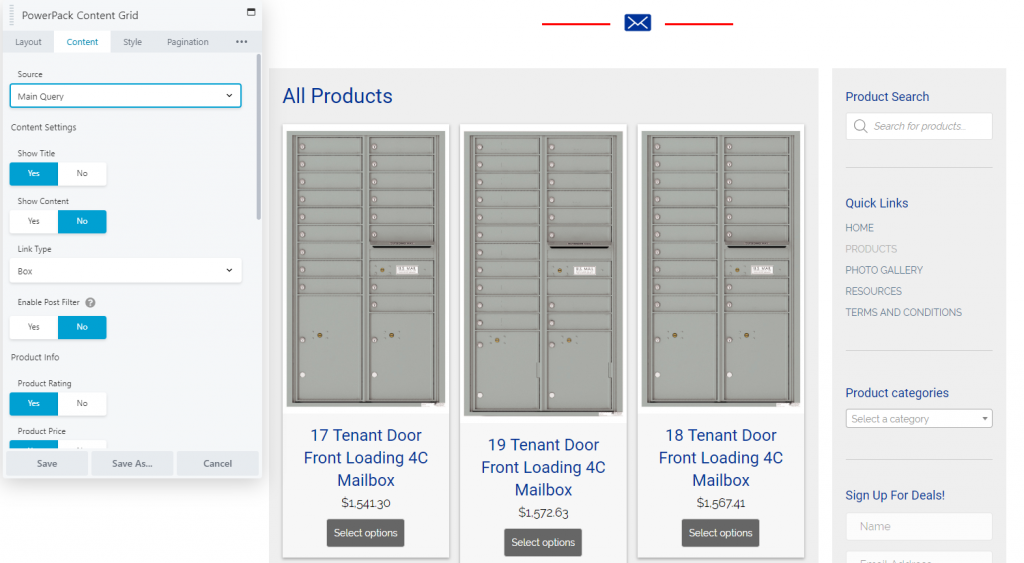
Content Source – Main Query
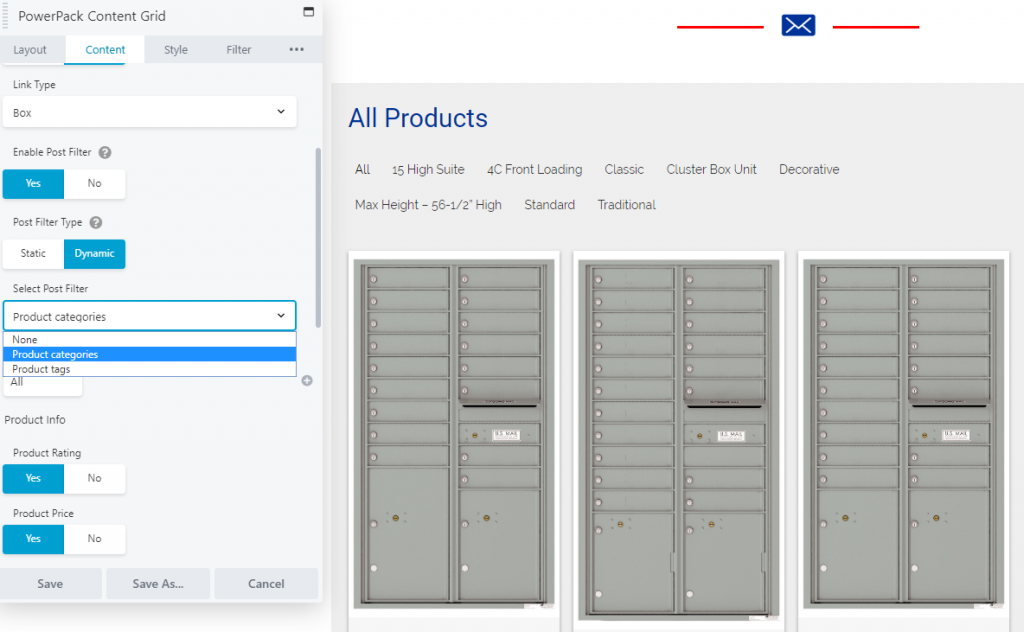
Option to enable filtering

Style filters as needed

Important notes about main query and products per page:
- You’ll notice that there’s no way to alter the amount of products shown per page on main query – it inherits the products per page feature from WordPress’s Reading settings in the dashboard – change the amount of posts per page to a multiple of 3 (if you have 3 product/post columns) and they will even out. (Read details on this)
- If the columns still doesn’t even out, it could be inheriting settings from the WooCommerce content tab in customizer. If the columns set for the product catalog in the customizer are different from the amount of columns being used in the module, they will clash with each other. Change the columns in customizer to match the number of columns set in the products module. (Read details on this)
UABB Woo Modules
- You can use UABB's woo modules to display certain kind of custom queried products such as featured products, best sellers, etc.
- Use this module on static pages like the homepage for a minimal display or a certain kind of product.
- Don't use this module in a themer layout for an archive page since it does not support main query.

Resources:
Table of Contents
Add a header to begin generating the table of contents
Next Steps
After the Woo pages have been created and assigned, its time for functionality setup.