WordPress - Get Started [ 1, 2 ]
How to install and get started with WordPress using V3, how to switch to v3 from older versions - step by step guide.
Follow the step-by-step installation instructions from the "Initial Setup" tab.
Getting Started in V3 [ 1 ]
For Sites Before GD Core Automation
Good news, if you install a version of the core plugin that is not the most recent, it will automatically show you that a newer version is available. You will be able to click upgrade from within the WordPress Account (See Below).
- Install and activate Core.
- Download Core here: https://tools.v3.pwsgallery.com/
- Choose site type and region.
- This is important, especially if it is a WooCommerce, as it will take the region settings and insert it into the main settings.
- Click activate, then install now to install all the required plugins.
- Add any additional requested plugins and deactivate any unnecessary plugins from the plugins page.
- For more detailed information about Core check out the styleguide: https://styleguide.wdsgallery.com/gd-core/
After it is installed, follow the detailed instructions outlined on the GD cORe page to learn how to set it up properly. This page also contains information on troubleshooting and has FAQs regarding cORe for reference if needed.
For Sites with GD Core Automation (All New Sites)
All plugins and pages are automatically installed and created prior to build.
Switching from V2 to V3
In the case that you are not building a new site, rather you are upgrading an existing build to our latest platform, you will need to first determine what platform the site is currently on, and then you will proceed with the conversion. To determine the current platform, follow the detailed steps laid out on this page "Convert to V3 - Select Platform" then, based on your conclusion, follow the steps on:
- This page if you're a V1/Genesis: V1-V3 Conversion Flow
- OR this page if you're a V2/Pharmacy: V2-V3 Conversion Flow
VPB
If you want to stay in v2 but use plugins included in the v3 platform, you can build a custom plugin package here: Package Builder - (PW - WebsiteBuilder)
Customizer Settings [ 2 ]
Settings Tab
Open Customizer
dashboard > appearance > customize > settings
Homepage Settings
change homepage display to "static page"
then add new page > "Home"
add a new page under "posts page" > "Blog" - where your blog or generated posts will resideSite Identity
add title, tagline & favicon
Menus Tab
Create a New Menu
set it to header menu - then add items
Link Types
add all pages to the menu here
for long-scroll sites, use custom links
anchored to each section ID
General Tab
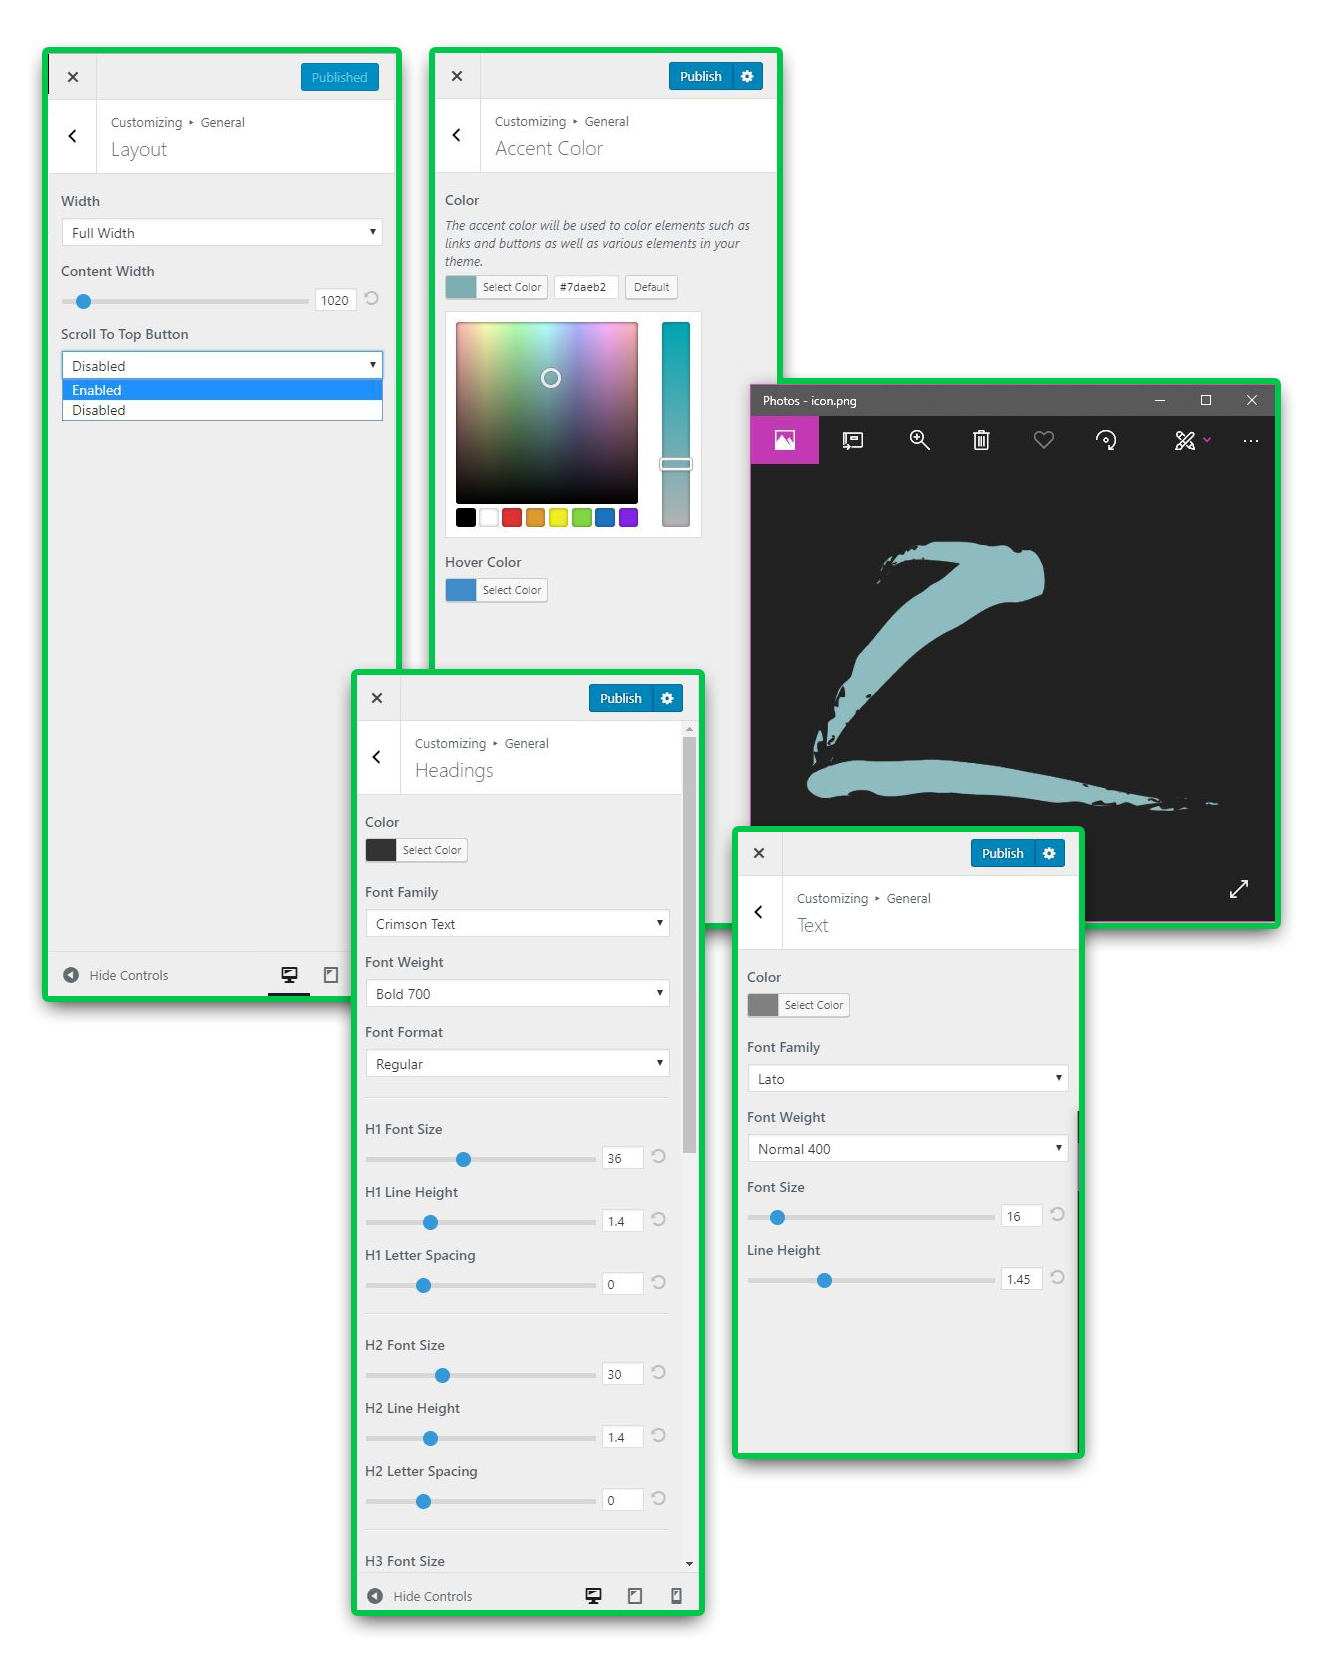
GD Core automation will have set some of these settings for you, it still is a good practice to check and make sure the settings are correct.
Layout
enable scroll to top button
in a recent update, the "layout" tab added two more important dropdowns - set these to:
CSS Framework: Minimal Bootstrap 3
Font Awesome Icons: Font Awesome 5Accent Color
the accent color will be the default colors used for elements such as links and buttons and various elements
Headings
set the default heading font and color here - you can make all headings the same font or choose to selectively style H1
Text
set the site's default body font, color and size here
Code Tab
Use this for inserting scripts like Google Analytics or Facebook Pixel - place items such as these in the "head" tab - any code entered in this area will be rendered within the page <head> tag.
CSS Tab
Use the additional css panel for specific css. Use the template for easy organization and flow.
these settings are defaults - you can make specific changes in the module settings themselves. its just good to make things consistent here first.
Next Steps
After installation and customizer setup, its time to create the themer layouts.


