
How to add an Announcement Banner to a WordPress Site (V3, V2 & Genesis)
June 15, 2020 | Beaver Builder, Customer Campaign Run Books, Tips & Tricks, WooCommerce, WordPress
In the current day, a lot of people have businesses that need to have some way of communicating announcements to site visitors. This post covers how to add, edit or remove an announcement banner in WordPress. Click here to see a demo of the module with text content.
This article covers the following:
- How to add an announcement banner to a V3
- Styling Standards for the Announcement Banner Module
- How to edit/remove an announcement banner from a V3
- How to add an announcement banner to a V2
- How to add an announcement banner to a V1/Genesis
- Banner FAQs

How to add an announcement banner to a V3
- Open your sitewide footer in beaver themer
- Click on the plus sign to add a module, search for “announcement”
- Drag the “announcement bar” module to any existing row or column in the footer (it will only be there for you to edit, and it will look look completely different when you preview or publish)
Styling Standards for the Announcement Banner Module
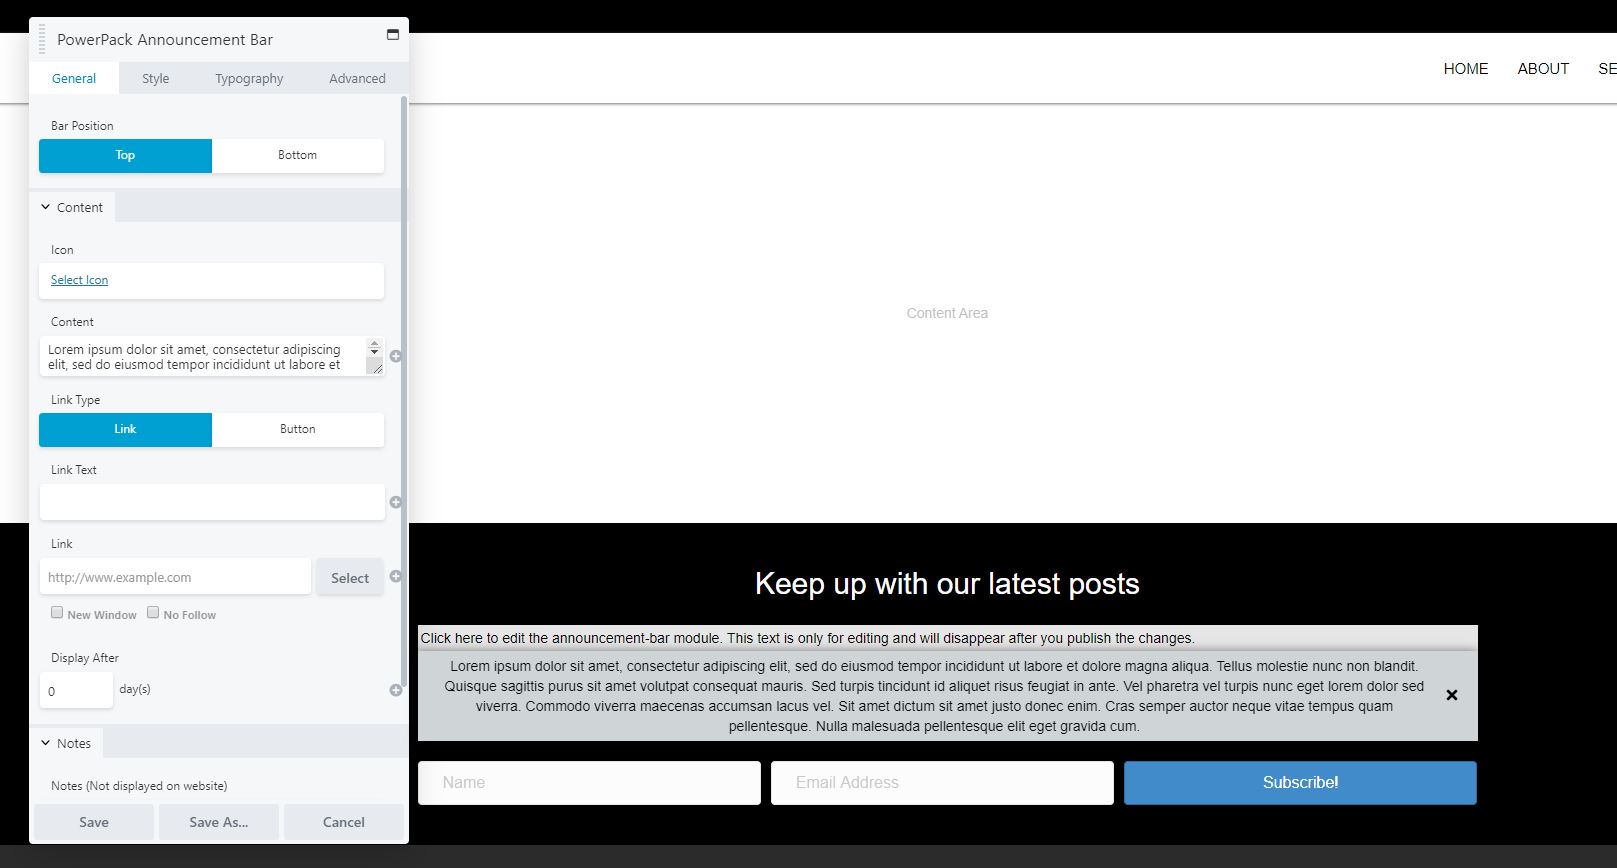
General Tab
- Bar position: set to Top
- Content: add desired text
- Display after: set to 0, unless customer asks for banner to display after a specified number of days in which case you would use that number instead
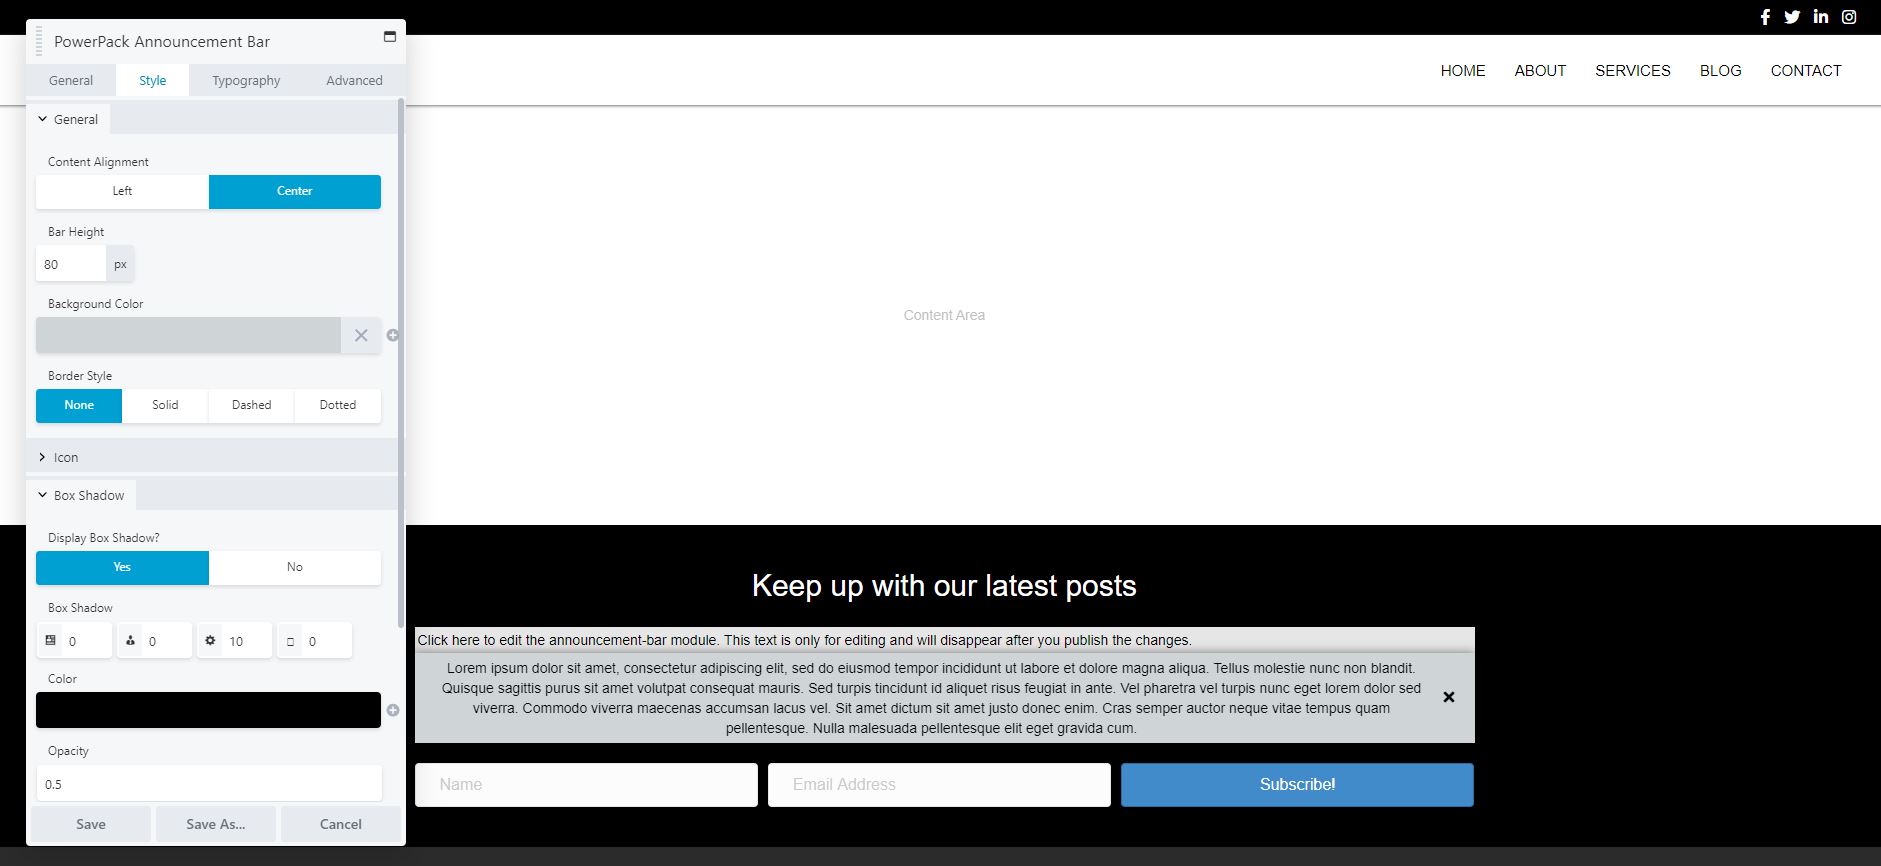
Style Tab
- Content alignment: center
- Bar height: set to 60 px
- Background color: set to #00a4a6 (or if the customer provided a color use that)
- Box shadow: set to Yes – leave default shadow settings
- Close button: set color to #ffffff, set size to 16 px
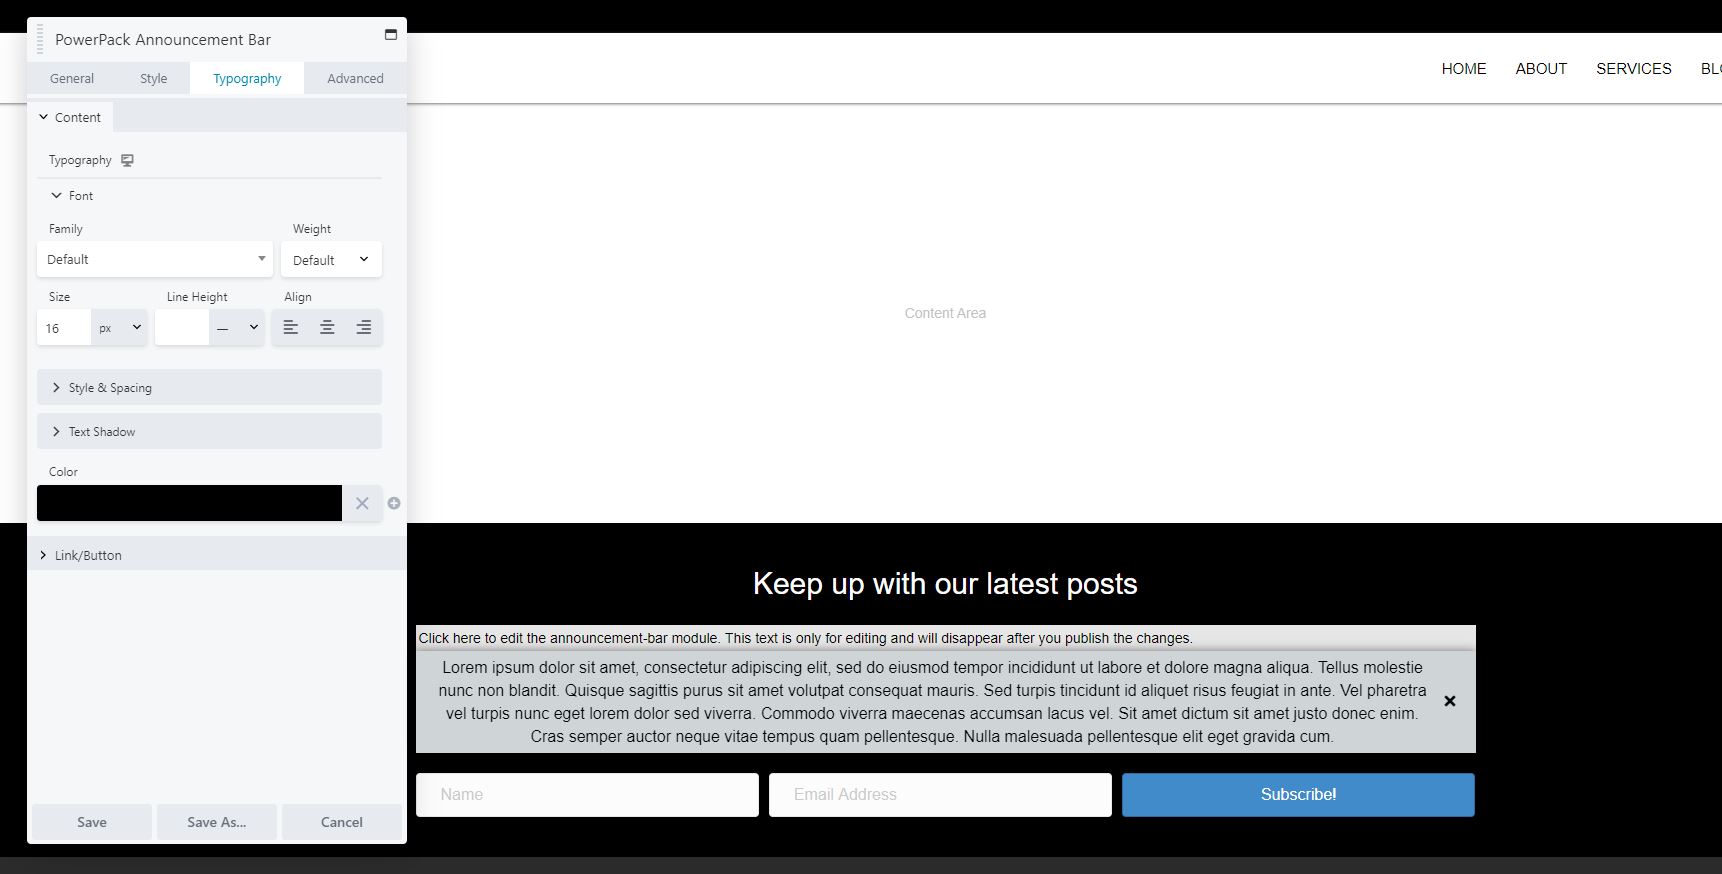
Typography Tab
- Font size: set to 16 px, unless site font is very small or large and a different size works better
- Color: set to #ffffff
Advanced Tab
- Margins: set top and bottom margins to 0 – even though the banner will not show in this area when the site is published, there will be a 40px height of empty space in its place if you don’t change the default margins of 20px to 0
Add the following CSS snippet
- While still in the footer themer layout in the beaver builder editor go to the tools dropdown in the top left of the screen and click “Layout CSS/Javascript”
- Then paste the following snippet into the CSS tab and save – this snippet’s purpose is to stop the banner from stretching all the way from one side of the screen to the other:
.pp-announcement-bar-content p {
    width: auto;
    max-width: 1100px;
    margin: auto;
}- Feel free to adjust the max width value “1100px” to match the global content width value of the website if you changed the default 1100px to something else e.g. 1250px, 1180px, etc.
Note: please don’t target this module with CSS or try to hide it with CSS, it will automatically disappear from the footer when you publish

General Tab 
Style Tab 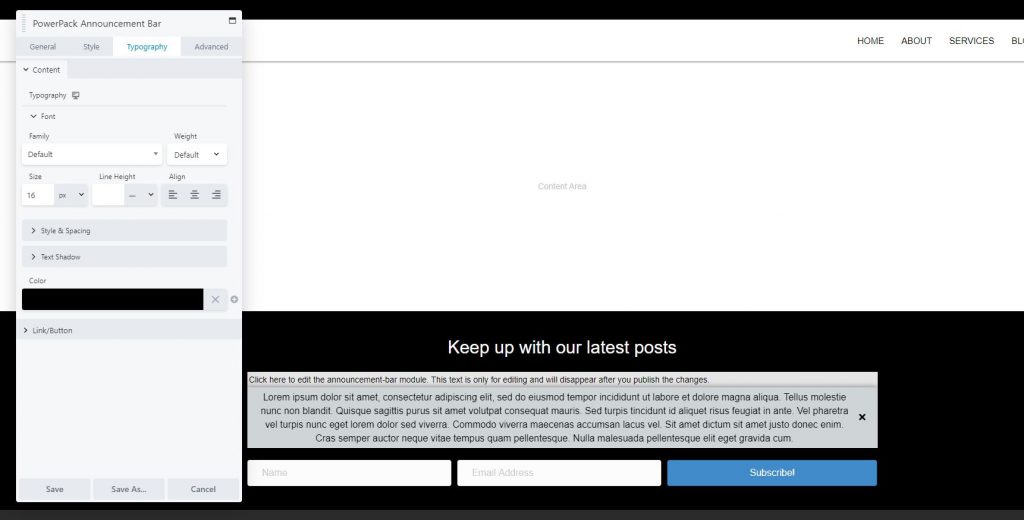
Typography Tab 
Advanced Tab

Preview the banner and publish it live
- Hit the letter “P” on your keyboard OR click “Preview” from the tools menu dropdown – You’ll notice that the module is no longer in the place you put it, rather its stretched across the top of the site
- When you’re happy with how it looks, click “continue editing” and then click “done” followed by “publish”
Important: In the case that you find extra padding on the top of the site, its probably because of sticky header. Make sure you turn sticky header OFF when the banner is active. You cannot have sticky header active while having a banner in place. You can turn sticky back on once the banner is removed.
How to edit or remove an announcement banner from your site (V3)
Step 1: Where is the banner?
- First you will need to find where your banner is located – is it appearing on only one page, or is it appearing on every page of your site?
- If its appearing on one page, go to that page and click on Beaver Builder, then proceed to step 2
- If its appearing on all of your pages, its either in the header or the footer – go to any page, then hover over beaver builder and click to edit the sitewide header or footer, make sure its in one of these layouts, and then proceed to step 2
Step 2: Modify the module
- To edit, hover over the announcement bar module and click the wrench icon to edit the module settings adjust the content, layout, colors, and then click “done” followed by “publish”
- To remove, hover over the announcement bar module and click the “x” icon to remove – agree to the dialog box and then click “done” followed by “publish”
How to add an announcement banner to a V2
A V2 site, uses pharmacy and storefront theme so we don’t get to open our footer in beaver themer like we would in a V3 build. Because of this, adding an announcement banner, which is a beaver builder module, to the footer will not work. If the site is a V2, the body of each page should still be using beaver builder and its acceptable to add the announcement banner module to just the homepage rather than site-wide.
Instead of editing the footer themer layout and adding it, you’ll be editing the regular homepage in beaver builder and adding it there. Follow the same instructions shown in the “Styling Standards for the Announcement Banner Module” (V3) section above, for setting up the styling.
Note: If applicable, make sure to disable sticky header if you notice it interfering with the banner, but notate that you did this and why.
If a customer wants the banner to appear site-wide, you can create a global version of the module and place it on each page, but it will not appear on archive pages and you will have to edit every single page to put it there. If this not reasonable, they will need to upgrade to V3.
How to add an announcement banner to a V1/Genesis
Let’s hope you don’t encounter a Genesis build. In the off-chance that you do, the process for adding a banner to the site will be entirely different from a V2 or a V3. Genesis builds don’t use beaver builder at all – not in the body, not in the theme areas, not ever. You can use the following steps to add a banner to a Genesis site or as a last resort to add a banner to a site where the announcement banner module is failing to work.
- Install and activate our approved plugin “Cookie Notice for GDPR” – this plugin can typically be found in PWS Core in V3s but is just freely downloadable from the “Add New” plugins screen in a V2 or Genesis
- Once active, go to dashboard > settings > cookie notice
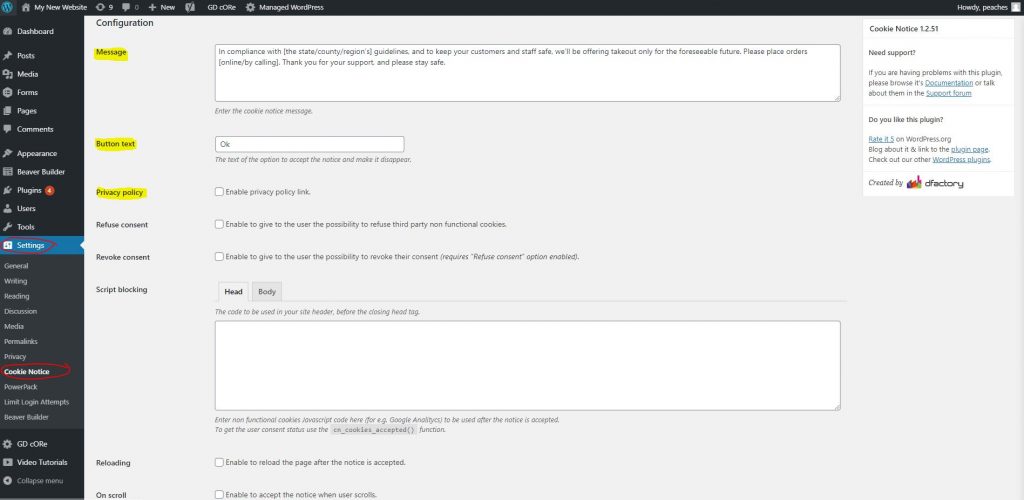
Configuration
- In the message box, add the banner text requested by the customer
- Button text: you can leave this as is – since this banner is primarily used for cookies, it requires something to be in this field and will not let you leave it empty
- If the message is too long or if the customer wants to add a link to their banner, click the checkbox to “enable privacy policy link” and change the link text to something that makes sense for the banner in place of the default link text “privacy policy” – make sure it goes to the correct link/page
- Ignore all the other configurations except for “accepted expiry” – change its value to “an hour”
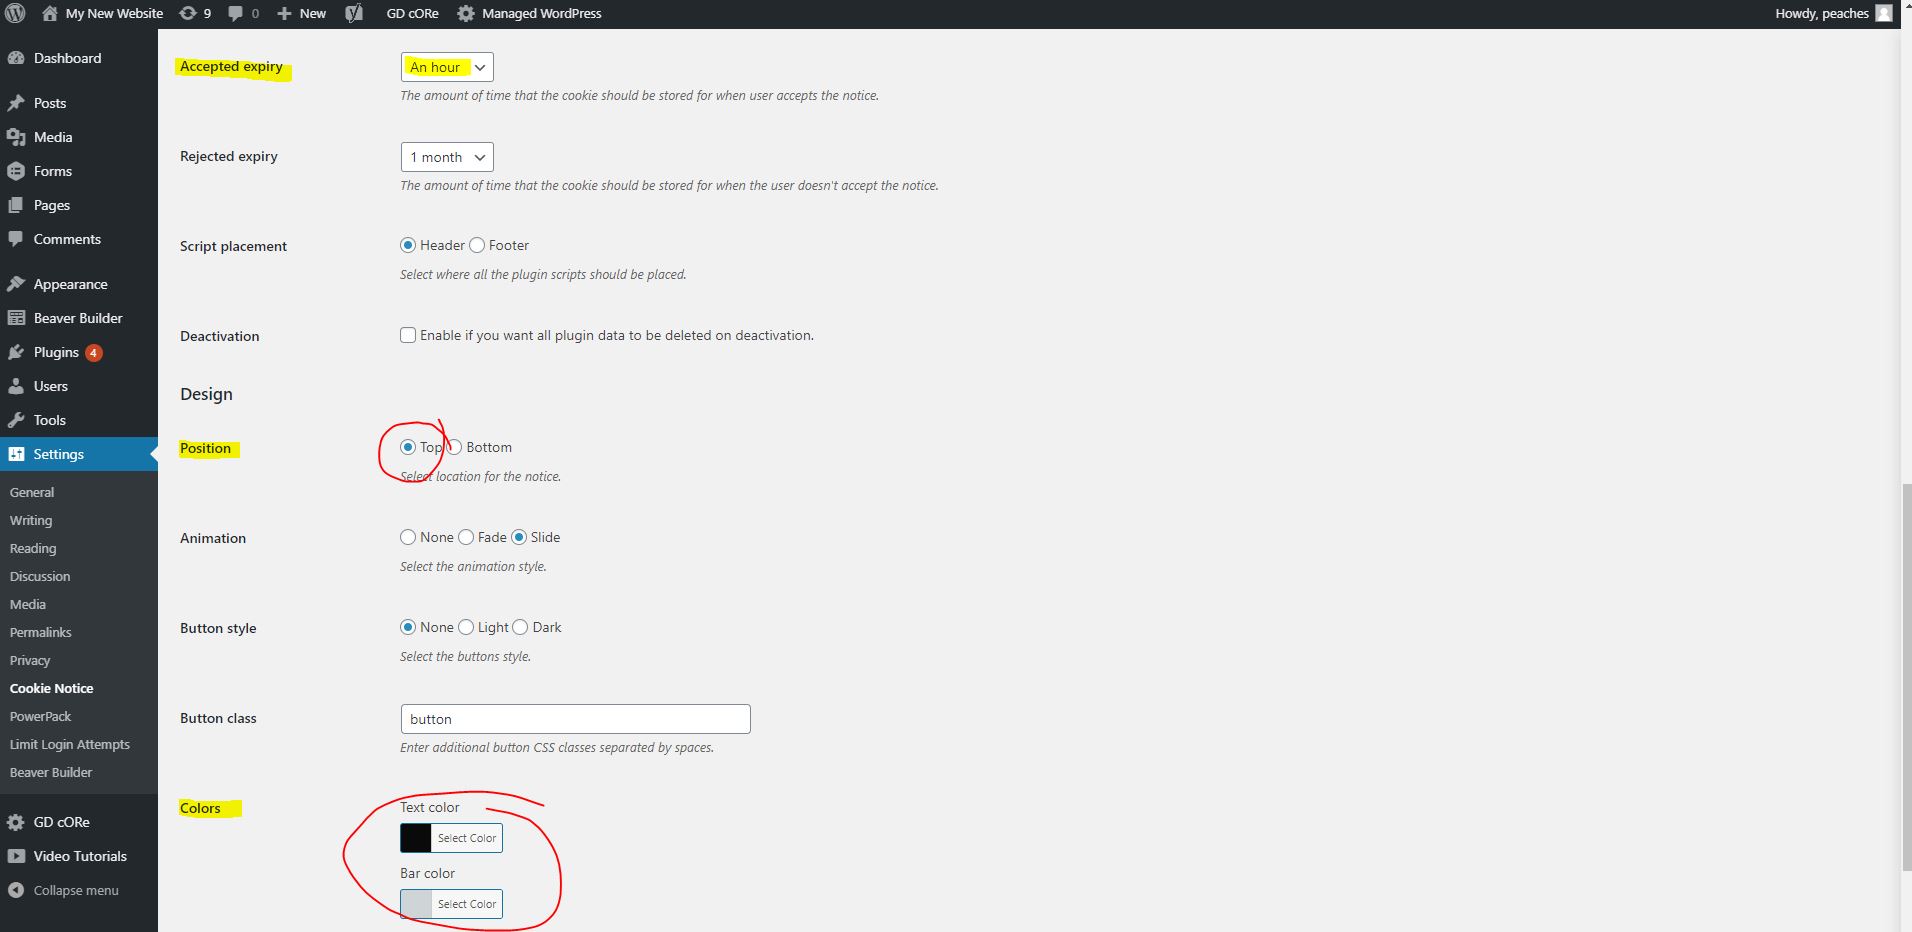
Design
- Position: set to “top”
- Animation: use your discretion
- Button style: use your discretion – since button class is applied to this, if the site accent color for links/buttons clashes with the bar, choose between the “none,” “light” or “dark” options depending on which one stands out the best
- Button class: optional – you can change the class to something specific if you’d like to apply styling to it for any reason, else leave it as is
- Text Color: #000000
- Bar Color: #cfd4d6

Add the following CSS snippet
Go to customizer > additional CSS
Paste the following snippet into the CSS panel and publish – this snippet’s purpose is to stop the banner from stretching all the way from one side of the screen to the other:
/*---css styling to limit the width of the banner---*/
.cookie-notice-container {
    width: auto;
    max-width: 1100px;
    margin: auto;
}
Feel free to adjust the max width value “1100px” to match the global content width value of the website if you changed the default 1100px to something else e.g. 1250px, 1180px, etc.
Its important to note that unlike the beaver builder announcement banner that pushes the header below itself, the cookie banner will overlay the header. This is not wrong and is not an issue, its just the difference in how one works vs the other.
If a customer wants the beaver builder version of the banner, this is not possible in Genesis, and they will have to upgrade to V3. If applicable, make sure to disable sticky header if you notice it interfering with the banner, but notate that you did this and why.
Banner FAQs
Question: In cases where the content provided is too long and has multiple break lines, will it be okay to remove the spaces and adjust the text to display inline to lessen the banner height?
Answer: Yes, you can remove line breaks – that will work. However, you may encounter even longer paragraphs or a customer coming back saying that they actually want line breaks. In such cases, do the following:
- Create a page and put their long paragraph in a textbox on the page
- Then in the announcement banner put a line that says something like “Our response to COVID-19” OR use the first sentence of their paragraph followed by ellipses “…” Whatever is relevant to the information included in the message.
- Then enable link for the announcement banner and link it to the page you made with their paragraph on it.
Question: If there’s a case wherein we are asked to add a banner to a website, but there’s already an announcement banner existing on it, what actions should we take? Can we remove the existing announcement banner and replace it with the new banner instead?
Answer: Yes, you can disable the existing banner, just save the existing banner module before you remove it in case they want to put it back later. Just make sure you notate that you did this. Another option is to set their existing banner to bottom, and then set the new one to top. Still make sure you notate either way.