
How to add a custom subscription form
June 16, 2020 | Forms, Tips & Tricks, WordPress
We can now set up custom subscription forms through Gravity Forms and the Mad Mimi add on, provided the customer has GoDaddy Email Marketing (GEM) or Mad Mimi.
This should only be set this up if a customer is requesting more than the standard subscription form fields of Name and Email.
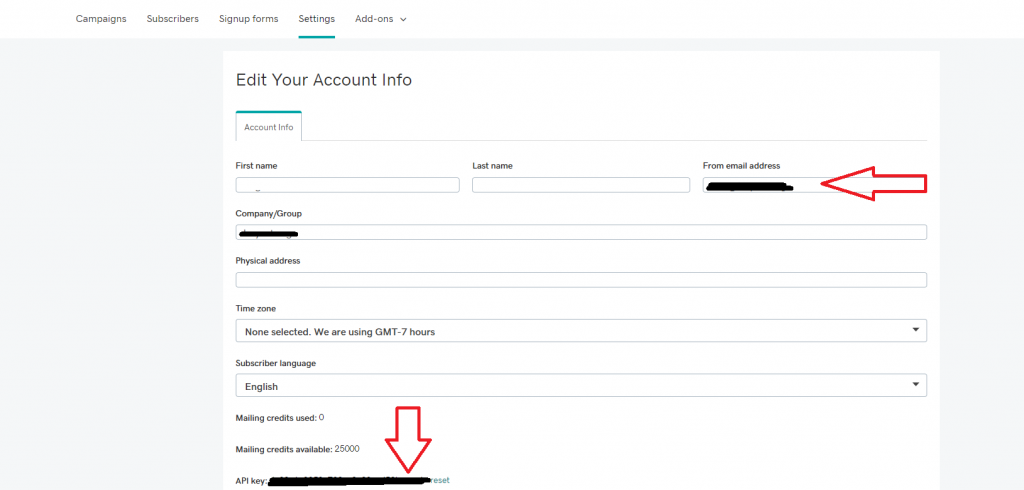
The customer MUST provide the Email associated with the email marketing account and the API key BEFORE we can set up the custom form.
The email and API key for GEM can be found in the Settings tab of the GEM account:
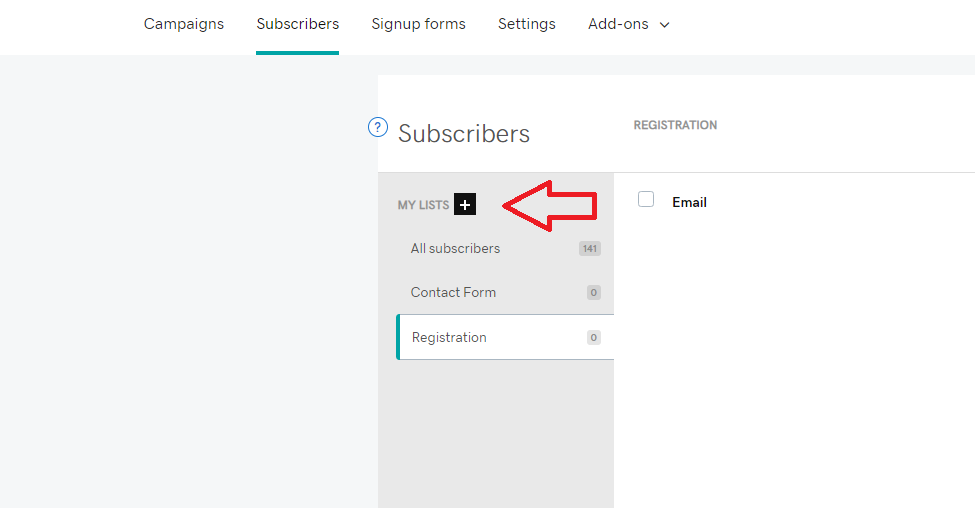
They must have a list set up in the GEM account for us to connect to:
Install Mad Mimi:
Follow the documentation to install the plugin here: Mad Mimi
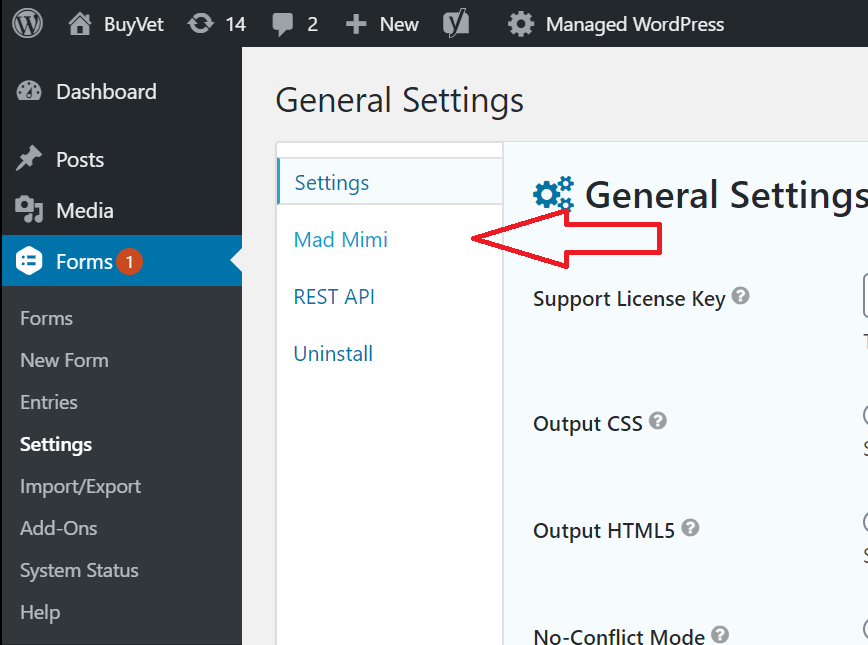
Once the add on has been installed and activated, you need to add the email and API key.
In the WordPress dashboard > hover over forms > Click on Settings > Click on Mad Mimi > Input email and API key > Click Update Settings
Add a New Form:
In the WordPress dashboard add a new form titled appropriately, i.e. “Discount Code Subscription” or “Registration Subscription”
Add all requested fields. Click Update.
– OR –
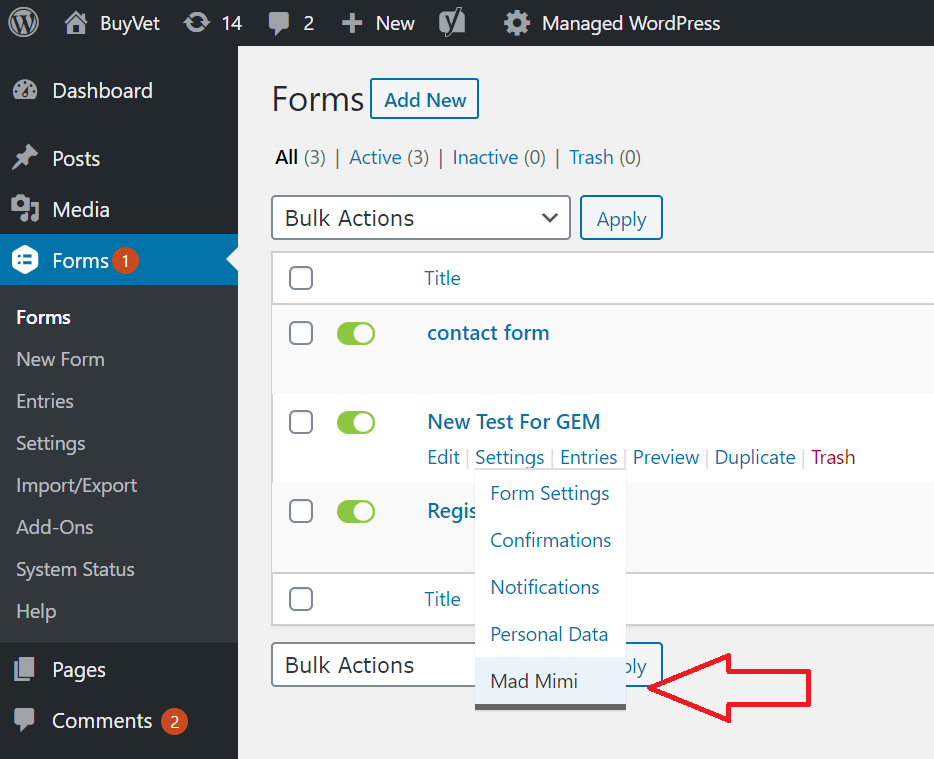
The customer may connect the subscription to an existing form.
Hover over Settings in the form > Click Mad Mimi > Click Add New
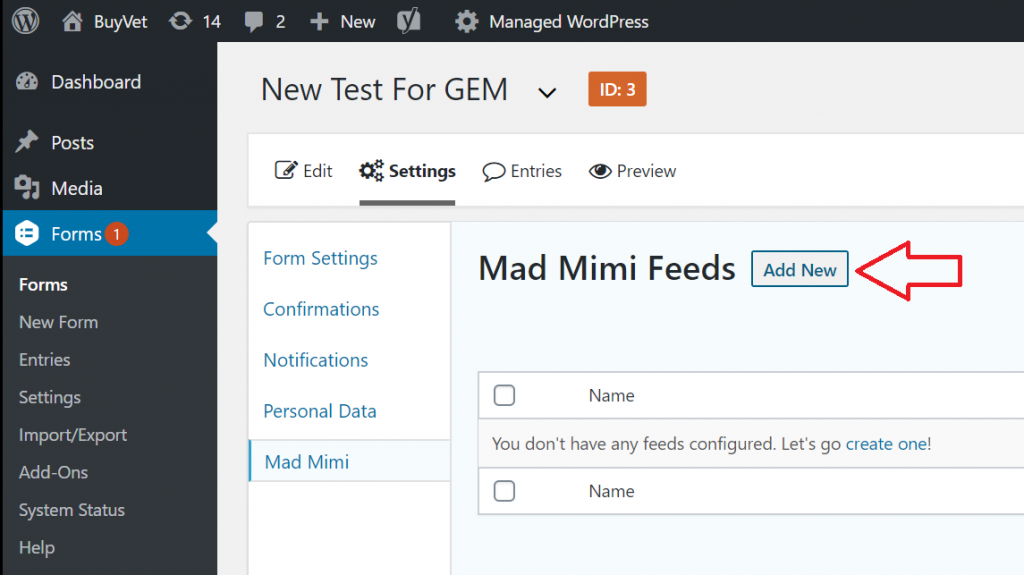
Enter a Feed Name.
Choose the list designated by the customer from the dropdown.
Assign the fields. If you need to assign a field not auto listed (i.e. a Registration ID), add it as a custom field and assign it to the appropriate field from the form.

Dont forget to click the Update Settings at the bottom of the form.
Once your form is set up, Go to wherever the customer is requesting the form be placed and add a gravity form as you normally would choosing the newly created form.