
Website Optimization
April 13, 2021 | Known Issues, Tips & Tricks, Troubleshooting, Website Care, WooCommerce, WordPress
[Estimated time: 45 minutes]
Website optimization is more important than ever for our small business customers. This post covers the steps to optimize WDS WordPress websites using WP Rocket and Smush Pro.
Website Optimization Steps:
Please complete all steps listed below before submitting for troubleshooting.
- Google Lighthouse Audit
- Update Plugins
- Update GD cORe and Install WP Rocket
- Smush Pro Configuration
- Bulk Smush
- Lazy Load
- Local WebP
- Google Lighthouse Audit
Website Optimization Goals:
IMPORTANT: Analyze ONLY for mobile, do not use desktop scores.
- 75% or higher Google Lighthouse score
- 2.5 second or lower LCP
Use the template below to record the following:
- Google Lighthouse before optimization
- Google Lighthouse after optimization
- LCP (Largest Contentful Paint) before optimization
- LCP after optimization
- On which step(s) did the issue occur?
- What was the issue?
- Reason for submitting for troubleshooting
Optimization information
Google Lighthouse Score:
Before__ After__
LCP: Before__ After__
Average time spent: __

Troubleshooting information:
List all Optimization steps completed:
On which step(s)did the issue(s) occur?
What was the issue?
Reason for troubleshooting:
Google Lighthouse Audit
Before starting optimization you need to run a Google Lighthouse Audit.
Get Started
How to Run a Google Lighthouse Audit:
- Go to the dashboard in WordPress, then select GD cORe.
- Click on Site Audit tab and click the button Generate New Report.
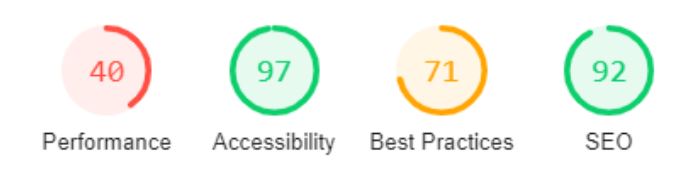
Example of a Poor Performing Site
The goal is to have Performance score above 75% and a LCP of 2.5s or less.
Update Plugins
The first step for optimizing is to update the plugins using the outlined process HERE. Out of date plugins can not only pose a security risk but can also lead to site slowness.
Update GD cORe and Install WP Rocket
The new version of GD cORe includes automation for WP Rocket to optimize files and the database. If WP Rocket is not installed or needs to be configured proceed with the steps below.
Get Started
On the WP Plugins page make sure GD cORe is on Version 3.1.1 or higher, update to the most recent version if not. Follow along with this guide if you need help updating core.
In the WP Dashboard go to GD cORe > Plugins. Find WP Rocket from the plugins list and Install (see image below).

All the settings should auto setup at this point, but if for any reason they do not please follow the guide below.
WP Rocket Settings for Improved Website Performance
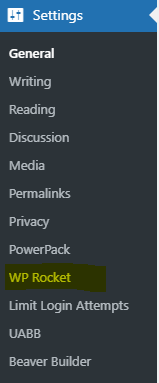
In the WordPress Dashboard hover over Settings and select WP Rocket.
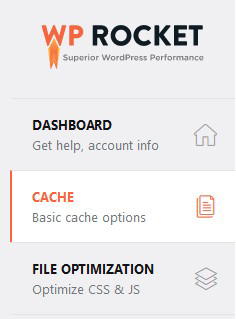
Cache
In the WP Rocket dashboard select Cache.
Select the following options under Mobile Cache:
- Enable caching for mobile devices
- Cache Lifespan – set to 10 hours
Any remaining settings should be blank/disabled.
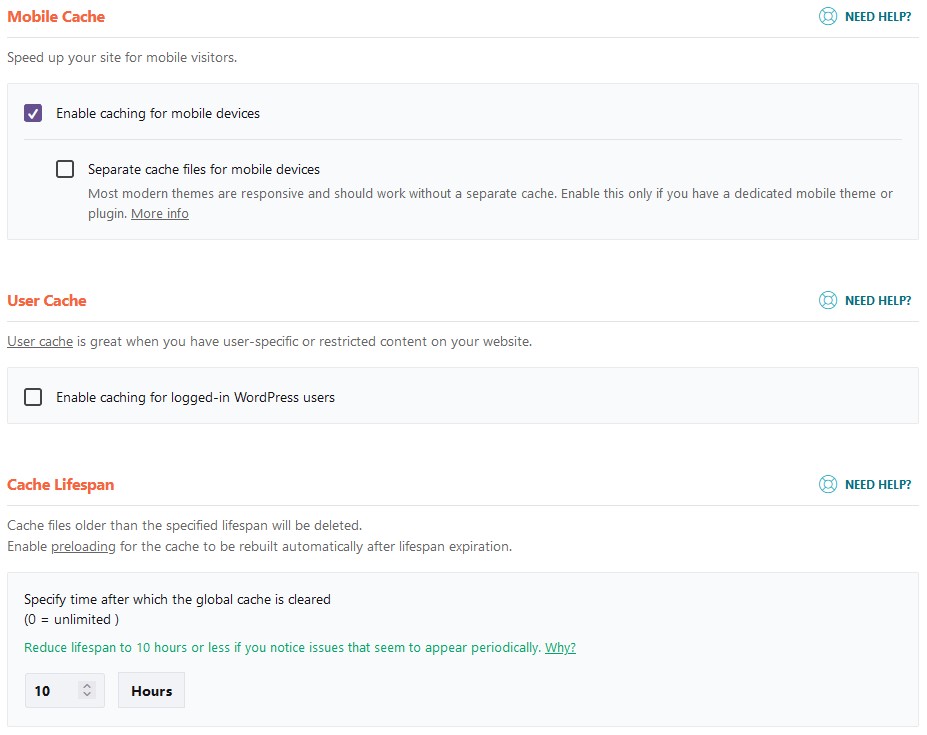
Scroll down and select Save Changes

File Optimization
In the WP Rocket dashboard select File Optimization.
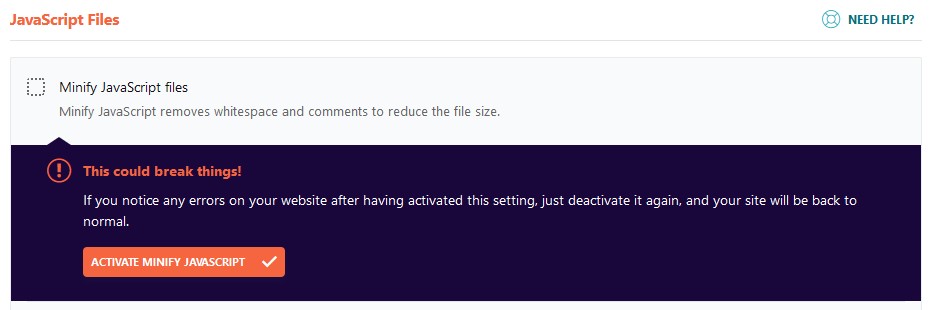
Select the following options under JavaScript Files:
- Minify JavaScript Files
- Load JavaScript deferred
- Delay JavaScript execution
Click through any warning boxes
Any remaining settings should be blank/disabled.
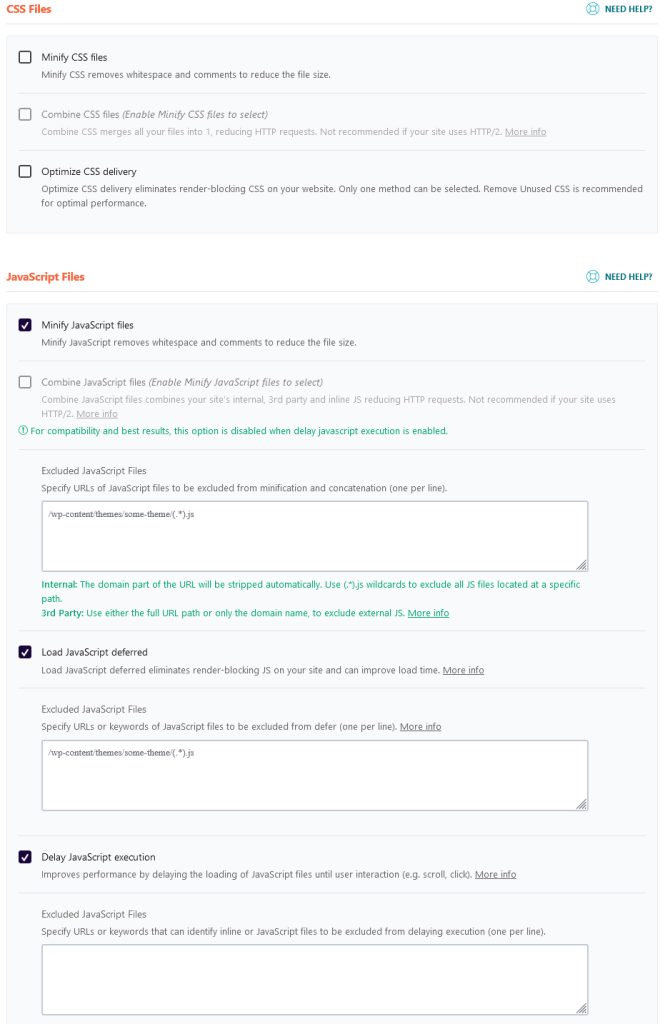
Scroll down and select Save Changes
Media
Select the Media tab and update the following:
Under Image Dimensions select the check box for Add missing image dimensions
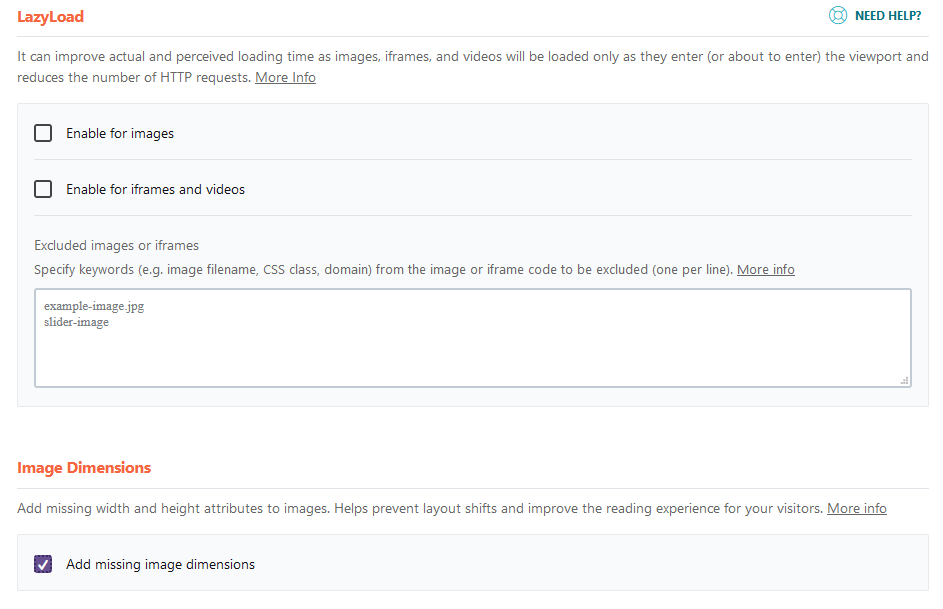
Scroll down and hit Save Changes.
Preload
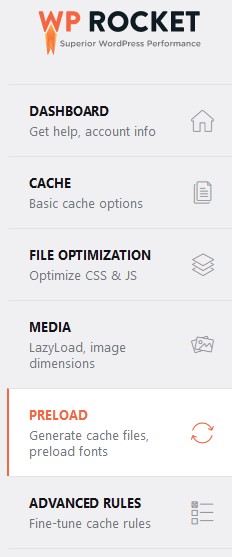
Select the Preload tab and select the following:
- Activate Preloading
- Enable link preloading
Any remaining settings should be blank/disabled.
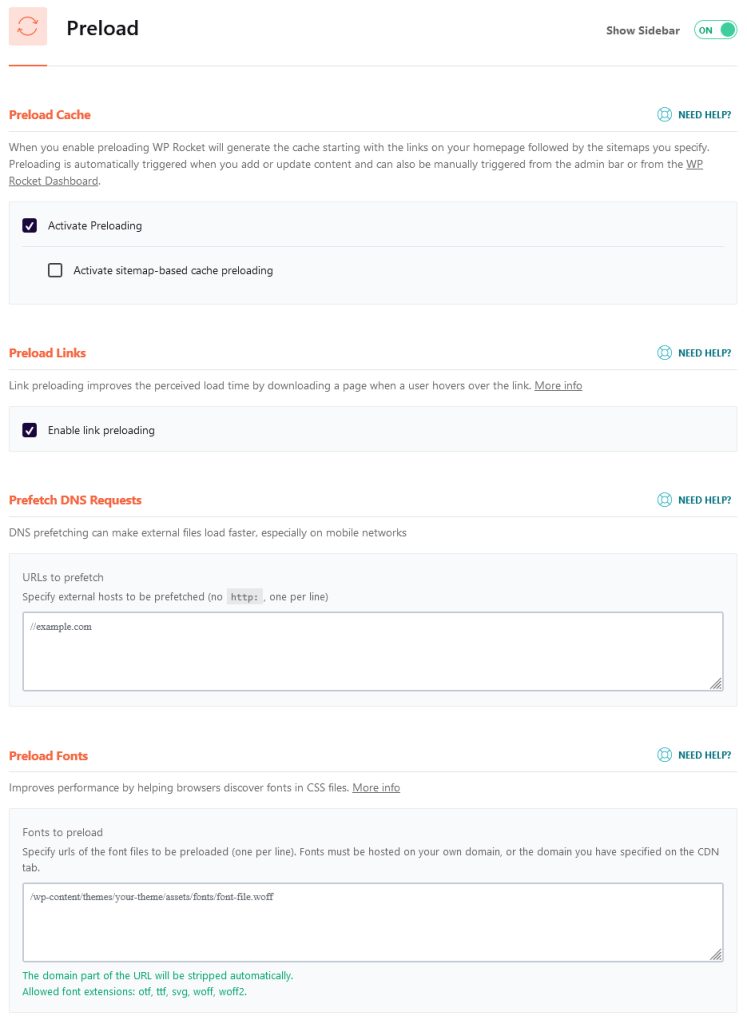
Scroll down and hit Save Changes.
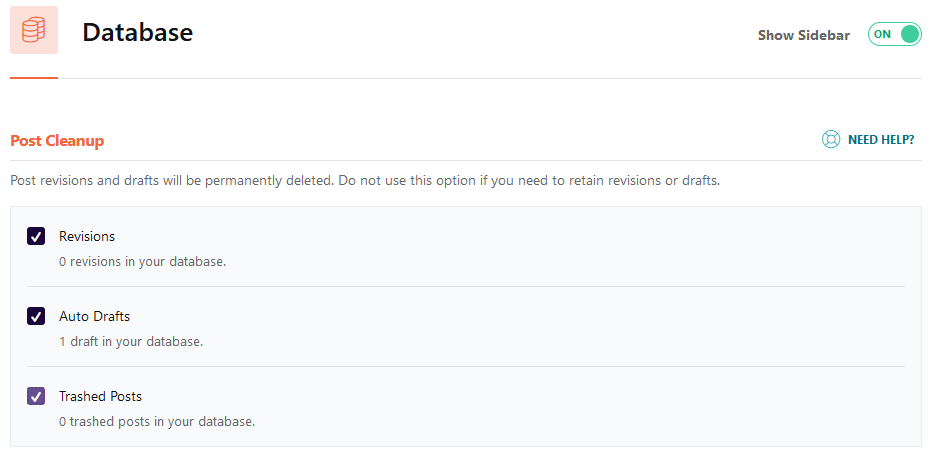
Database
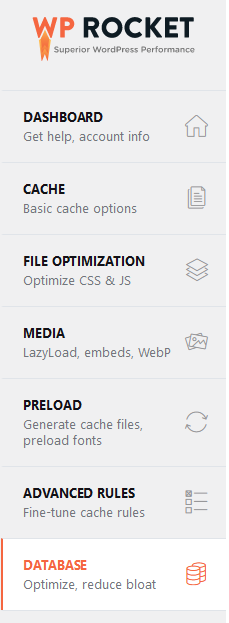
Finally select the Database tab and update the following:
Under Post Cleanup select the following:
- Revisions
- Auto Drafts
- Trashed Posts
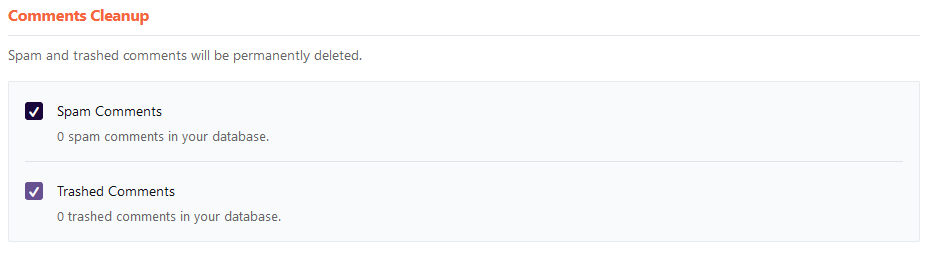
Under the Comments Cleanup section, select:
- Spam Comments
- Trashed Comments
Under Database Cleanup select Optimize Tables

Any remaining settings should be blank/disabled.
Once you have the above options selected, scroll down and hit Save Changes and Optimize

???? Flush Managed WordPress cache and GD cORE cache at this point, then verify that site is working properly before moving to the next step.
Smush Pro Configuration
Before getting started make sure WMPU DEV Dashboard is activated under GD cORe

Bulk Smush
Get Started
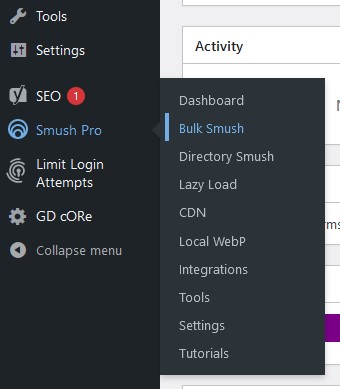
In the WordPress Dashboard go to Smush Pro > Bulk Smush.
You may see an alert that there are images that need smushing. Ignore this for now, as we’ll come back to it. We will be focusing on the Settings for now.
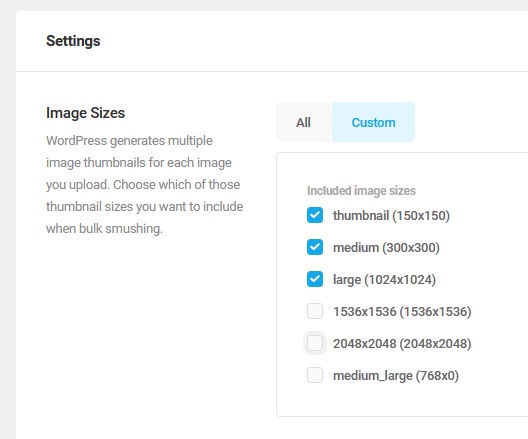
For Image Sizes select Custom and enable the following:
- thubmnail(150×150)
- medium (300×300)
- large (1024×1024)
- If any additional options are selected by default you can leave them selected, but please make sure the above three are selected as a minimum.
For the remaining settings select the following options:
- Smush Mode Compression Level is set to Ultra (Missing? See below)
- Automatically compress my images on upload
- Strip my image metadata
- Resize uploaded images (Max width: 1920, Max height: 1080)
- Compress original images
- Auto-convert PNGs to JPEGs (lossy) (Missing? See below)
Any remaining settings should be blank/disabled.
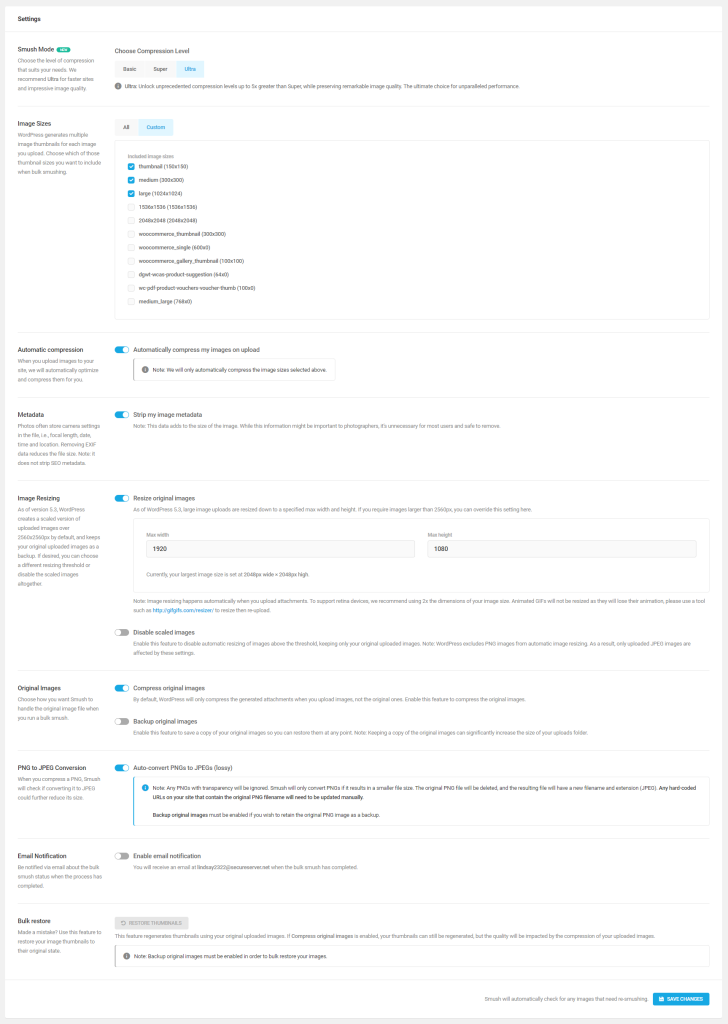
Scroll down and hit Save Changes.

Missing options?
If you are missing options listed above (such as Super Smush) then you will need to refresh the WPMU DEV token to reactivate Smush Pro features.
1) From the sidebar hover over GD cORe and select GD cORe
2) Click “Refresh” next to Refresh WPMUDEV token
You should now have the missing options available to you. If not, please open a technical clarification.
Lazy Load
Get Started
Select the Lazy Load tab.
Under Media Types select:
- .jpeg
- .png
- .webp
- .gif
- .svg
- iframe
- If any additional options are selected by default you can leave them selected, but please make sure the above are selected as a minimum.
Under Include/Exclude select:
- Frontpage
- Blog
- Pages
- Posts
- Archives
- Categories
- Tags
- Templates
- If any additional options are selected by default you can leave them selected, but please make sure the above are selected as a minimum.
Under Scripts set the Method to “Header”
Any remaining settings should be blank/disabled.
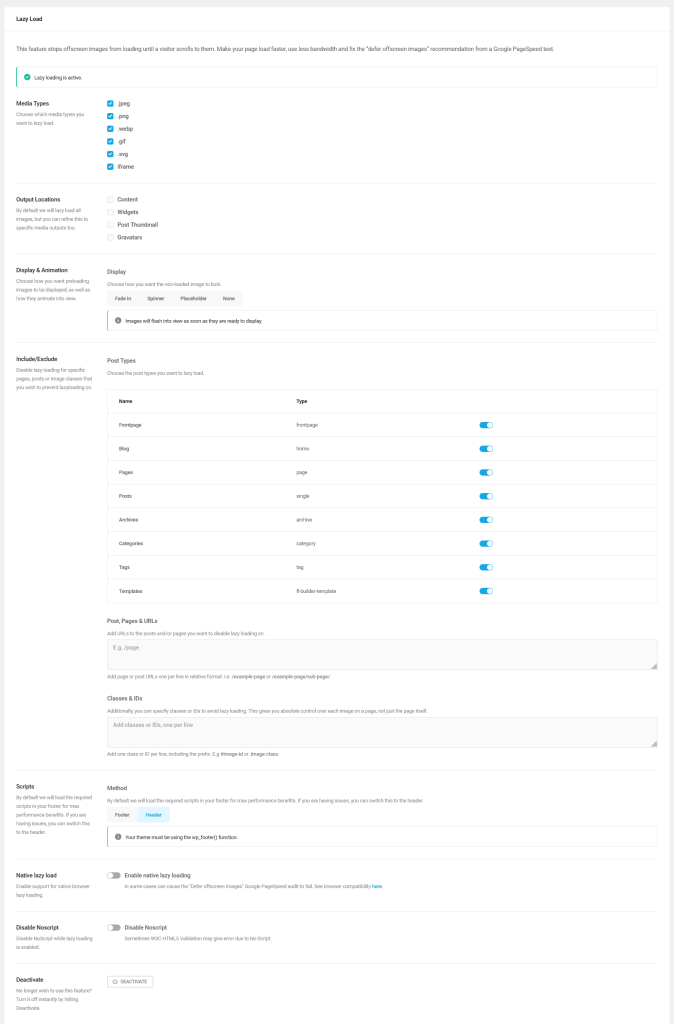
Scroll down and hit Save Changes.
Local WebP
Get Started
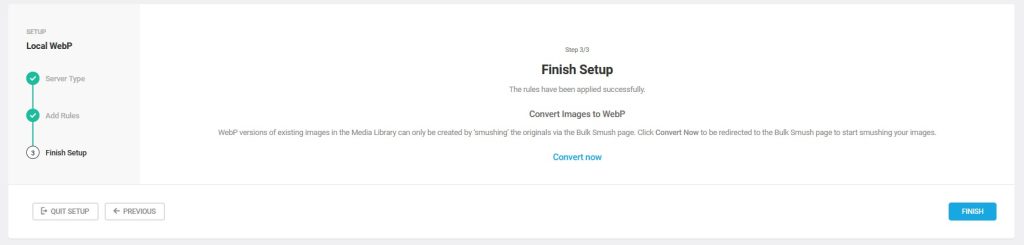
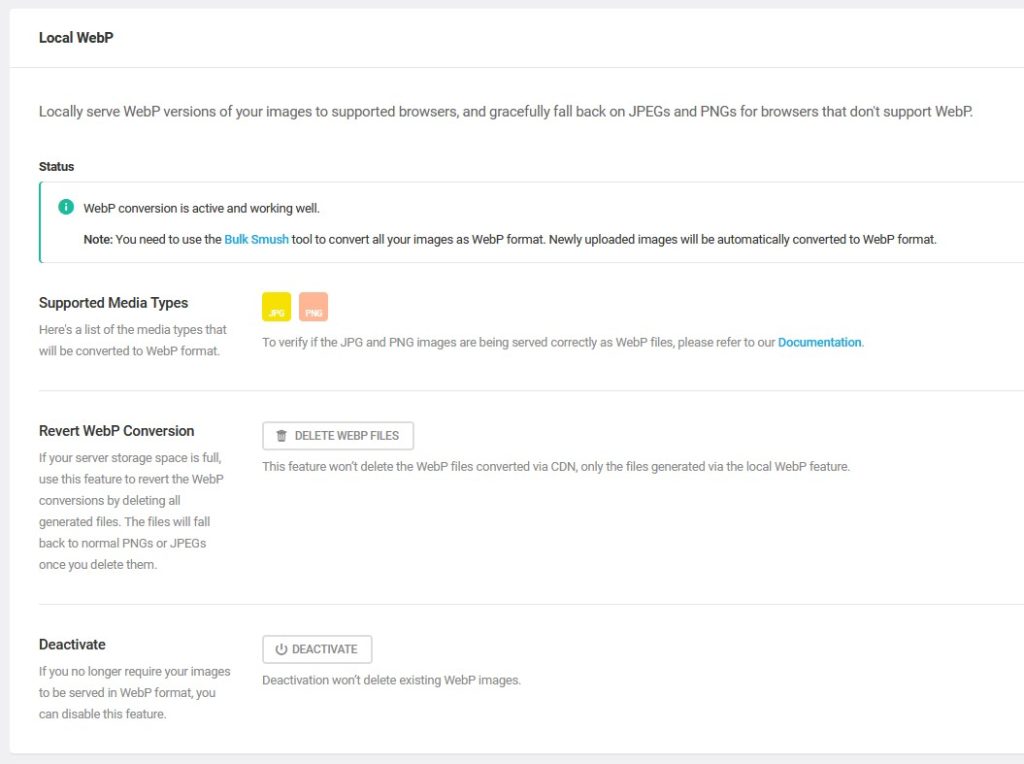
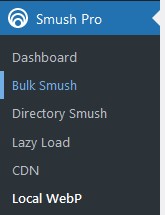
Select the Local WebP tab
If GD cORe automation ran successfully then Local WebP should already be functional and you should get a screen that looks like one of the following:
Return to the Bulk Smush page by selecting the Bulk Smush tab
Click the Bulk Smush Now button

Local WebP Not Working?
When Local WebP is not functional it can usually be fixed by uninstalling the plugin and reinstalling it through GD cORe to trigger to setup automation to run. Try the following steps:
1) Make sure GD cORe is up to date. Some versions of GD cORe (previously PWS Core) may not prompt you to update the plugin, so please make sure your site is running GD cORe 3.6.0 or later to get the automated Smush Pro setup. The latest version of GD cORe is available on the Vendor Package Builder: https://vpb.pws.godaddy.com/
2) Uninstall Smush Pro
3) Clear Managed WordPress cache by selecting Managed WordPress -> Flush Cache from the admin bar
4) Use GD cORe to install Smush Pro again
5) Clear Managed WordPress cache by selecting Managed WordPress -> Flush Cache from the admin bar
6) Return to Smush Pro -> Local WebP
Local WebP should be functional now. If so, you’re done!
If Local WebP is not working after following these steps please open a Technical Clarification.
???? Optimization steps are now complete.
Please clear the cache in the following order then proceed to step 5:
1) Beaver Builder Cache: From dashboard navigate to Settings → Beaver Builder → Tools → Click ‘Clear Cache’ button
2) Managed WordPress Cache: From dashboard hover on Managed WordPress in the top admin bar and click ‘Flush Cache’
3) WP Rocket Cache: From dashboard hover on WP Rocket in the top admin bar. Click ‘Clear Cache’
Run Google Lighthouse Audit
Get Started
How to Run a Google Lighthouse Audit:
- Go to the dashboard in WordPress, then select GD cORe.
- Click on Site Audit tab and click the button Generate New Report.
Example of a Poor Performing Site
Again, The goal is to have Performance score above 75% and a LCP of 2.5s or less.
???? If a poor score is still being reported from Google Lighthouse, or if any issues arise during the optimization process, please proceed with submitting for further troubleshooting.
Be sure to notate the exact step(s) where the issue(s) occurred and record the scores and notes on the provided template.