
This is a mandatory process for all incoming tickets.
Not to be confused with the user emails, the WordPress admin email lives in a separate area of the dashboard under Settings. The admin email is what WordPress will use for any website update information as well as any settings directing to the admin email (like forms).
Please follow the steps outlined below to check and update this email from the default.
Check
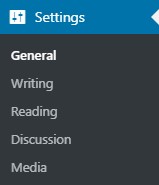
Your first step should be to check the admin email. In the WordPress dashboard, go to the Settings menu in the black menu bar on the left hand side.
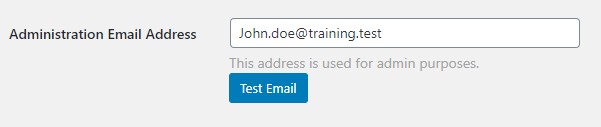
If the Administration Email Address is set to pwsadmin@godaddy.com please proceed to the next steps.
If this is anything else, do not make any further adjustments

Install Change Admin Email Plugin
Go to the plugins page and click the add new button.
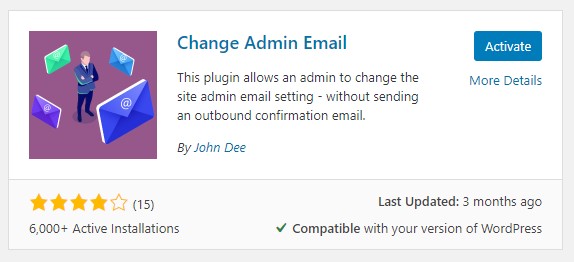
In the search field type in “change admin email”.
Look for the correct plugin by John Dee, and click “Install Now”.

Once it has finished installing click the “Activate” button.
Change the Admin Email
After the plugin has been installed and activated, go back to the Settings menu as before.
In the DCT Use the “Business email?” under the “About Your Business” section. Update the Administration Email Address to this email.
Note: Do not click the “Test Email” button.

Scroll down to the bottom of the page and click the Save Changes button.
Uninstall the Change Admin Email Plugin
Once you have saved your Settings, go back to the plugins page.
Scroll down until you find the “Change Admin Email Setting Without Outbound Email” and click the “Deactivate” link.

Once it is deactivated, click on the “Delete” link

Leave a Note
Once the email has been updated and the plugin has been removed, please add a note to your ticket stating what you changed the email from and to.