How to Add a Google Map Campaign
April 12, 2022 | Customer Campaign Run Books, Tips & Tricks, Websites + Marketing, WordPress
If you get a ticket requesting to add a Google map from the email campaign please follow the steps outlined below.
Please Note: This method was chosen because it has been proven beneficial from a performance perspective, works on both WordPress and W+M, and does not require the customer to obtain Google Maps API keys.
Gather Map Image and Links
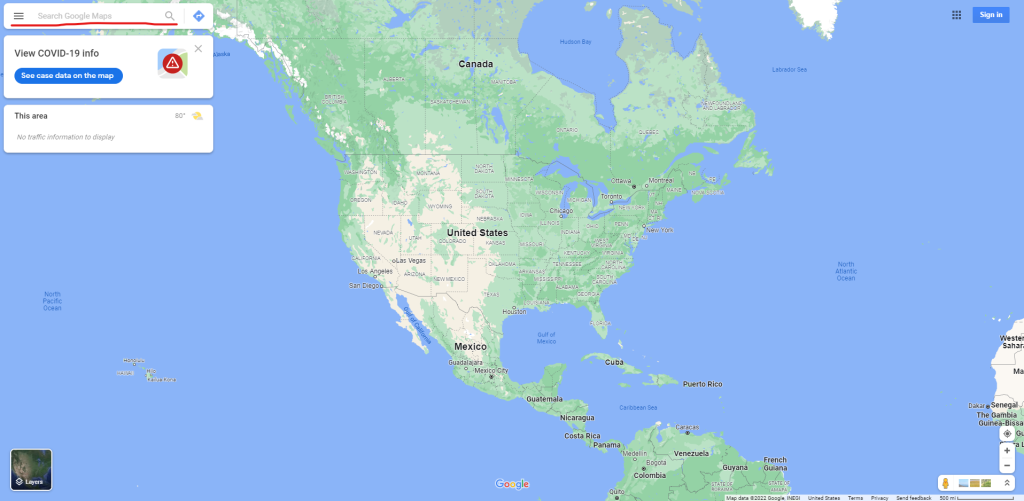
- Go to Google Maps: https://maps.google.com
- Use a private or incognito window to avoid using any potential logged in user data of your own
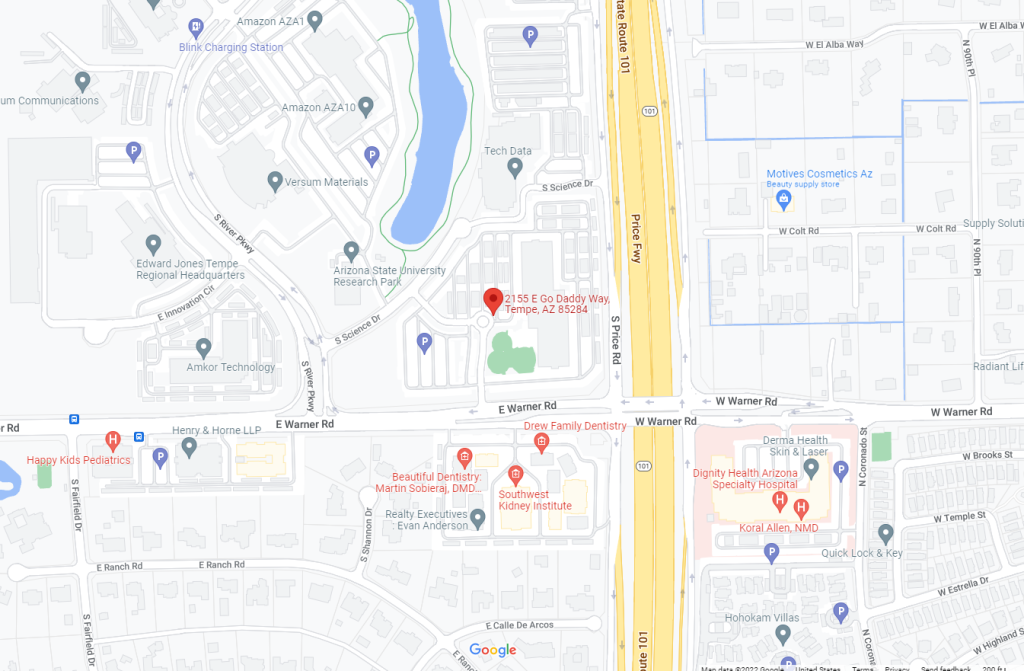
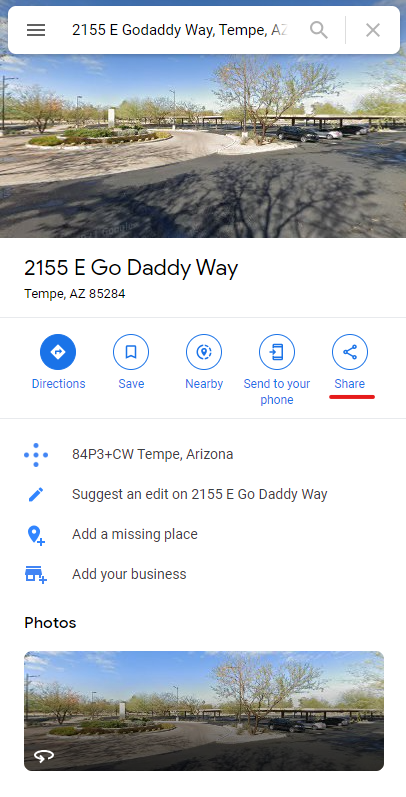
- Enter the Customer Address provided into the search box
- Take a screenshot of the location using the screenshot tool of your choosing
- Be sure to avoid any map tools
- Save the image as a jpg or png as “Location_Map”
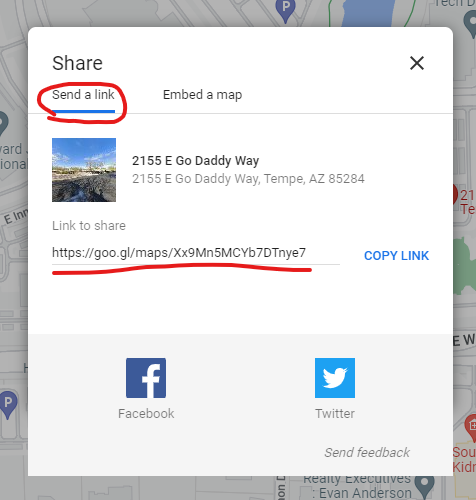
- Once you have the screenshot of the location saved, click on the Share option in the location details panel
- In the pop up, make sure the tab selected is “Send a link” and copy the link in the “Link to share” field.
WordPress
- Go to the home page of the site and look for the contact section
- If there is no Contact Section on the Home Page, add to the Footer Contact Info
- If there is no Footer Contact Info, add to the Contact Page
- If there is no Contact Page, Create a contact page
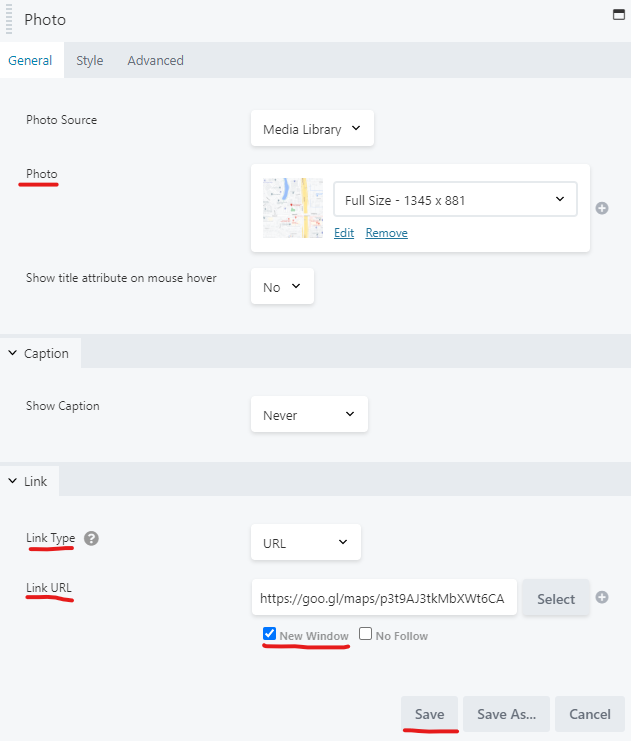
- Open Beaver Builder
- Add a standard photo module to the section in an appropriate place
- On the general tab, choose Select Photo and upload the screenshot “Location_Map” from Step 3 in the “Gather Map Image and Links” steps
- On the general tab you will also scroll down to the link section and choose URL from the Link Type drop down
- In the Link URL field enter the copied share link from Step 5 in the “Gather Map Image and Links” steps
- Check the New Window option at the bottom
- Style appropriately and save the module
- Click done and publish
W+M
- Launch the W+M builder, go to the home page of the site and look for the contact section
- If there is no Contact Section on the Home Page, add to the Contact Page
- If there is no Contact Page, Create a contact page
- Add a new section
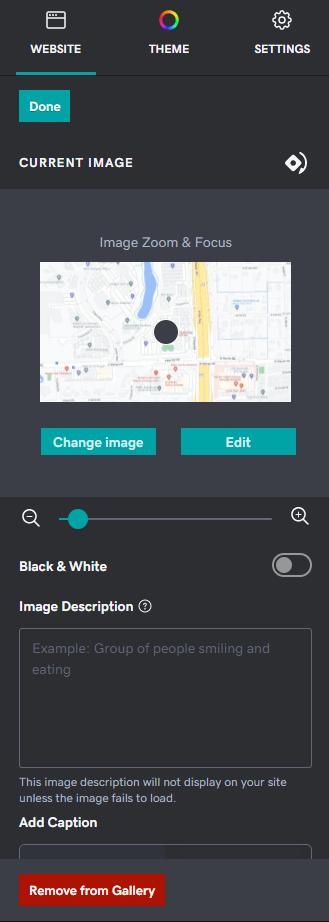
- Image Gallery > Photo Gallery > Second option down “Looks best as a divider between sections”
- Remove two of the images by clicking the image and choosing “Remove from Gallery”
- On the 3rd image, click the “Change image” option and upload the screenshot “Location_Map” from Step 3 in the “Gather Map Image and Links” steps
- Position appropriately
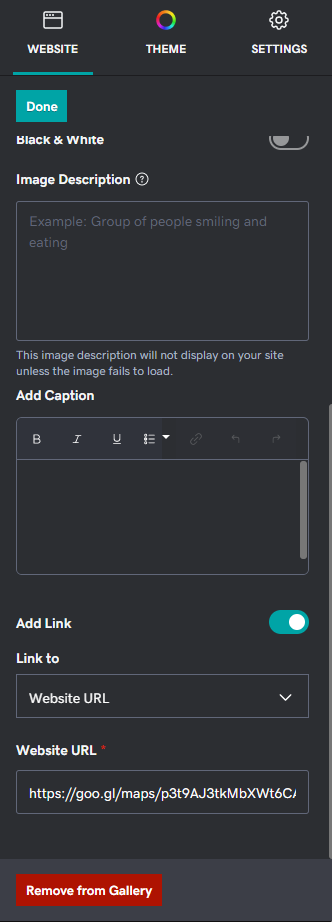
- Toggle the Add link option
- Adjust the Link to drop down to Website URL
- In the Website URL field enter the copied share link from Step 5 in the “Gather Map Image and Links” steps
- Click Done and Publish