
Using the Pre-Loaded Demo Site Templates on Pages Created with Themer
January 9, 2019 | Beaver Themer, WordPress
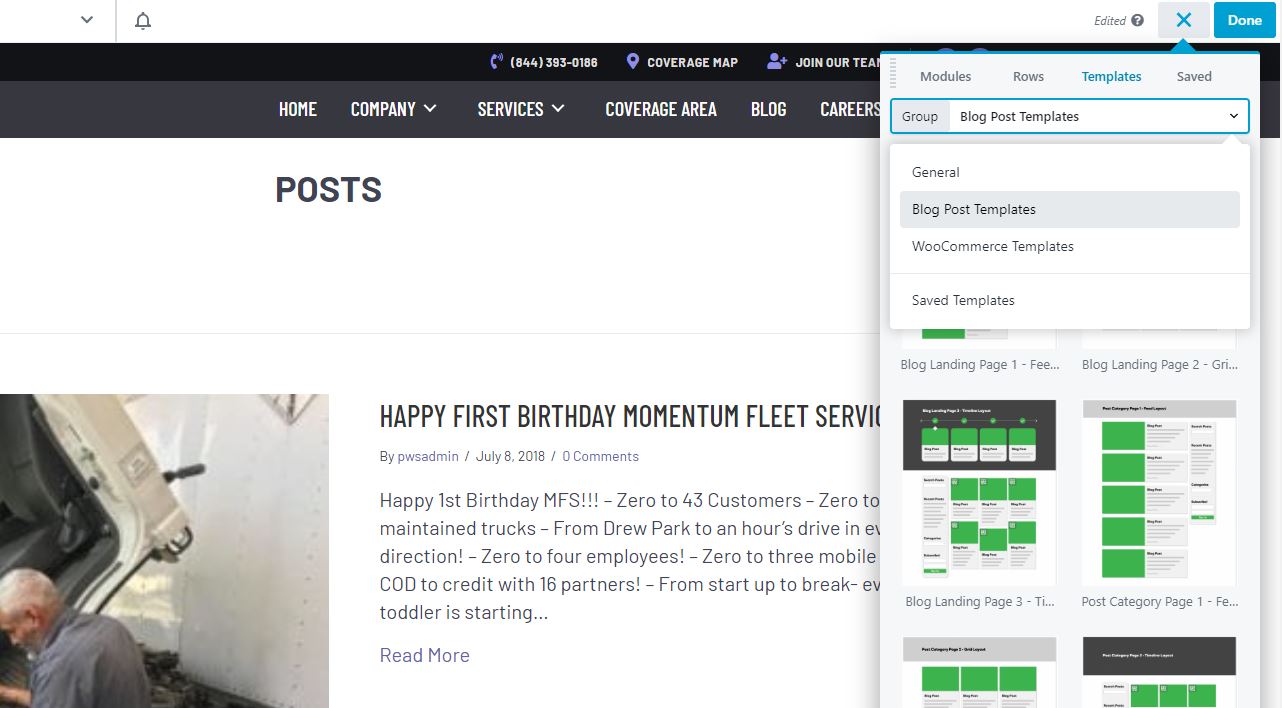
Go to top right of screen – hit plus sign > templates > from group drop down select “blog post templates” and you’ll see the layouts from demo site here.
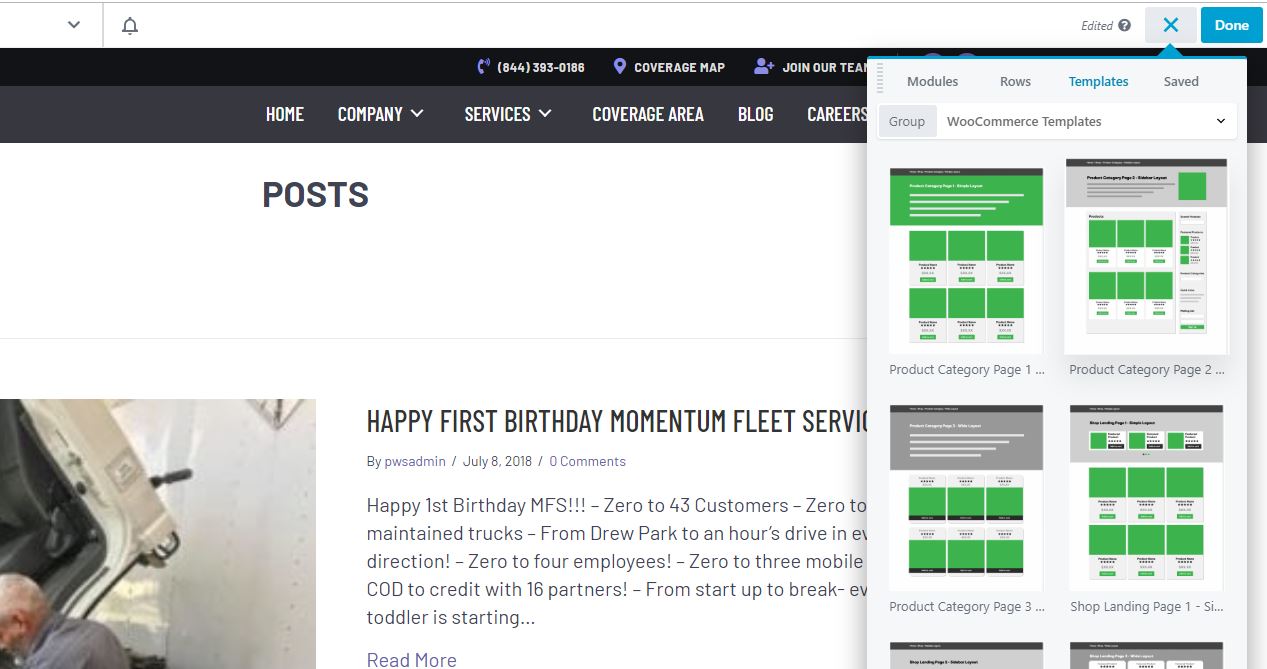
Follow the same steps as above for the pre-loaded woo templates.
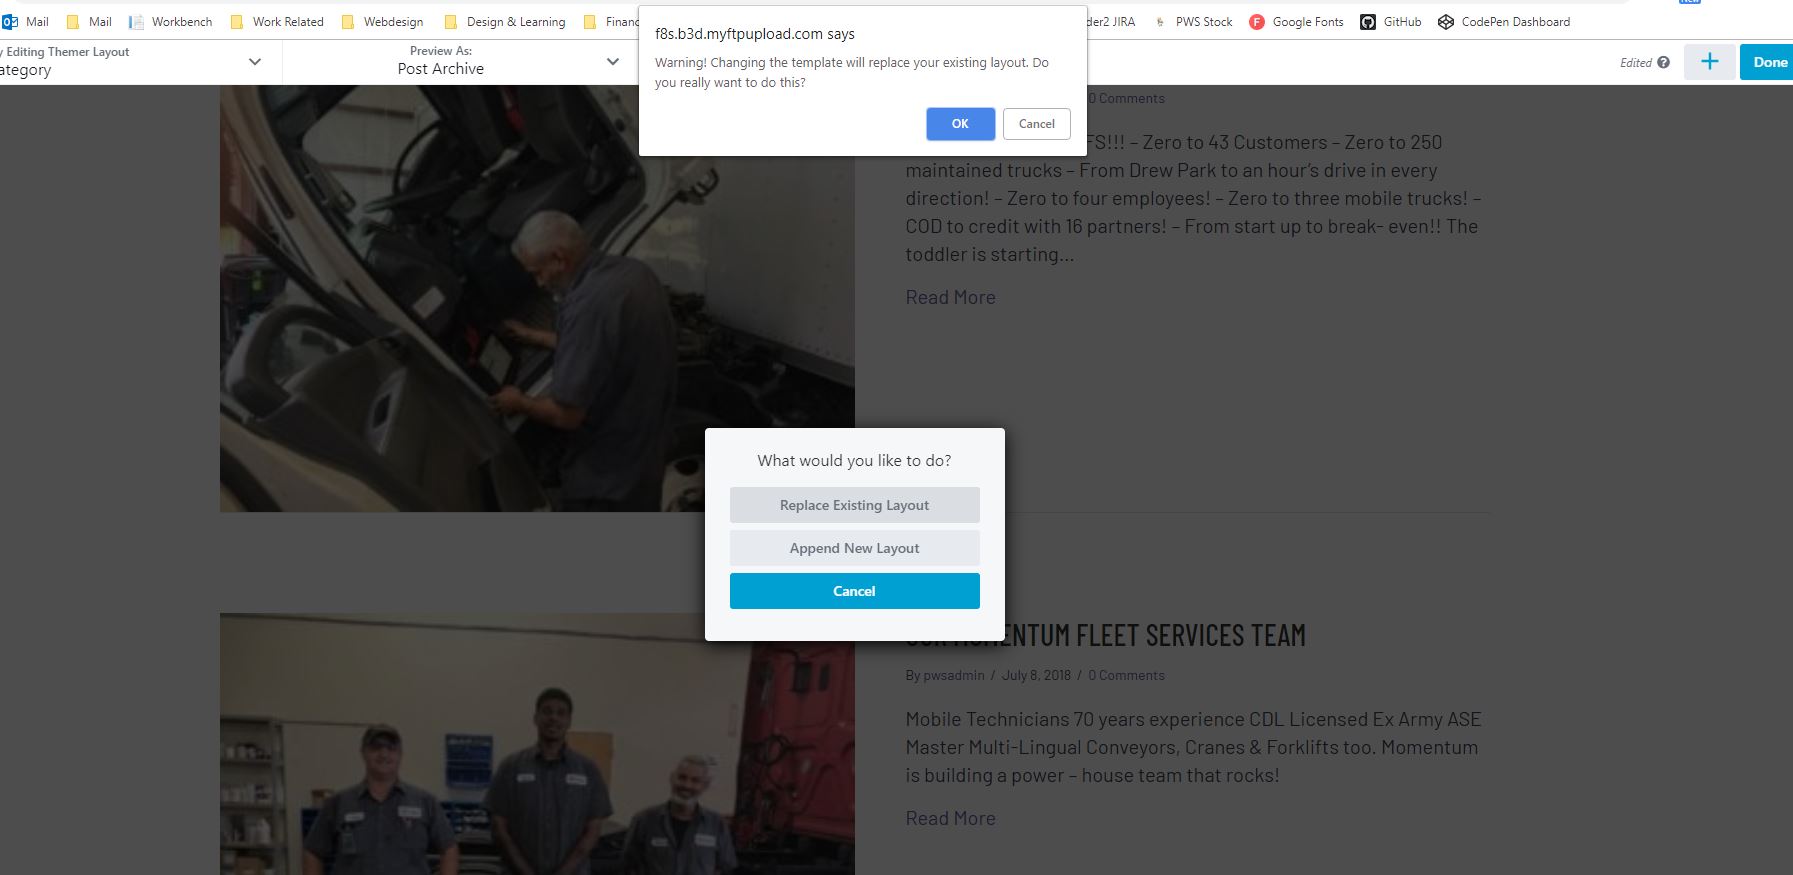
When you’ve selected a template based on what they chose in intake form, choose “replace existing layout” > hit okay
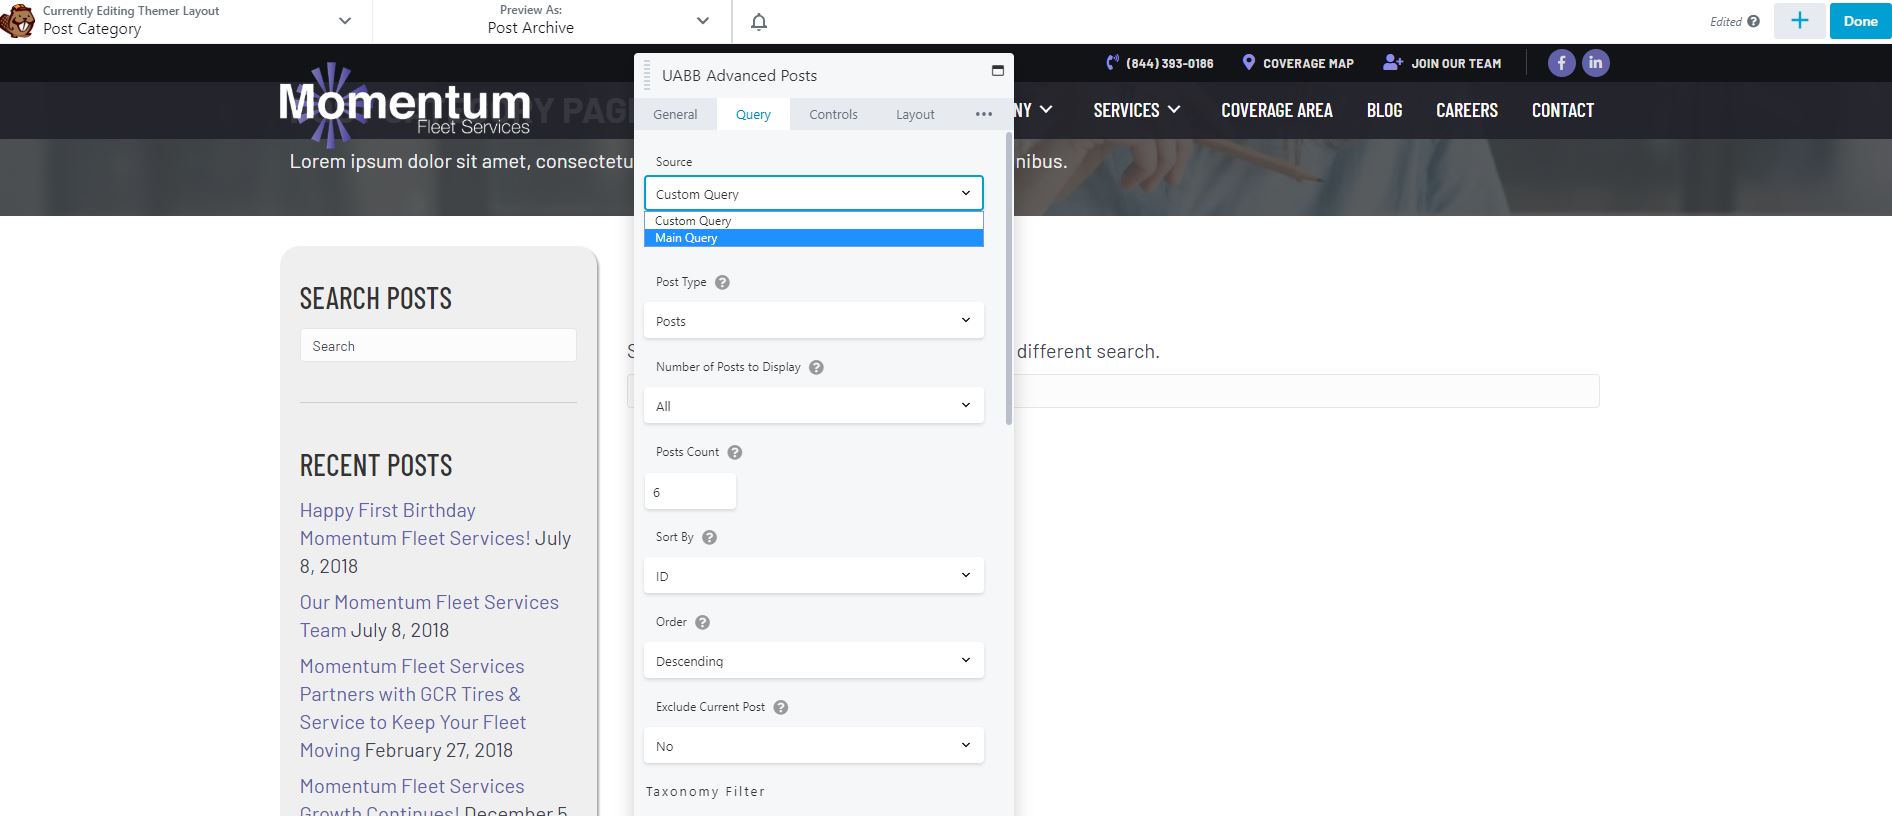
In the posts or products module on archive pages, make sure you change the content to “main query”. That way, the posts or products listed will always change based on the posts or products present within the category you’re viewing, then hit “done” and publish.
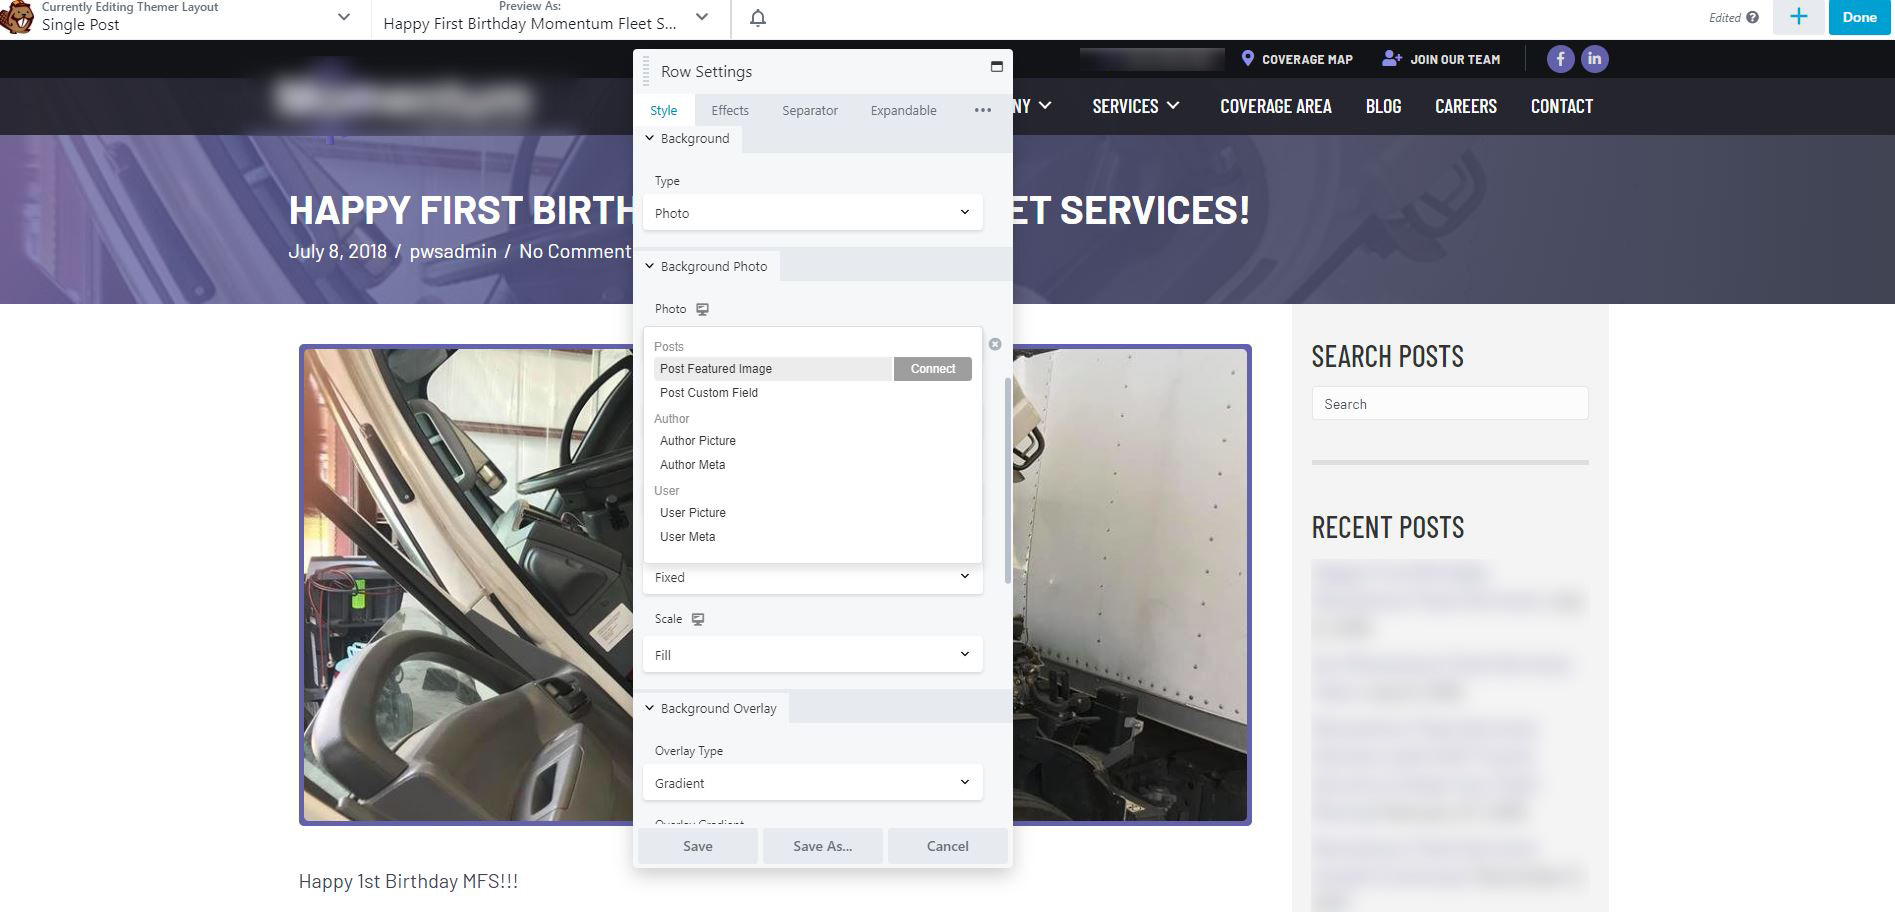
When editing a singular post/product you can use the themer functionality to assign row backgrounds to always pull the post/product image. In the row settings > go down to where you’d set the background image > hit the plus sign > “connect” post featured image to the row.
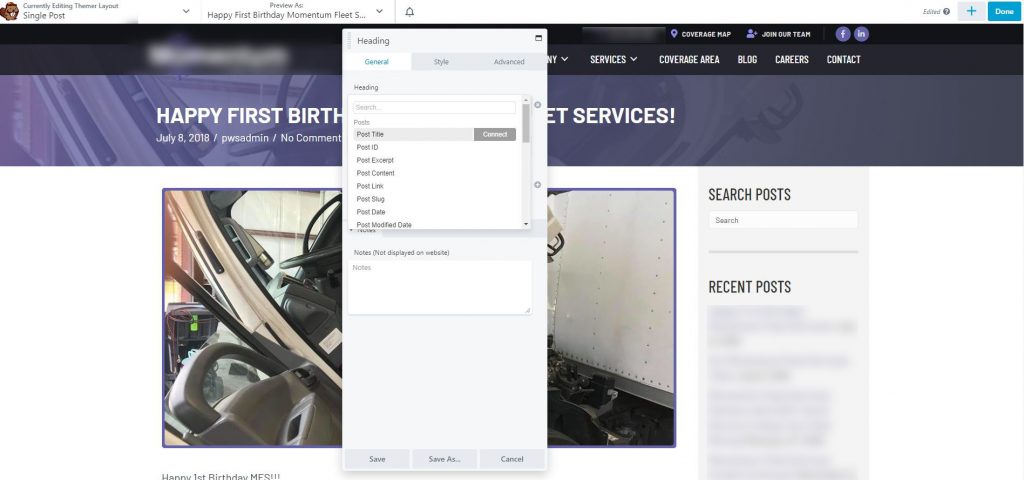
If you have a heading style you like, use that heading and then hit the plus sign and “connect” the post title so it always pulls the post/product title in that heading format for all posts/products when its published.
This is basically how themer is used to accomplish different layouts and changing the default ones we get with woo / theme to the ones chosen in the intake or seen in the demo site.
Here’s the themer knowledge base for more info: https://kb.wpbeaverbuilder.com/category/467-themer-layout-types-and-modules