
Logo/Business Name Best Practice
July 16, 2020 | Beaver Builder, Beaver Themer, Tips & Tricks, WooCommerce, WordPress
No site is complete without a logo and/or business name. Here we will discuss the best way to add this information to both the header and footer of your site.
Logos
If an acceptable logo was provided by the customer and does not require a business name, setup is fairly simple and straightforward.
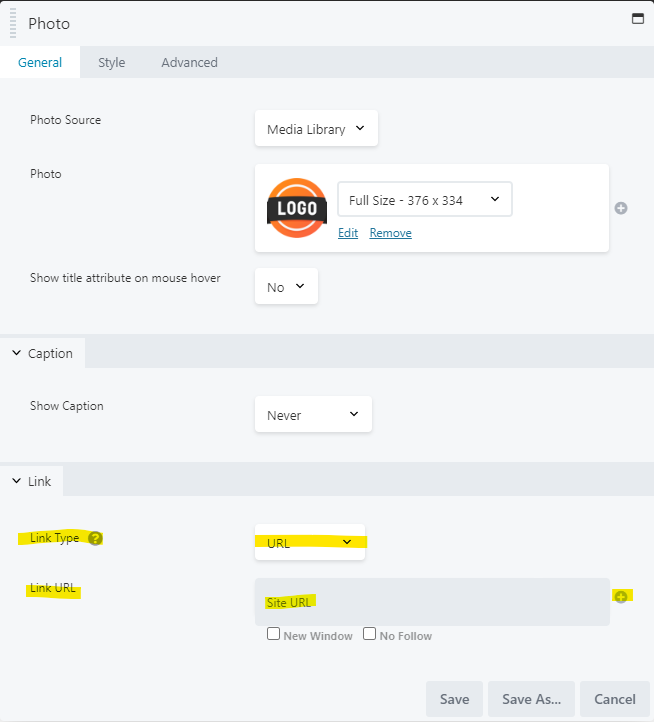
Start in the header. The standard photo module should be sufficient for this.
Upload the logo as you would normally in the media library.
Under the link settings, choose “URL” from the “Link Type” drop down. Next to the Link URL box you will see a plus sign. When you click on this it will bring up a search and a list you can scroll through. Scroll until you find the option for “Site URL” and then click on the connect button that displays on hover. This links the image to the home page of the site no matter what the domain is. Do not just copy and paste the temp domain into this field. It does not always redirect properly after the site is published.
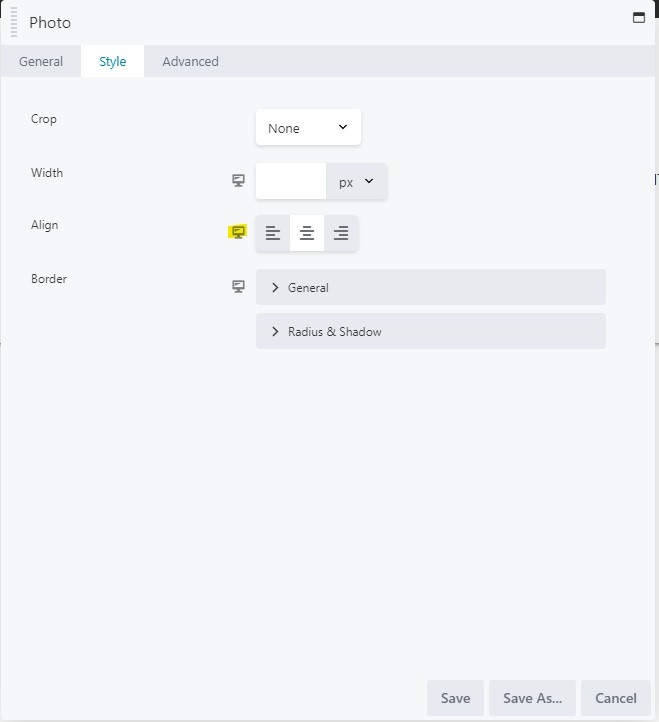
Move over to the style tab for any additional adjustments needed. Note the icon of the monitor, anytime you see this you will be able to toggle between desktop, tablet, and mobile views. Please make sure you utilize this feature before resorting to CSS for any media query adjustments.
Once you have your logo the way you want it, click the “Save As” button in the bottom of the module. Give it the name Logo. Avoid naming saved modules something only you would recognize, as we want future builders to be able to work on the site without confusion.
Now, when you work on the footer, you can easily drop the already styled module in place and adjust alignment and sizing as needed.

Business Name
With Icon:
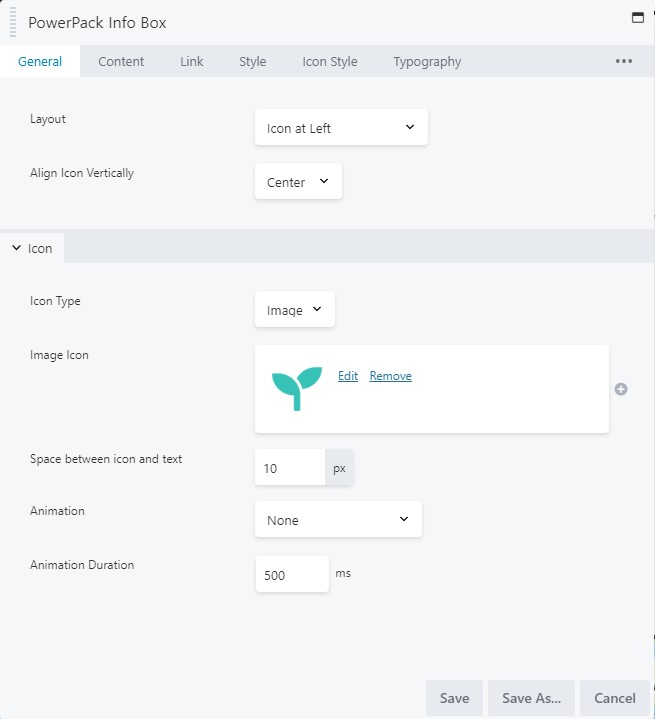
If having the business name in the header is necessary because the logo does not include it, or they did not provide an adequate logo and there is a stock icon that would fit well, use either the PowerPack Info Box or the UABB Info Box module. In this example we will be using the PowerPack Info Box. Here are some must haves while using these modules.
In the General tab of the module, you will be able to adjust you layout and icon/image. A popular choice for Business names with icons is to adjust the layout to “Icon at Left” from the layout drop down, but this is dependent on overall site design, so please use your best judgement. If the customer provided a logo, you would choose “Image” from the “Icon Type” drop down. If you have selected an icon to use, you would choose “Icon” from the drop down.
The Content tab is where we will enter the business name in the either the Title Prefix or the Title field. It is best if we use the plus sign to connect it to the Site Title rather than typing it in. If the business name ever changes or is incorrect, we would just need to adjust the customizer settings instead of in multiple places on the site. You can leave the other fields blank.
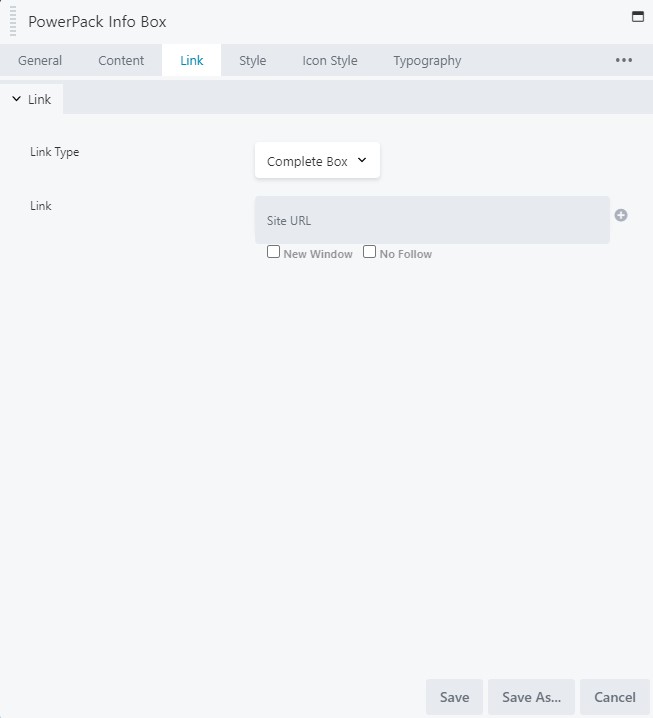
On the Link tab, choose “Complete Box” from the “Link Type” drop down. We want to make sure that no matter what part of this is clicked it will bring the user back to the home page. Next to the Link field, click the plus sign and choose “Site URL” from the list.
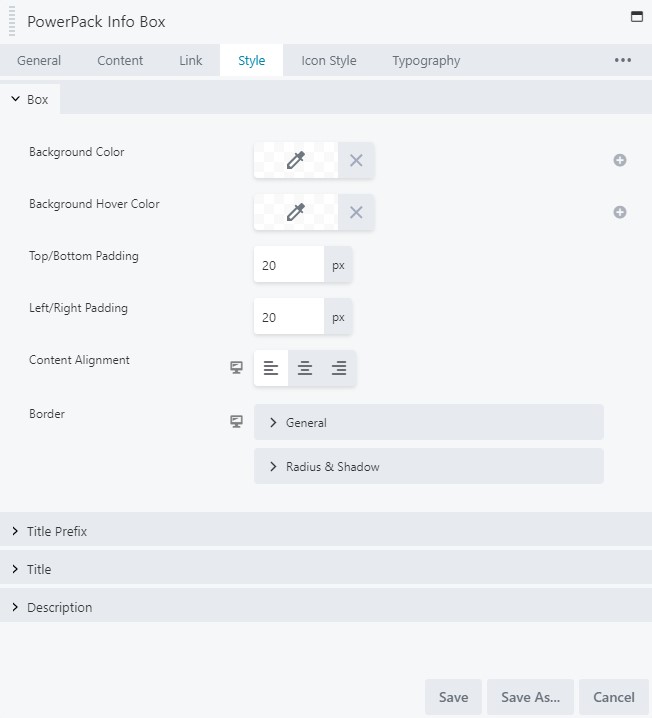
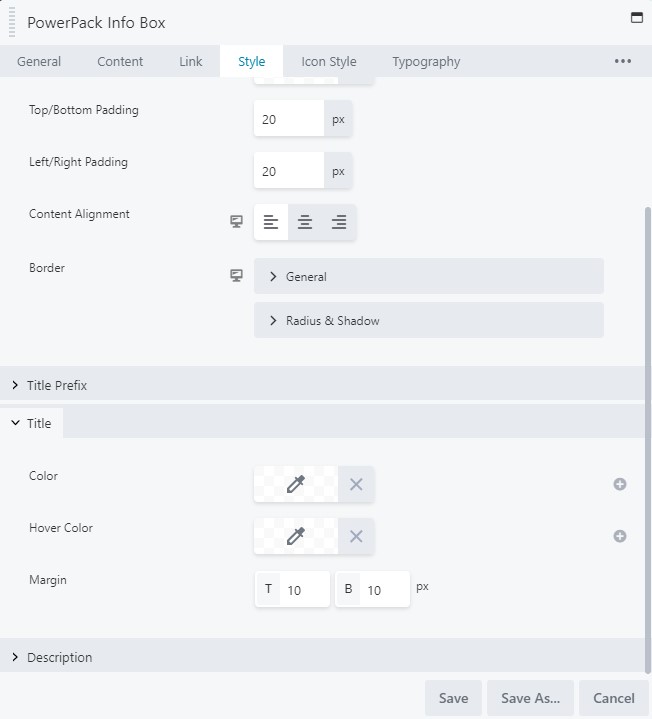
Under the Style tab, you will see settings for “Box”. These will control all of the contents of the module. The most important feature of this section is the content alignment. This dictates the complete alignment of the contents. So if you choose center, the contents will remain as they are but be center aligned. As before you will notice the icon of the monitor, dictating that these settings can be adjusted based on screen size. Please utilize this feature before resorting to CSS.
You will also be able to control the color and margins of the title prefix and title in this tab by clicking on “Title Prefix” or “Title” to expand it.
The Icon Style tab is where you will be able to customize your Image or Icon chosen in the General tab. If you chose Image you will be able to adjust the size and border only. If you chose Icon, you will see many more options available to you. Adjust at your own discretion.
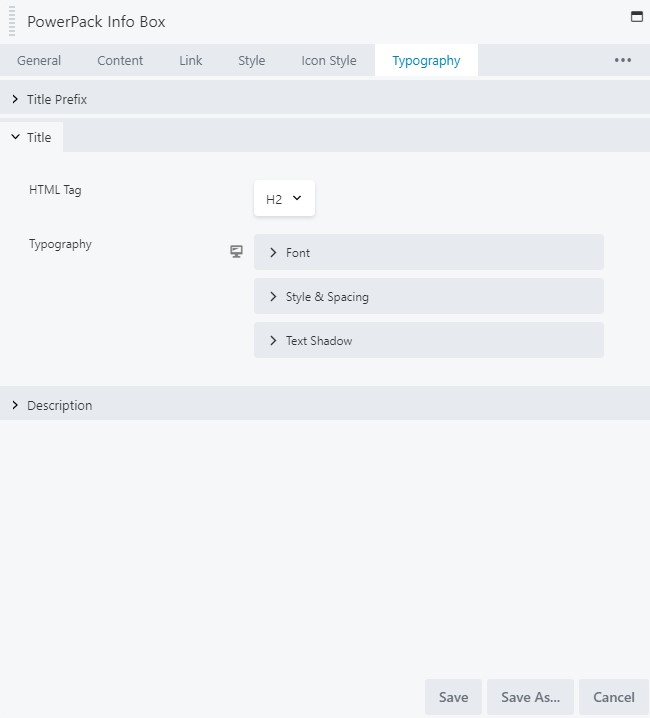
The remaining tab we will cover is the Typography tab. Make sure you are not choosing H1 for the HTML Tag, style the font accordingly, and be sure you check all screen sizes.
Once you have all of your settings in place, Click the “Save As” button and name it Business Name with Icon so that future builders can recognize what the module is for. As before, add the newly saved module to the footer as well.


Without Icon:
If no icon was provided use the above steps with either the PowerPack Info Box or the UABB Info Box and simply do not include the icon or image. Do not use a text module linking the text and using inline styling.