
How to Create a Post Using Gravity Forms
June 12, 2019 | Beaver Builder, Forms, Tips & Tricks, WordPress
You may run across a site build where the request is to automatically generate posts based on form submissions by site visitors who are not registered users. Example use cases for this can be:
- Appending testimonials or reviews to a page when a site visitor fills out a form and submits it
- Creating a public directory that adds site visitors to the list when they fill out a form
- Allowing site visitors to add their properties to a listing site by filling out a form
Example Scenario:
We’ll be using the following project to illustrate how to generate a post upon form submission: SpecialWeddingOffers.com (the site is currently being built and isn’t live yet – you don’t need to visit the site, the screenshots will visually cover everything necessary to understand the process)
Desired Functionality:
To create an automated directory of wedding-themed vendors that includes the company name, industry, location, contact information, branding and their special offers.

(a) 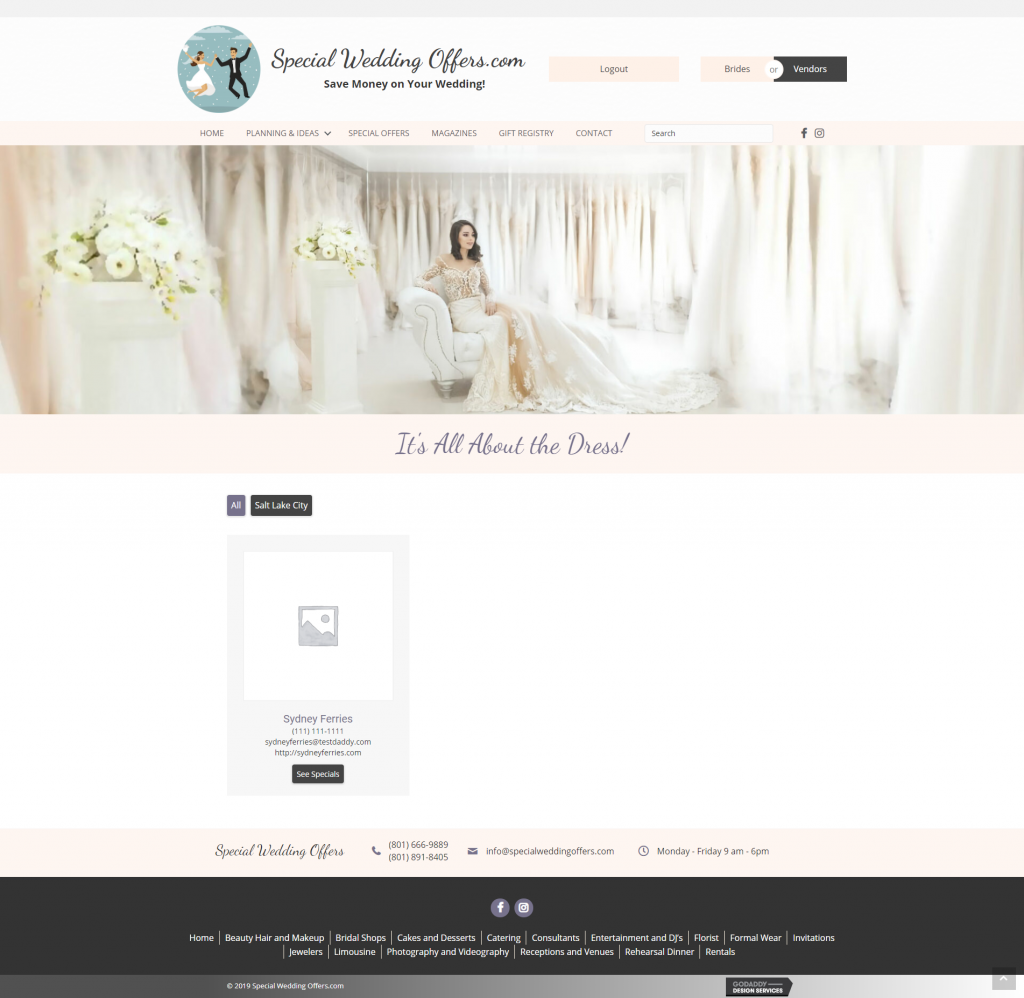
(b)
(a) The page where registration occurs
(b) The archive page where registrant information automatically appears in the form of posts
How to accomplish this:
There are three important tools involved in the process:
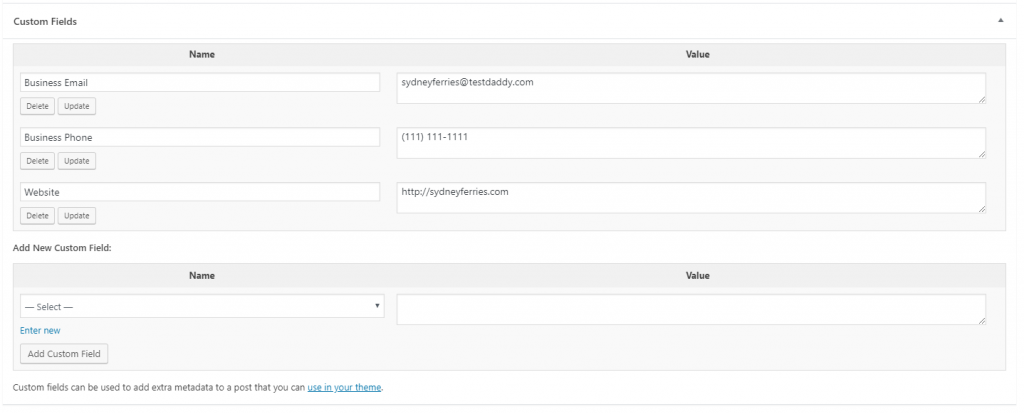
- Custom fields setup in Posts (custom_fields) – WordPress has the ability to allow post authors to assign custom fields to a post.
- Gravity Forms Post Fields (form_setup) – Post Fields allow you to add fields to your form that create Post Drafts in WordPress from the submitted data.
- Beaver Themer Shortcodes (Shortcode Index) – Beaver Themer field connections let you connect certain row and module settings to external data on your site. Field connections can be inserted directly into fields, but they also can be added with shortcodes.
custom_fields 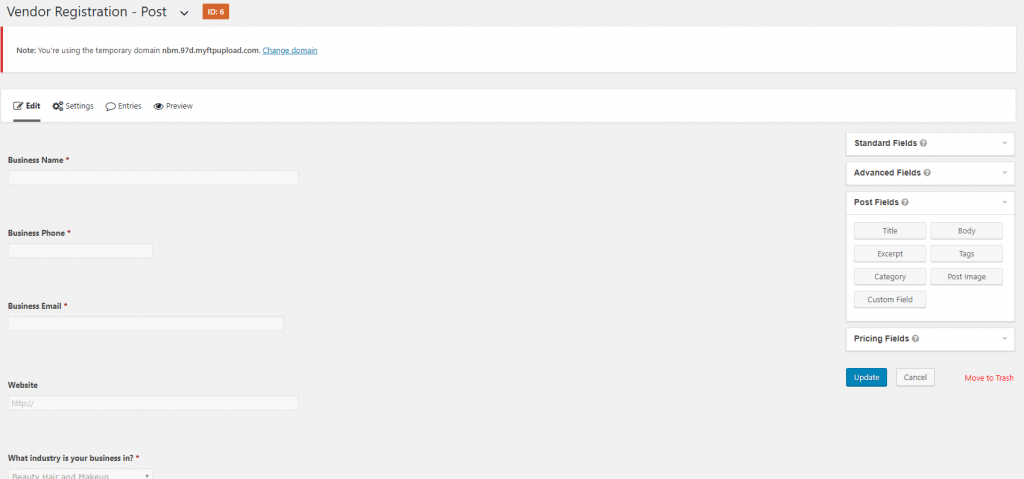
form_setup
Follow the steps below to recreate the functionality achieved in the example scenario:
Step 1: Create a new Post
- Turn on Custom Fields (cf_setup_1 & cf_setup_2)
- Add a new custom field (custom_fields)
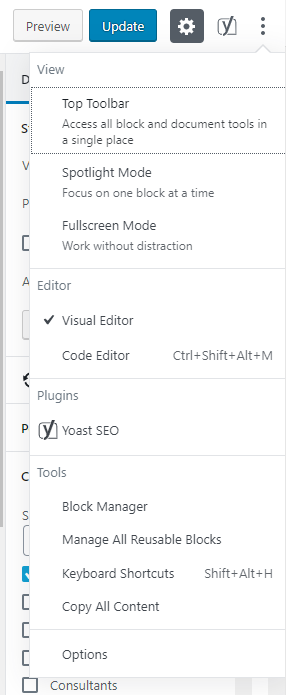
cf_setup_1 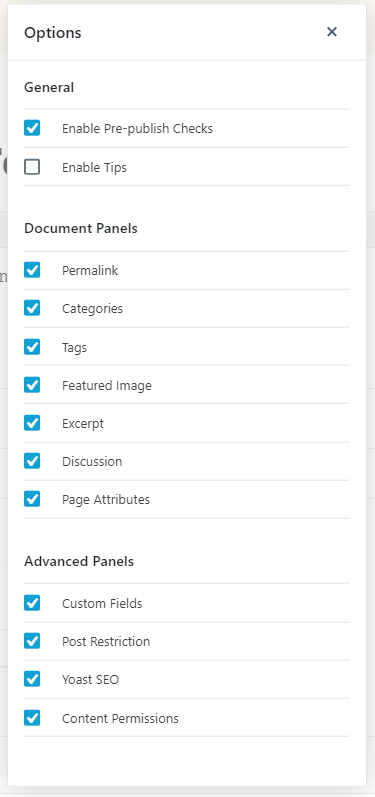
cf_setup_2 
custom_fields
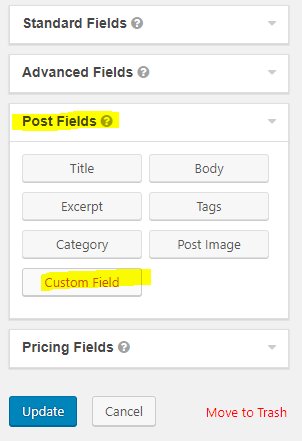
Step 2: Create a Gravity Form
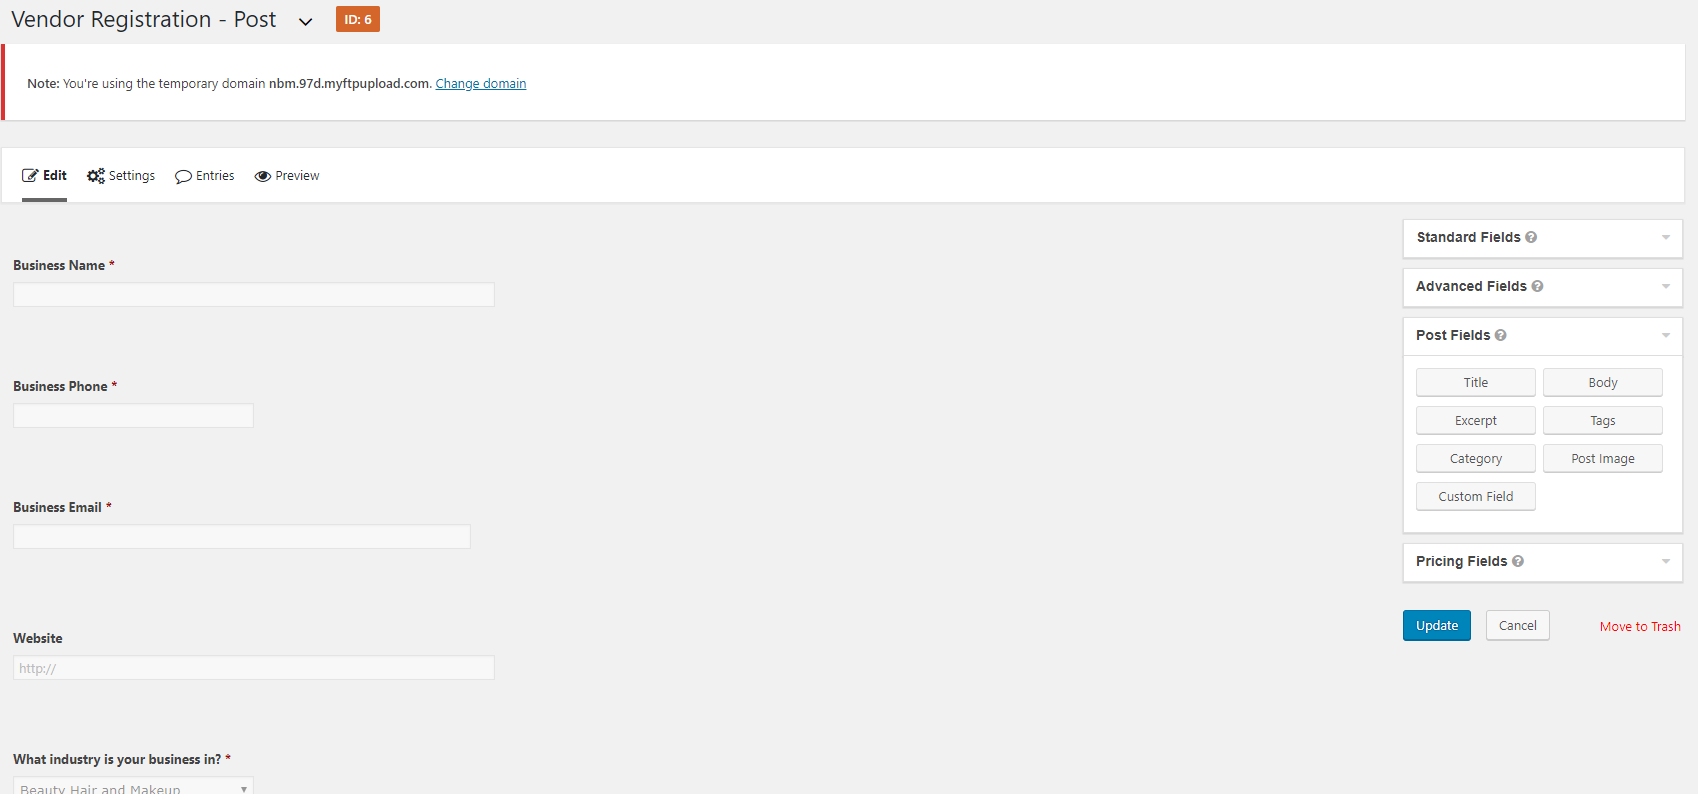
- Ensure that you include, at minimum, a field for “Title”.
- Map the form’s Custom Fields to their respective Custom Fields you created in the Post. If you set the fields up properly in the Post, it should be as simple as selecting the field from a drop down when creating the form. (custom_field_form)
- Save your form.
form_post_fields 
custom_field_form
Step 3: Complete the form and make a test post.
You should be able to verify that all Gravity Form fields are filling out their proper custom field locations and that the post is generated properly.
Step 4: Move to the page/layout on the site where this information is going to be displayed.
- This site utilizes the “PowerPack Content Grid” module to display the resulting posts. (module_1)
- In the module settings, select “Custom” from the “Select Style” drop down. (module_1)
- Click “Edit Custom Layout”

Step 5: Here is where you’ll build the module’s layout – how the information will appear once a form-submitted post is published.
- Although not displayed in this image, there will be a general layout provided by the module.
- You can re-purpose this to your needs or completely rebuild the layout on your own utilizing the shortcodes and field connections provided in the Beaver Themer (module_3). To learn more about field connections please check out this guide.

module_2 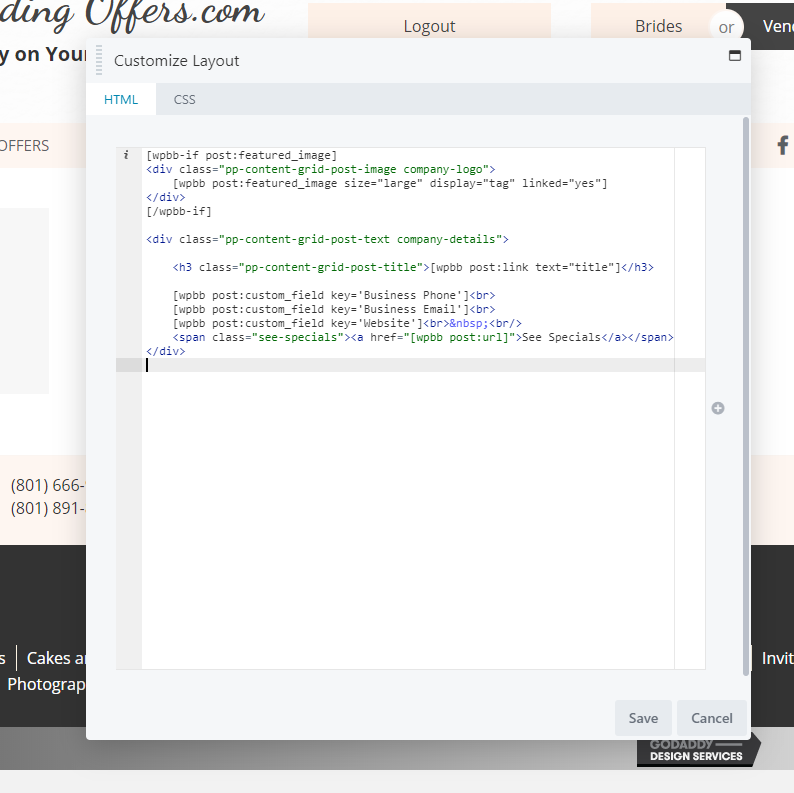
module_3
Step 6: Content Query
- Ensure content is set to the Query you need it to, which is Main on this site (module_2).
- If these posts are to append on a regular page and no categorization is needed, use “custom query“.
- If post categorization is needed, use Beaver Themer to build out an archive page for the posts to append on, and select “main query“.
Save the module and page – you’re done!
Post Archive Styling Tips:
- If you give the “PowerPack Content Grid” module a custom class specific to its usage, you can target the components of the layout and use CSS to style them a certain way.
- Since you’re using a custom layout, you can choose to wrap the shortcodes in HTML “div” tags with assigned classes if a very specific appearance is requested.
For example, here’s a site that wanted submitted form entries to appear like a directory by appending into a list formatted like a table.

In this example, the content grid has been styled with CSS so that a singular post takes the form of a row, and each of the post’s custom fields appear as a cell in the row.
This is just one of many ways posts can be styled to fulfill the desired layout the customer might request when looking to add the gravity form to post functionality to their site.
Documented by Shawn Hanson