The following is a list of all of our current, legal team approved libraries for icons and graphics. It is important not to stray from these approved resources. Anything we use on our builds must have a “Creative Commons Zero (CC0) license” – and any graphics not given to us by the customer or not from our approved libraries should be sent to us for approval.
Until it is approved, don’t use it, don’t wait on it.
Icons
Patternico (pattern maker)
*When using custom images, only approved stock images or customer provided images are permitted.
This list can always be found under the resources link on the menu.
As always, customer provided graphics are acceptable to use, regardless of watermarks. If they have provided it, we are permitted to use it.
Photoshop/Illustrator Guidlines:
At this time, builders are not permitted to create custom graphics for a site. We are working on a system that would allow for this, but it is not something that should be practiced for now.
The following is a list of acceptable and unacceptable editing in Photoshop/Illustrator:
Acceptable
- Cropping
- Removing solid backgrounds from high resolution graphics
- Blurring
- Adding text (Not Recommended)
- Solid color changes on approved icons
Unacceptable
- Removing Watermarks
- Combining images to create a new graphic
- Creating a graphic to look like a referenced graphic
- Adding branding
- Removing elements other than a background
*If any editing has been done, please include the original graphic in the media library and/or ticket, as well as the .psd or .ai file in the ticket for any future edits.
Ticket Process
Any custom graphics created for customer sites must be available for use on revisions or care tickets.
Follow the steps below to ensure all builders have access to edit the custom graphics created.
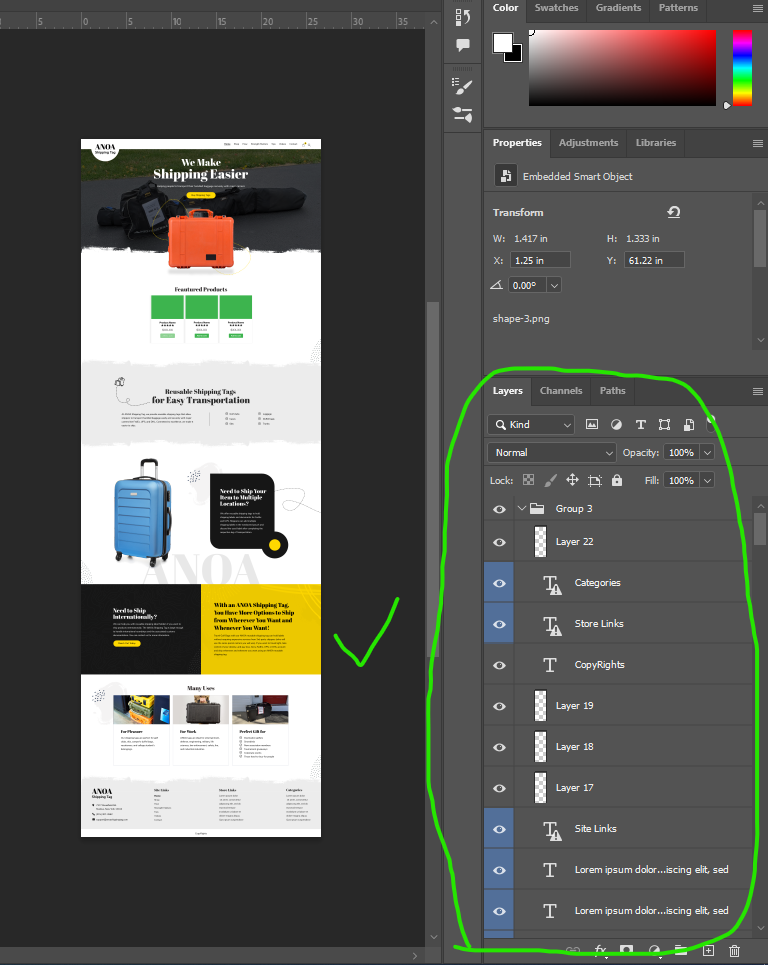
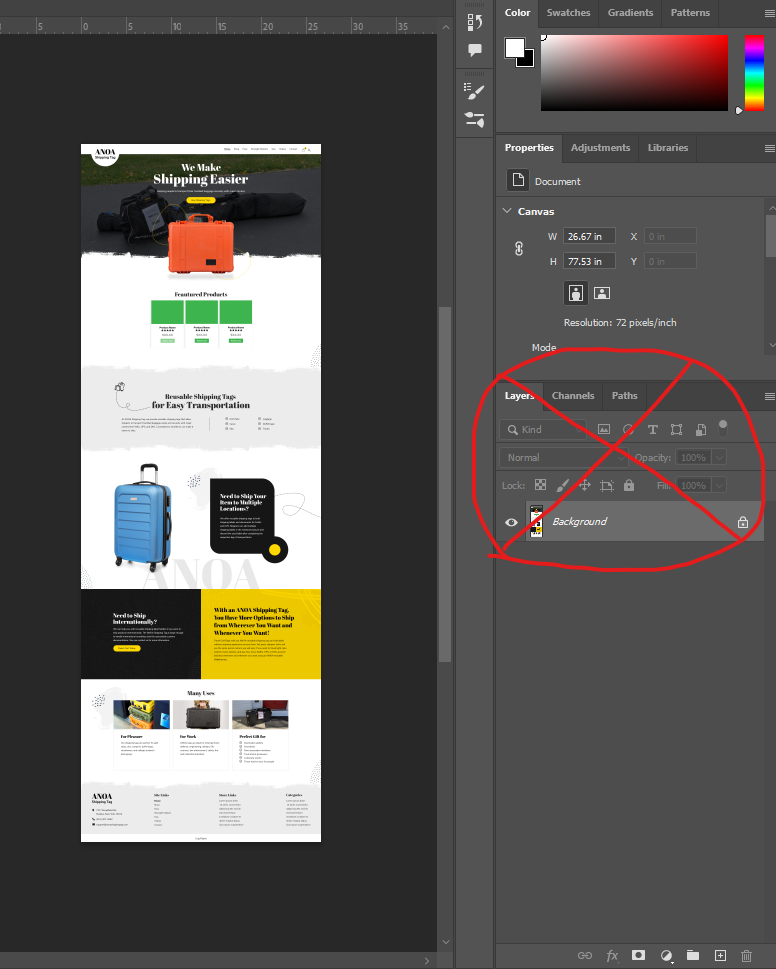
- Make sure you are including the layered photoshop file and not a flat file.
Good
Bad
- Place all graphics into a folder on your machine labeled like so:
- Site-Graphics_[Date in MM-DD-YYY] I.e. Site-Graphics_01-27-2023
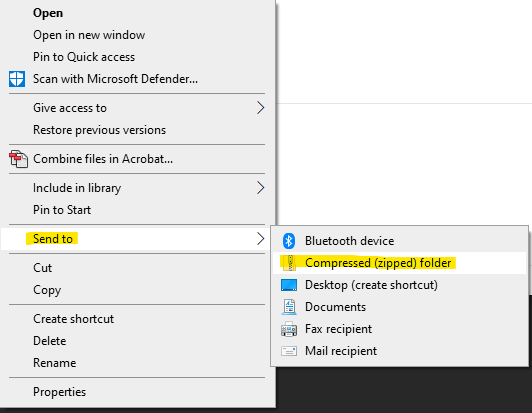
- Once all files are in the folder, right click on the folder > “Send to” > “Compressed (Zipped) folder”
- Upload the zipped folder to the WordPress Media Library