Build Process - Store Setup [ 2 ]
The design portion of a GoCentral OLS build is pretty straight forward, and the green GoCentral Hub button links cover all the components along with our scope. This page covers the GCOLS products and services setup. After the front-end and store are good to go, "Build Process - Back-end [ 3 ]" will cover the level of setup needed for our value added offerings to fulfill the requirements of a complete build.
Click through the links on the "GoCentral Hub" button to see the GC OLS resources and build process in sequence.
Products Setup
Products Front-end
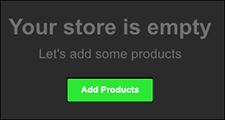
In order for the products to show up in their respective sections in the front-end design, you will need to add them in the store first. If no products have been added before the design portion of the build process, you will see an empty row in place of the products module that says "Your store is empty, let's add some products". If you click on the "add products" button below this text, you will be redirected to the store back in the GoCentral dashboard to add the products on the back-end.
View the detailed rundown of the front-end layout options for products:
Products Back-end
Note: Images must be formatted as .jpg, .jpeg, .gif or .png files. They cannot be more than 10MB each. (You can upload images that are up to 5000 by 5000 pixels. But they will not be displayed larger than 1920 by 1080 pixels.) Images of at least 600 pixels in one dimension will enlarge when your customer's cursor hovers over them.
| Field name | Explanation |
|---|---|
| Tax Category | If the product's taxable, leave the menu set to Standard. Otherwise, change it to Non-taxable. |
| SKU | Enter a unique SKU (Stock Keeping Unit) number to track your inventory and manage related invoices. You can use any numbering scheme you like. |
| Visibility | Uncheck if you want to hide seasonal items or when you plan to roll out multiple products simultaneously at a later time. |
| Categories | You can make it easier for customers to find items by creating categories, such as clothing, housewares, toys. For more on creating subcatories, see Add product categories. |
| Tab name | Explanation |
|---|---|
| Description | Add info about product, such as how it's made or used. |
| Inventory & Options | Use this tab to track available supplies and offer customers product choices, such size and color. |
| Shipping | Set up the customer's shipping options. (See More Info below for how to change the shipping method.) |
| Search Engines | Use to have your product display a specific title and description when it appears in search results. |
Set Up Featured Products
Add featured products so customers can quickly see your top products. These can be your best-sellers, or items/services that you want to draw attention to.
Note: You can only add up to 12 featured products.
Add Product Categories
Resources
Options & Inventory
Product Options
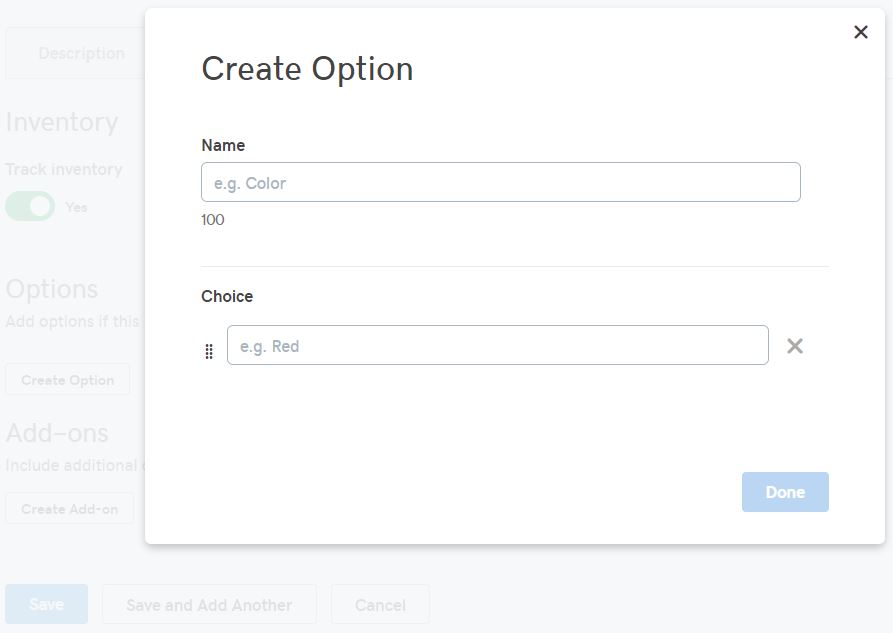
You can add options such as size and color, or enable customers to request custom messages. You can also add customer services like gift wrapping. Options can be displayed as a list of choices or by having customers use a text box.
Add a List of Choices
Online Store limits you to no more than a total of 100 option choices (known as "option values") for all products storewide. There’s no limit on how many options you create. But you can't create more than 100 option values, such as Red, Yellow, Blue, and Green. Reference GC OLS Platform Scope to see options limits and what's included for New Build tickets.
Workarounds to stay below limit
Most store owners never exceed the 100 option value limit. Here are two ways to accomplish that — while still providing customers an easier way to find the choices they want.
| Action | Description |
|---|---|
| Create general option values | Use general, rather than super specific, option choices. For example, do not include the dimensions for every Small, Medium, and Large choice you create. With hundreds of products with different dimensions, you'll quickly hit the 100 limit. Instead tuck those details into the product description, such as these pillow dimensions. |
| Create separate types of options | Create separate types of options for a product. For example, you could use "Fabric" and "Multi-Packs" as pillow options, which give customers more choices and do not count against the 100 option values limit. |
Add a Custom Message Text Box
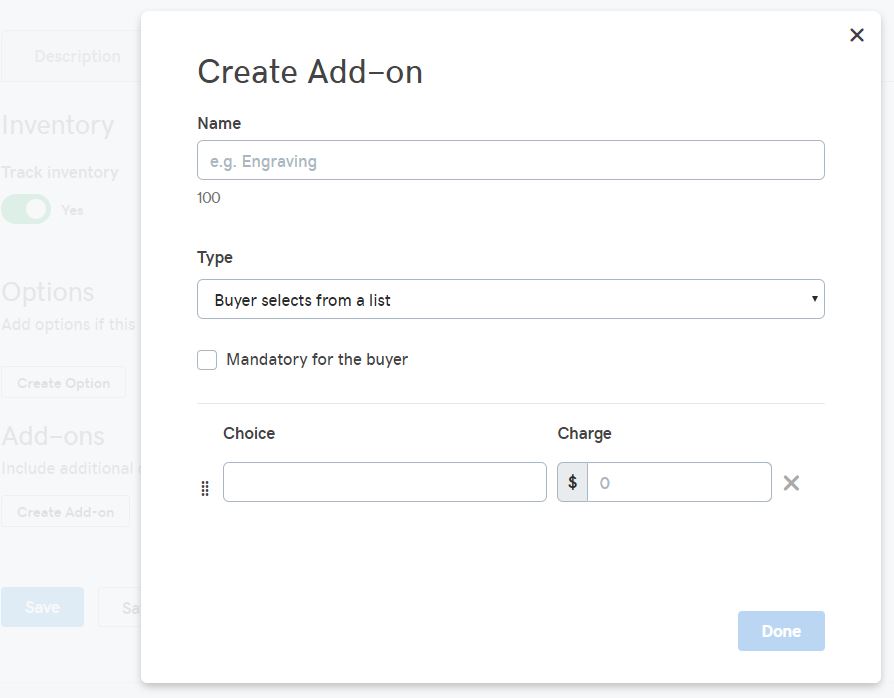
You can create an add-on to a product so customers can include a custom message for the product's recipient or add a monogram or engraving.
Create a Customer Service Add-on
You can add customer service options for a product, such as gift wrapping.
Managing Inventory
Inventory tracking is a best practice to avoid overselling and is required to list on marketplaces. Click the product's Inventory & Options tab, and set the Inventory menu to Track inventory. (By default, the If quantity reaches zero menu is set to Allow backorder.) If the product has variation options, the inventory stock amount can be controlled within each variant separately.
Note: Choosing Allow backorder enables a customer to place an order even if the inventory is down to 0. Choosing Do not allow to order triggers an alert on the storefront when the product inventory drops below 3, and prevents the customer from buying the product when inventory reaches 0.
Pro Tip: If the customer did not provide inventory, disable inventory tracking, OR enable it with the default quantity of "1" but disable "Allow Backorders" so that the customer doesn't end up selling a product they may not have in stock.
Resources
Bookings Setup
Services & Bookings Front-end
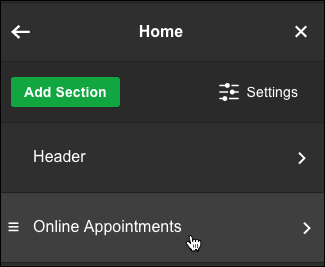
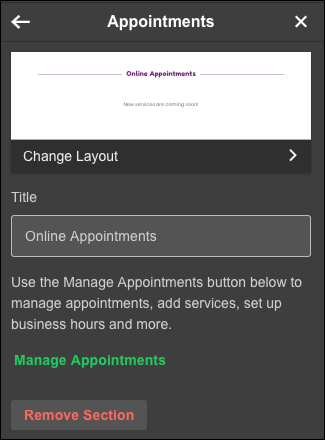
In order for the bookable services to show up in their respective sections in the front-end design, you will need to add them in the store first. If no services or bookable products have been added before the design portion of the build process, you will see an empty row in place of the "online appointments" module that says "More services are coming soon".
If you click on the "manage appointments" button, you will be redirected to the store back in the GoCentral dashboard to add them on the back-end.
View the detailed rundown of the front-end layout options for bookable services:
Services & Bookings Back-end
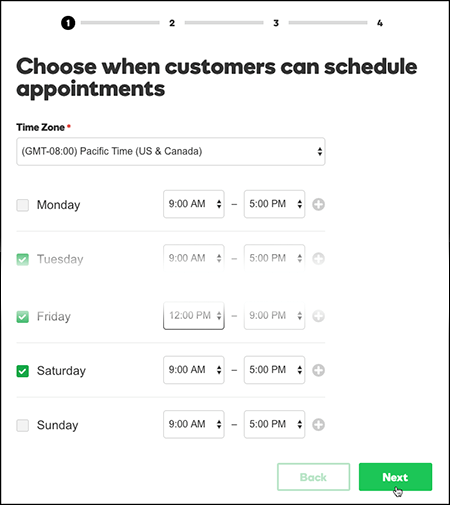
Click Manage Appointments to open the Appointments Scheduling window and then click Start Setup.
Bookable Hours
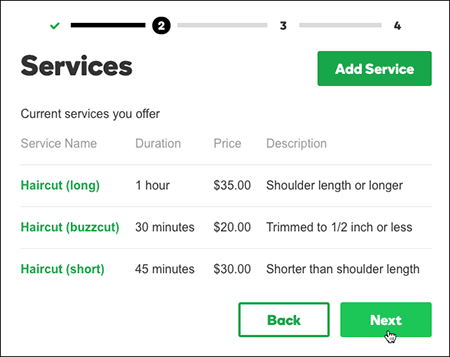
Adding Services
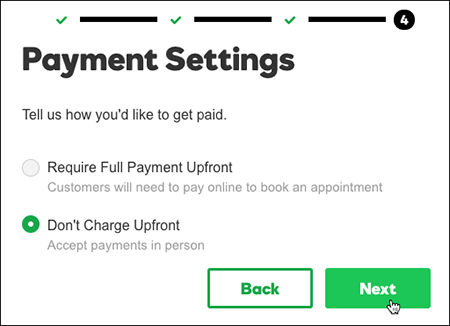
Note: If you leave a service set to $0.00, the customer won't be charged — even if you've specified upfront payment.
In the All set, publish your site window, click Preview and Publish Your Site if you're ready for customers to start booking appointments. Or click Sync Your Calendar if you want to see customer appointments in your personal calendar.
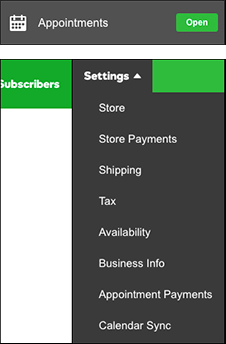
Note: From now on, you can change appointment-related settings by clicking Open in the new Appointments panel. Then choose Availability, Business Info, Appointment Payments, or Calendar Sync in the Settings menu.

