
How to create offset borders in Beaver Builder
February 18, 2021 | Beaver Builder, Tips & Tricks
This article will show you how to create offset borders around an image in beaver builder. This can also be done with CSS, but since it can be done in the module, we will use that instead of CSS. This is the recommended alternative to using photoshop files of borders offset around images.
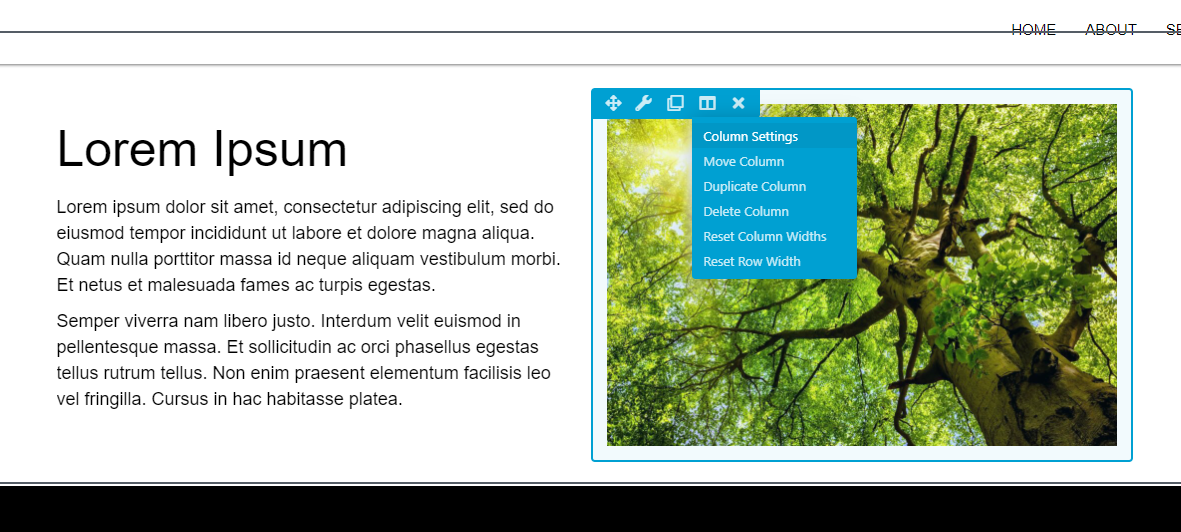
Start with a column and then place an image module inside it

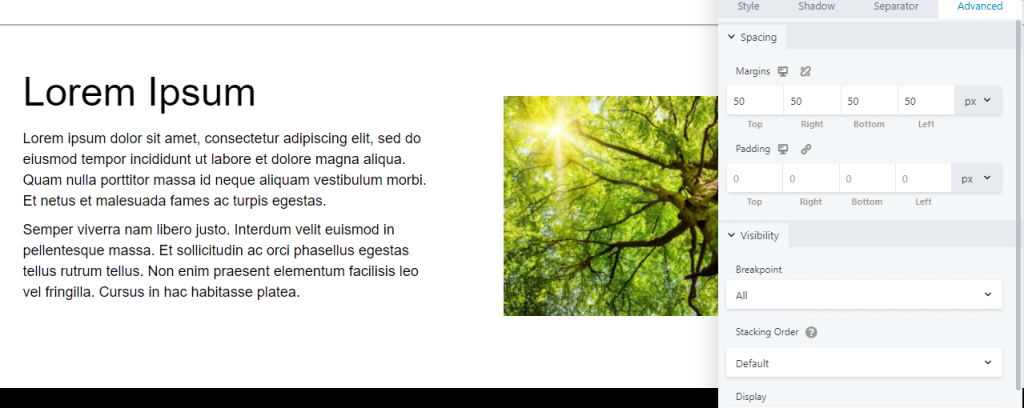
Go to column settings > advanced tab > give it a margin (I gave it a margin of 50px for this example)
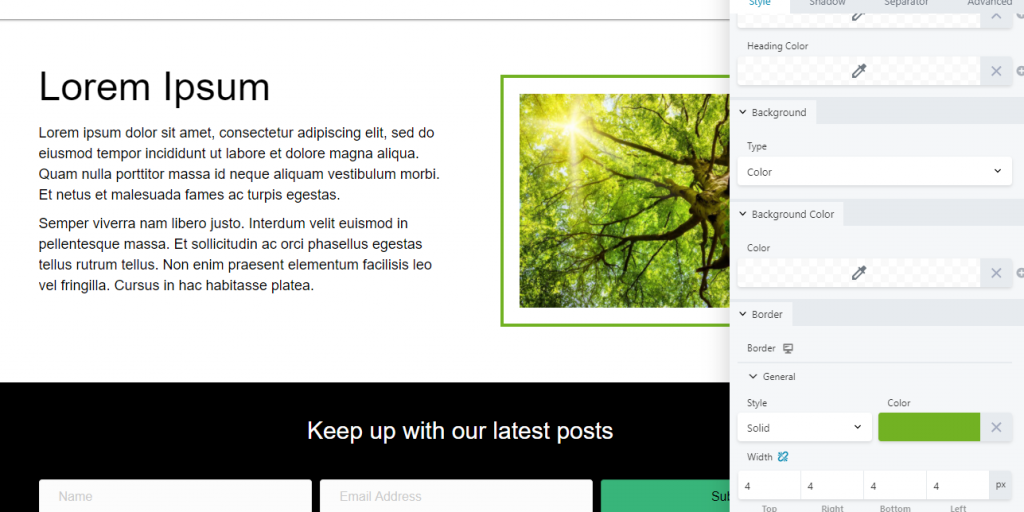
Go to the style tab of the column and at the bottom give the column a border
Now go to the settings of the photo module
- You can crop the photo to square, only if you need to, using the style tab
- Decide which direction you want the border to be – top/left, top/right, bottom/left, or bottom/right
- You will add margin to the sides you want the border to appear on, and a minus margin on the sides you want the border hidden behind the photo
- This example will discuss the border placement on the top/left
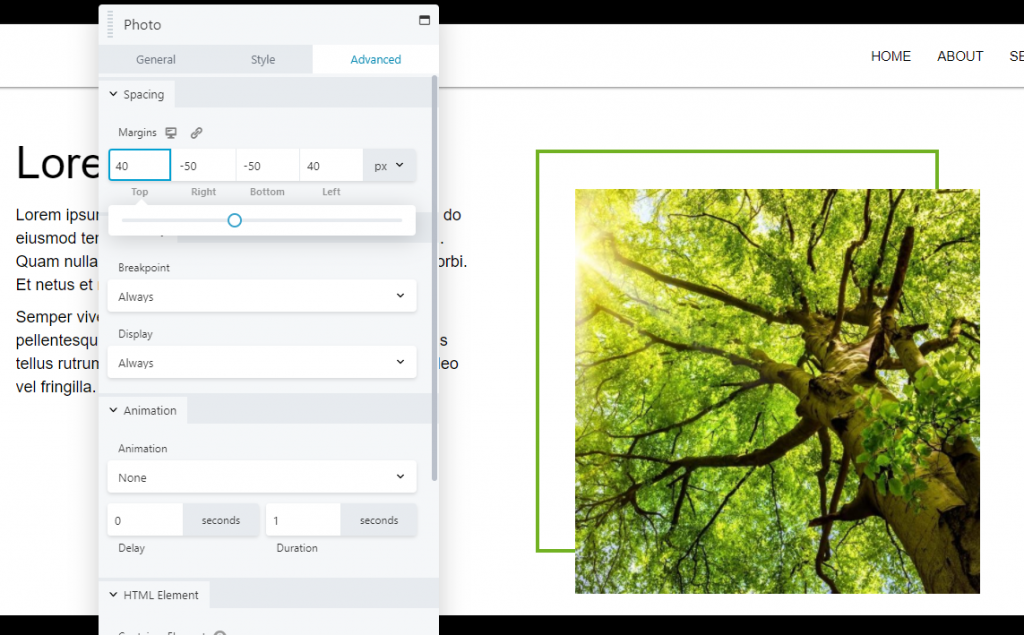
- In the advanced tab of the photo module, give the bottom and right sides a margin of minus the number you added around the column (in this example the margin added to the column was 50px)
- Then add a margin to the top and left if you want more space between the border and the image (in this example I added a margin of 40px)
- Feel free to play around with the numbers till the image and border look how they should.
Make sure to check responsive views and make sure nothing is being overlapped incorrectly.
Save, click done and then publish.