
How to create a Summer Social Post
August 20, 2021 | Customer Campaign Run Books, Tips & Tricks
Download Files
- Download and unzip the Summer Social Post files here
Add Fonts
- Click the Windows Icon on bottom left corner of screen
- Type in the word “Font”
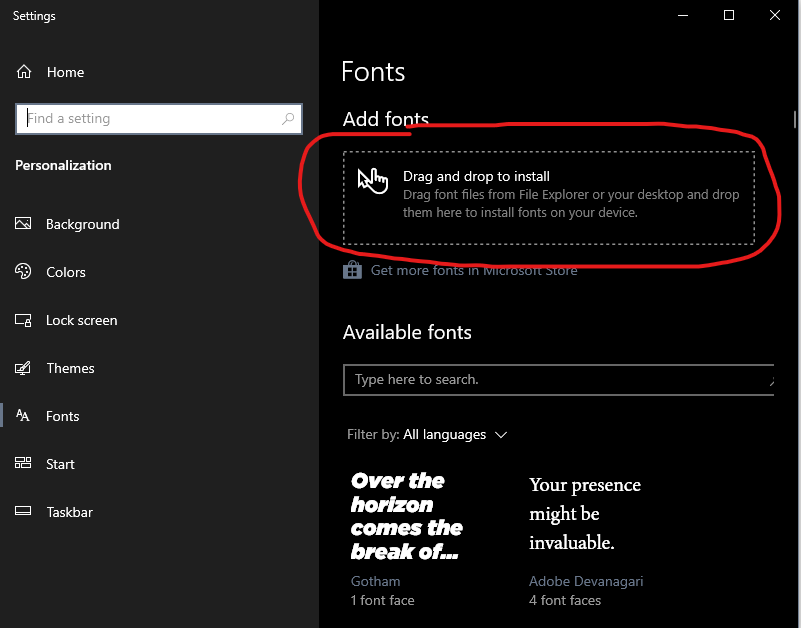
- Click on “Font Settings” from the search menu (see below)

- Locate the font file “Gotham-UltraItalic.otf” and drag to the settings menu under Add Fonts (see below)
Edit & Save Photoshop Post file
- Open the file that matches the Social Post style that was selected below

Template 1

Template 2
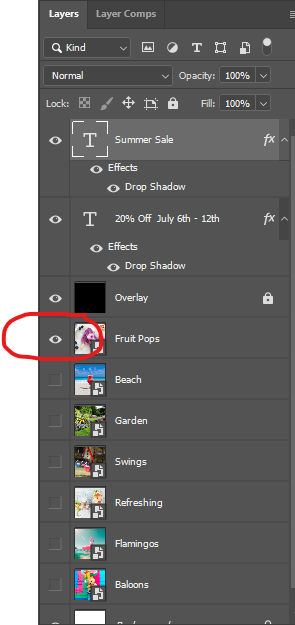
- Open the layers panel (click F7 if not open)
- Click the visibility eye icon next to the layer that matches the image selected for the Social Post
- Go to the file menu and and go to Export > Save For Web (shortcut: ctrl+shift+alt+s) and save as a jpeg
- After social post is saved as jpeg, upload to brand book link in Jira ticket