
Creating a clipping mask in Photoshop is a quick and simple task that can enhance your design dramatically. It simply uses the content of one layer to control the visibility of another, by clipping it into it’s shape.

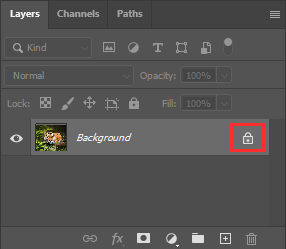
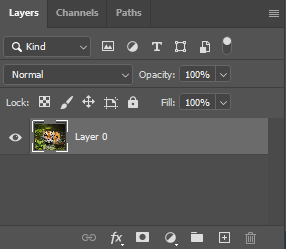
It will be automatically set as a locked background layer.
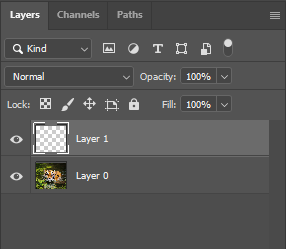
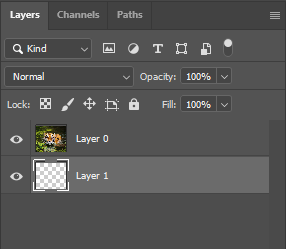
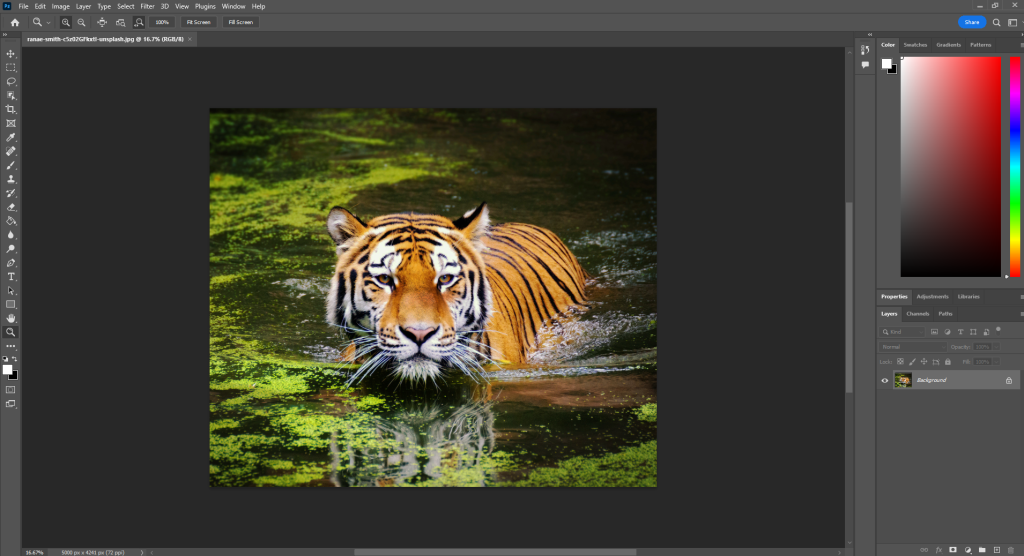
In order to create a clipping mask, we need the image to be one layer above the desired shape.
Clipping masks use the content and transparency of the layer below to control the visibility of the layer above.
Now, your image layer should be indented to the right with an arrow pointing downwards to the transparent layer. The image layer will “disappear”, and all you will see is the transparent layer below.
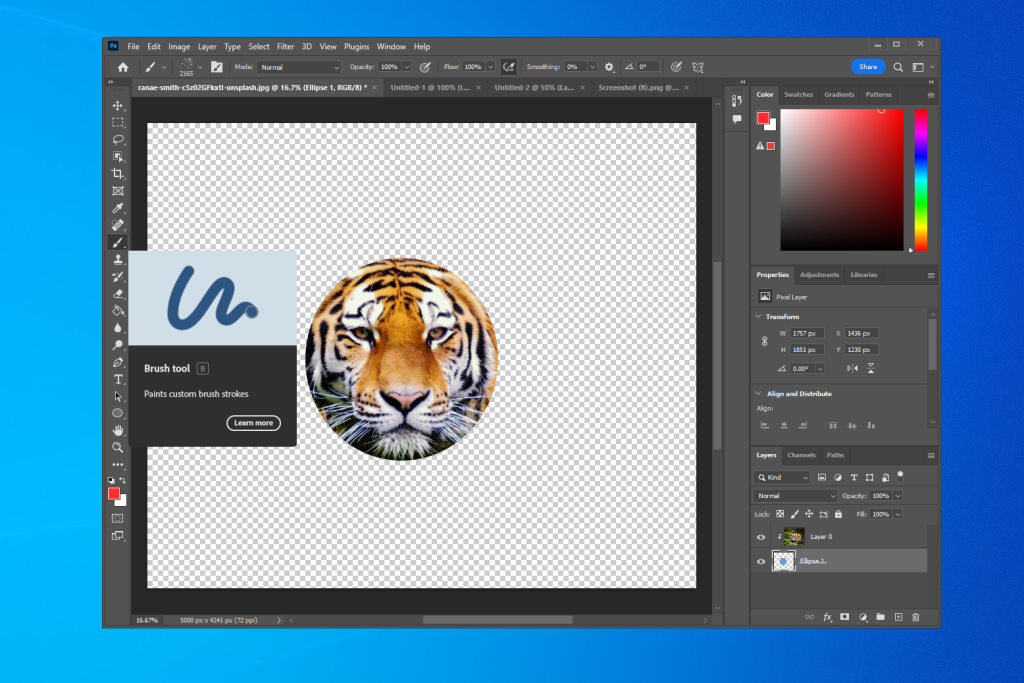
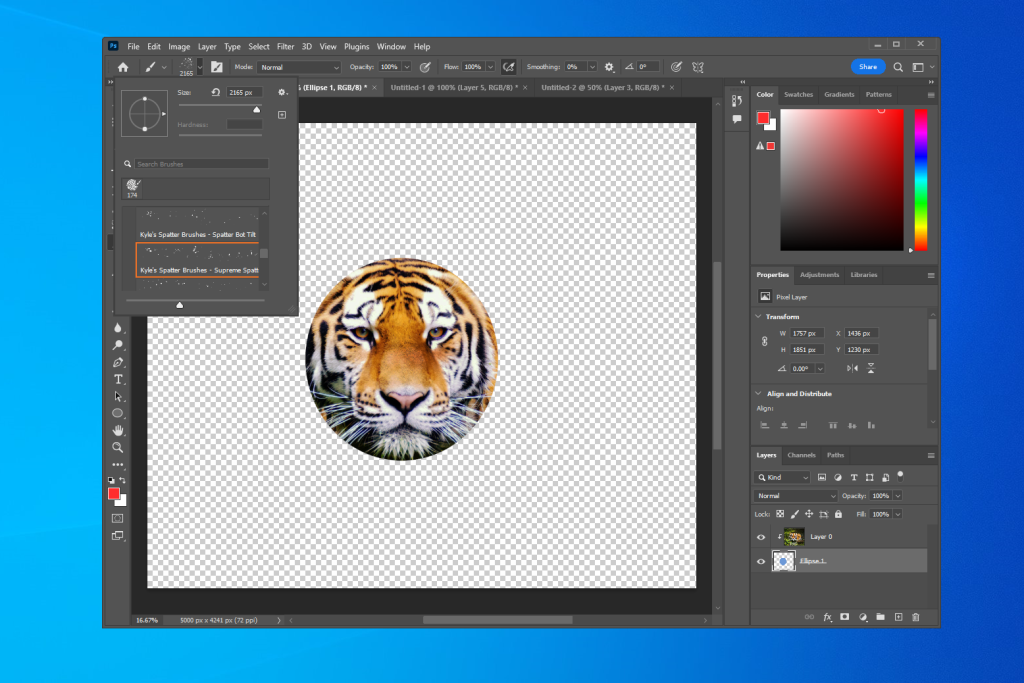
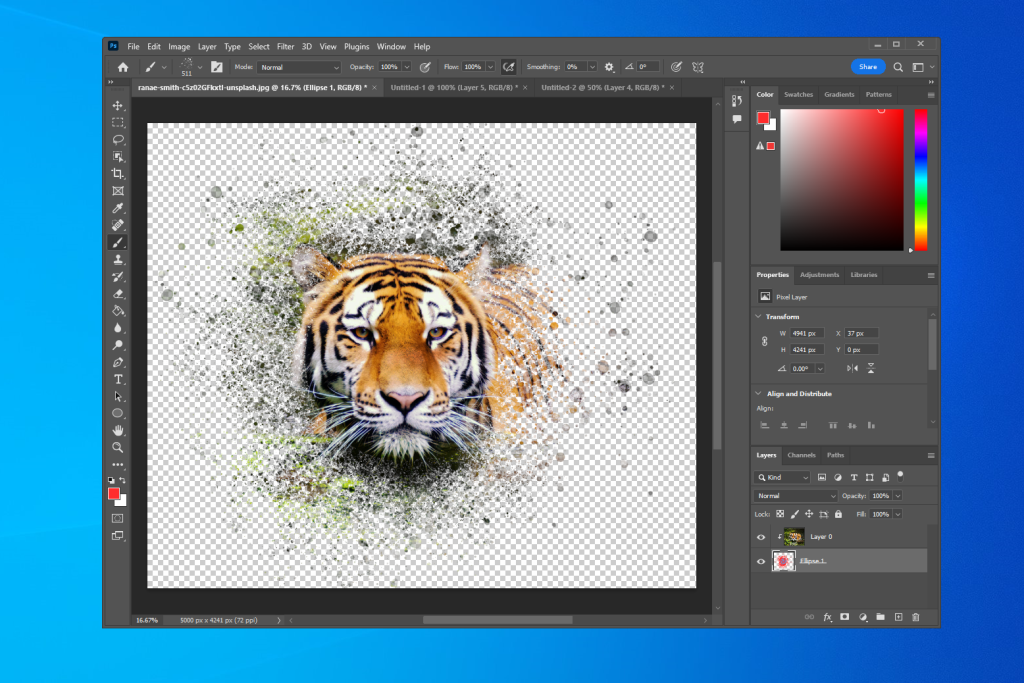
For this example, we will create a shape using the Ellipse Tool, and add some flair with a Photoshop brush.
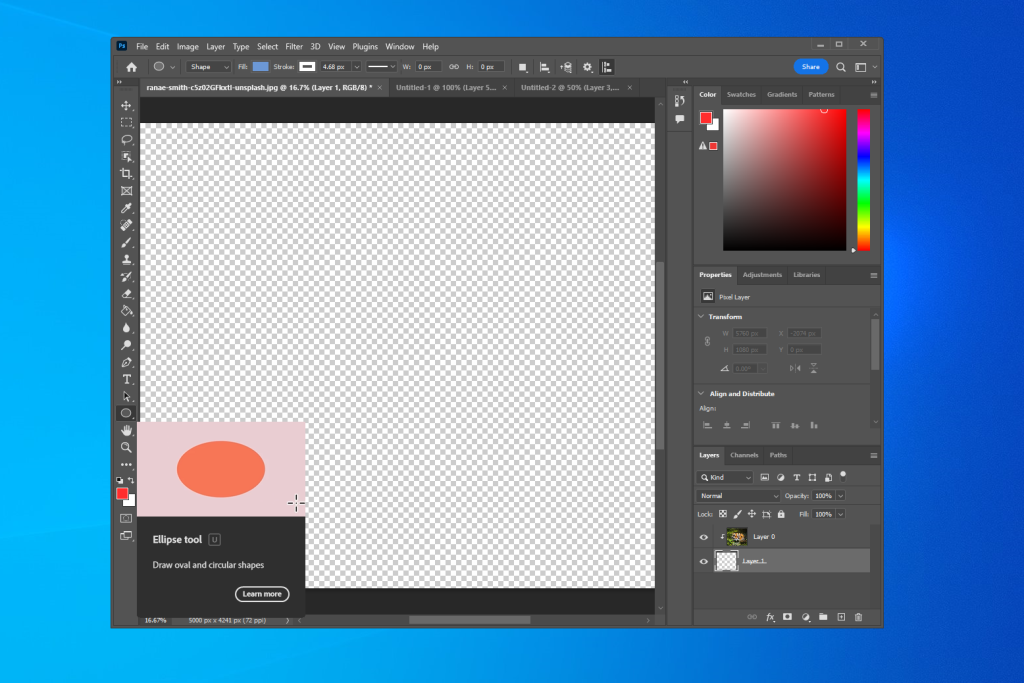
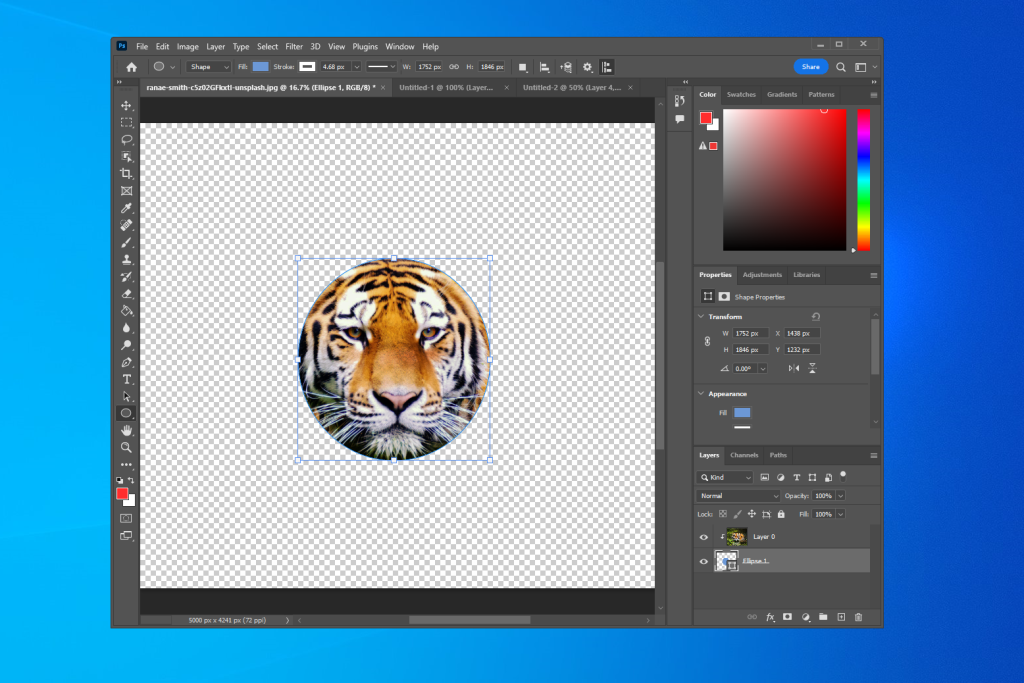
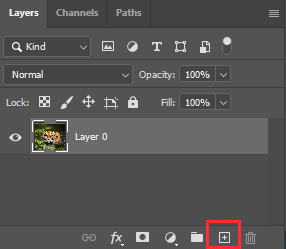
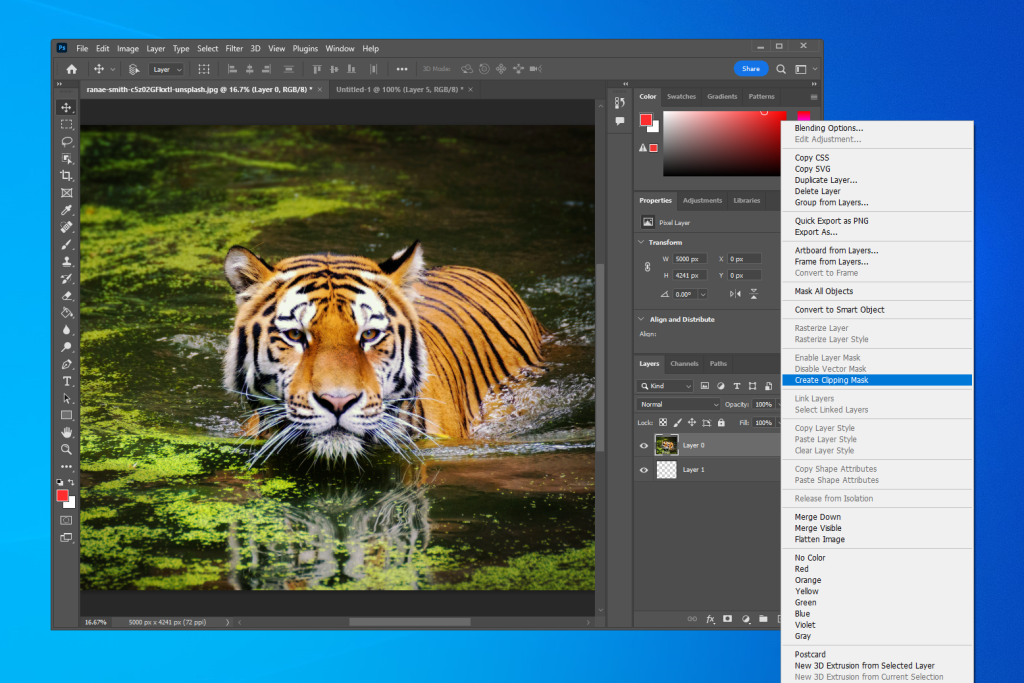
Create the shape to which you would like to clip your image to.
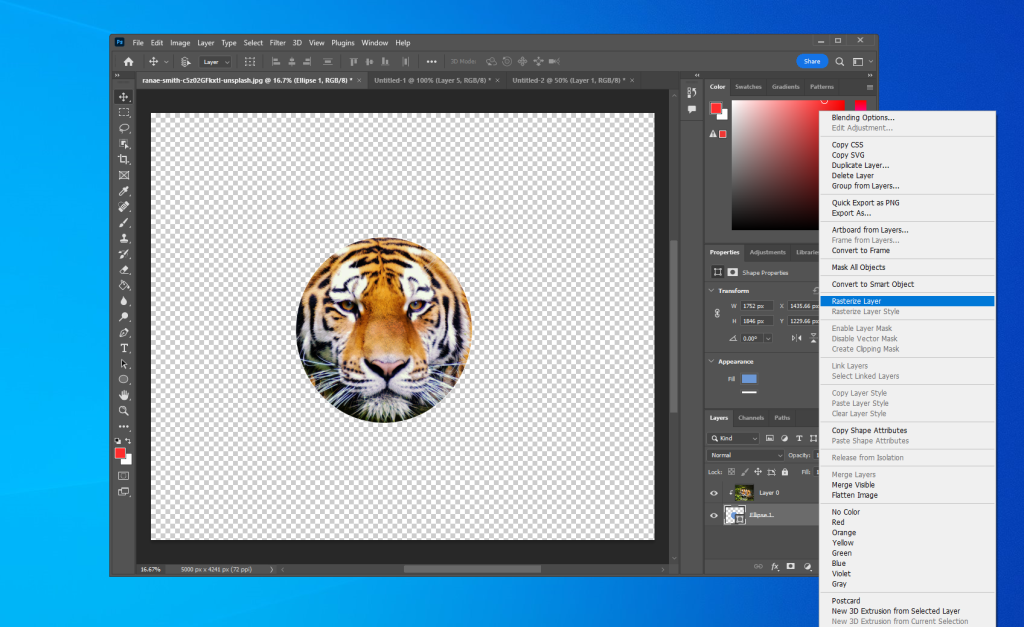
Using the shape tools will transform the layer into a shape
You can also group layers and apply the Clipping Mask to a group.
Voilà!